For mechanics and truck owners alike, diagnosing issues in your 2000 Nissan UD 1400 is crucial for maintenance and repair. Modern trucks like the UD 1400 are equipped with an On-Board Diagnostics (OBD) system, typically OBD2 in models from this era, which provides valuable insights into the vehicle’s health. A key step in accessing this diagnostic information is locating the OBD or OBD2 port. This article will guide you in finding the OBD2 port location on your 2000 Nissan UD 1400 and discuss how it can be used for effective vehicle diagnostics.
Usually, the OBD2 port is situated within the passenger cabin for easy access. Common locations include under the dashboard on the driver’s side, often near the steering column. It might also be found in the center console area or even within the glove compartment. However, commercial vehicles can sometimes have less obvious locations compared to passenger cars. For a 2000 Nissan UD 1400, you should first check under the dashboard area on the driver’s side. Look for a 16-pin connector, which is the standard shape for OBD2 ports. It might be exposed or covered by a small plastic flap. If it’s not immediately visible there, try looking in the vicinity of the fuse box, as sometimes the diagnostic port is placed nearby for convenient access during electrical work.
Once you’ve located the OBD2 port on your 2000 Nissan UD 1400, you can utilize an OBD2 scanner to read diagnostic trouble codes (DTCs). These codes can pinpoint problems within various systems of your truck, from engine performance to emissions control. Understanding and interpreting these codes is the first step towards effective repairs, saving time and potentially costly component replacements by accurately identifying the source of the issue.
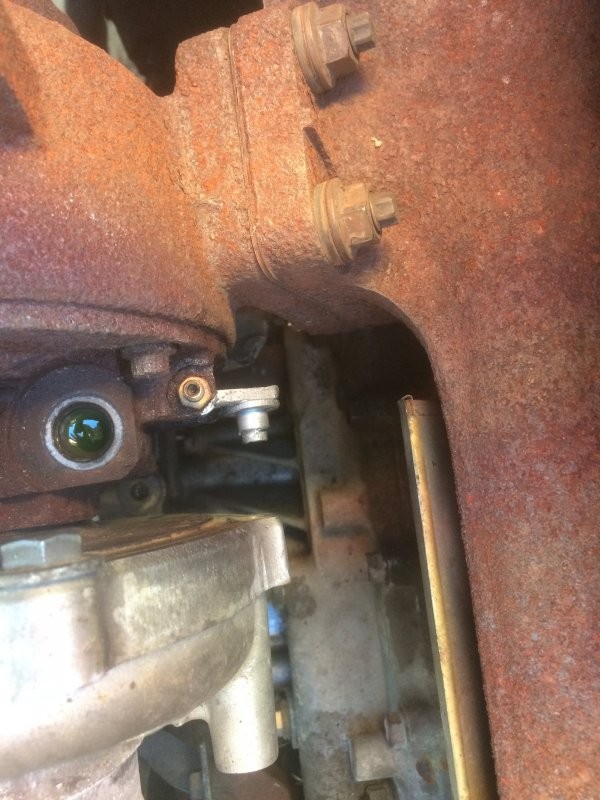
To illustrate the importance of diagnostics, let’s consider a real-world example of troubleshooting a turbo issue on a similar UD truck. While the exact model year might differ slightly, the diagnostic principles remain relevant. One truck owner experienced a frustrating limp mode situation with their UD truck. Initially, a code pointed to a turbo actuator problem. Through careful inspection, they discovered a simple issue – a missing clip on the turbo actuator rod, as shown in the images below.
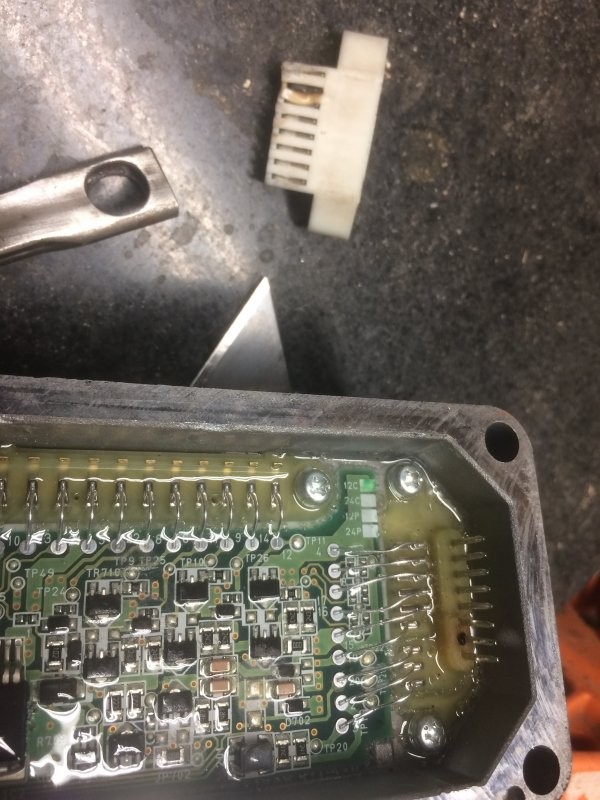 turbo1.JPG
Image of the turbo actuator area, relevant to diagnosing turbo issues in UD trucks.
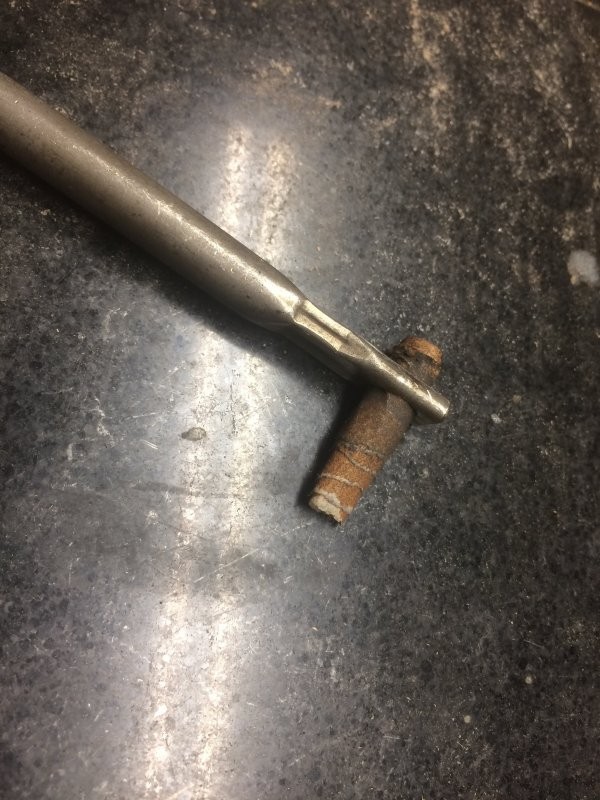
This initial fix was short-lived, and the problem recurred. Further investigation revealed a more complex issue within the turbo actuator motor itself. Metal shavings had accumulated inside, causing it to jam. Cleaning and reassembling the motor resolved the problem completely.
 turbo2.JPG
Close-up image of the turbo actuator, highlighting components that might need inspection.
This experience underscores the value of diagnostic tools and a systematic approach to troubleshooting. While this particular case didn’t explicitly mention using an OBD2 scanner to find the initial code, the check engine light and error code 35 strongly suggest that some form of diagnostic reading was involved to initiate the troubleshooting process. Locating and using the OBD2 port is therefore the gateway to understanding what your 2000 Nissan UD 1400 is “telling” you about its condition.
 turbo3.JPG
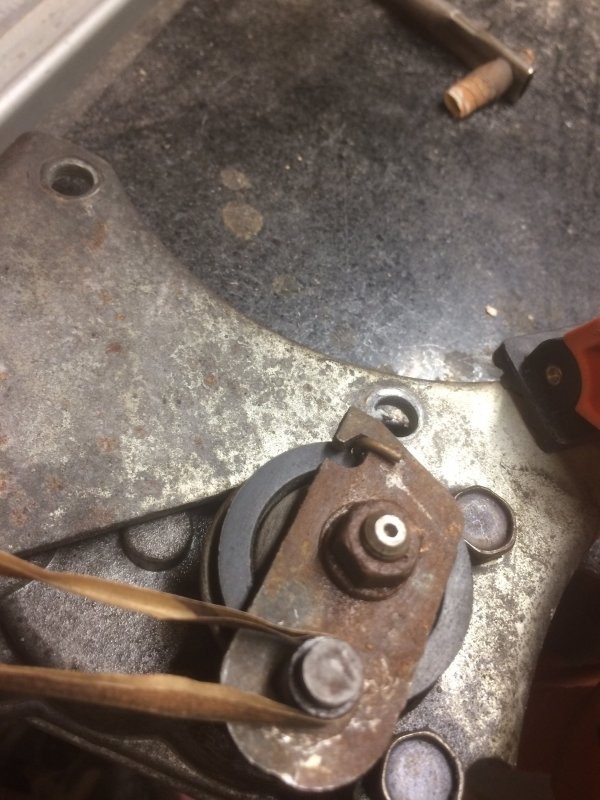
Image showing the turbo components, emphasizing the location of the actuator.
In conclusion, finding the OBD2 port on your 2000 Nissan UD 1400 is the first step in modern vehicle diagnostics. By connecting an OBD2 scanner, you gain access to critical information about your truck’s systems, enabling you to diagnose issues effectively, as illustrated by the turbo actuator repair example. Whether it’s a simple sensor issue or a more complex mechanical problem, the OBD2 port is your essential access point for understanding your vehicle’s health and ensuring timely and accurate repairs.
 turbo4.JPG
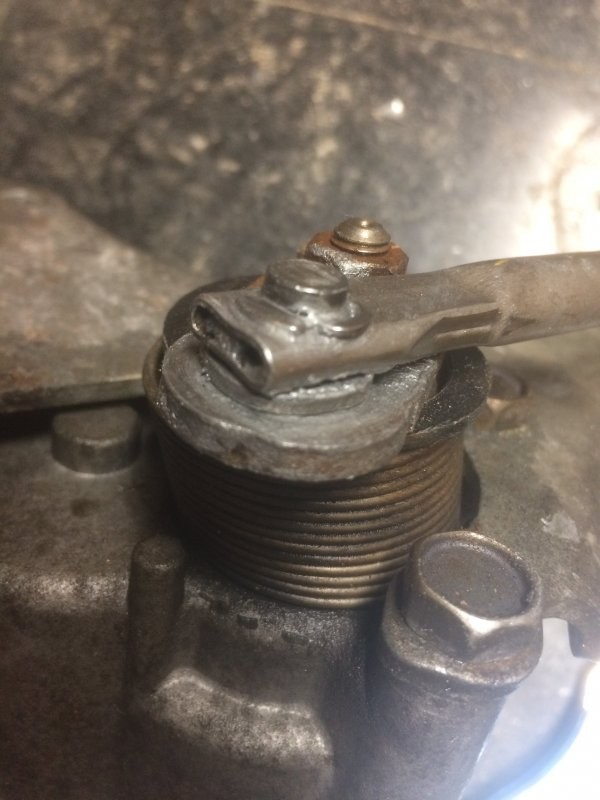
Further view of the turbo system, useful for visual reference during diagnosis.
 turbo5.JPG
Image of disassembled turbo actuator motor, showing internal components and potential areas of failure.
