A functional OBD2 connector is essential for modern vehicle diagnostics. It’s the gateway for mechanics and DIY enthusiasts to read trouble codes, monitor engine performance, and ensure your car is running smoothly. If you’re experiencing a loose OBD2 connector, you might encounter issues connecting your diagnostic tools, leading to frustration and potential delays in identifying car problems. This guide provides a step-by-step approach to temporarily fix loose OBD2 connectors, ensuring a reliable connection for your diagnostic needs.
Identifying a loose OBD2 connector is straightforward. If your diagnostic scanner feels wobbly when plugged in, or if you experience intermittent connection issues, it’s likely that the internal terminals within the connector have become bent or loosened over time. This can happen due to frequent use or accidental bumps. While a permanent solution might involve replacing the entire OBD2 port or its terminals, this DIY fix focuses on re-establishing a solid connection by adjusting the existing terminals.
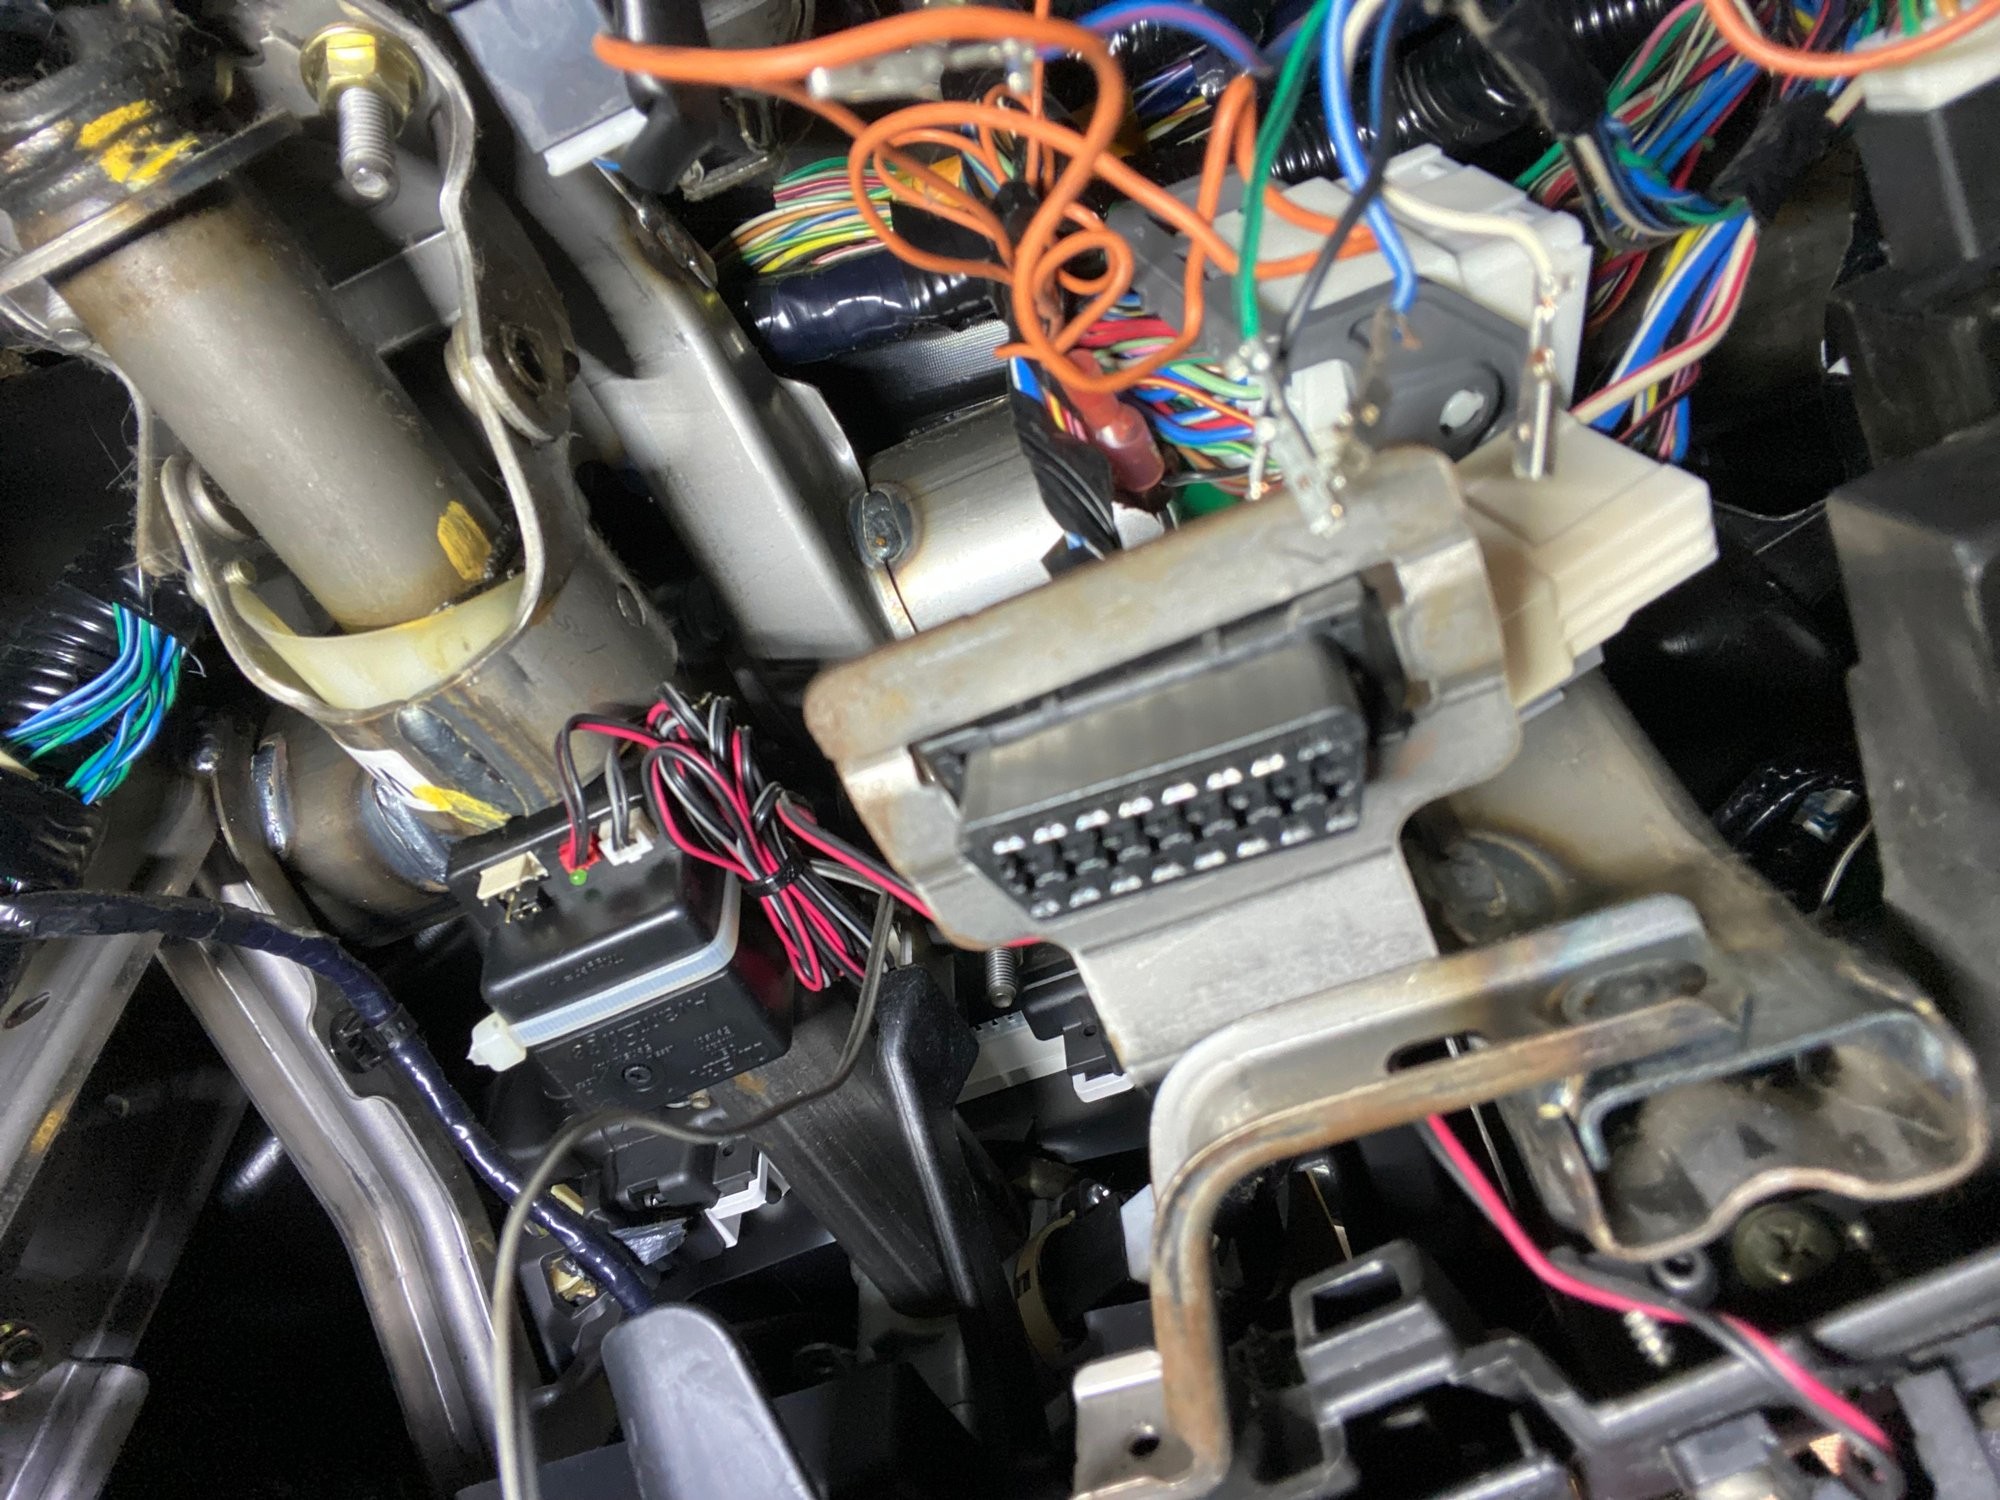
To begin, you’ll need to carefully access the OBD2 connector. In many vehicles, it’s located beneath the dashboard on the driver’s side. The first step is to detach the port from its mounting bracket. Typically, OBD2 ports are held in place by plastic tabs on the sides.
 OBD2 Port and Mounting Bracket
To remove the OBD2 port, gently push the port to one side against the bracket. This will allow you to access and depress the plastic tabs on the opposite side. Applying pressure to these tabs while pushing the port upwards will free it from the bracket.
 Plastic Tabs on OBD2 Connector
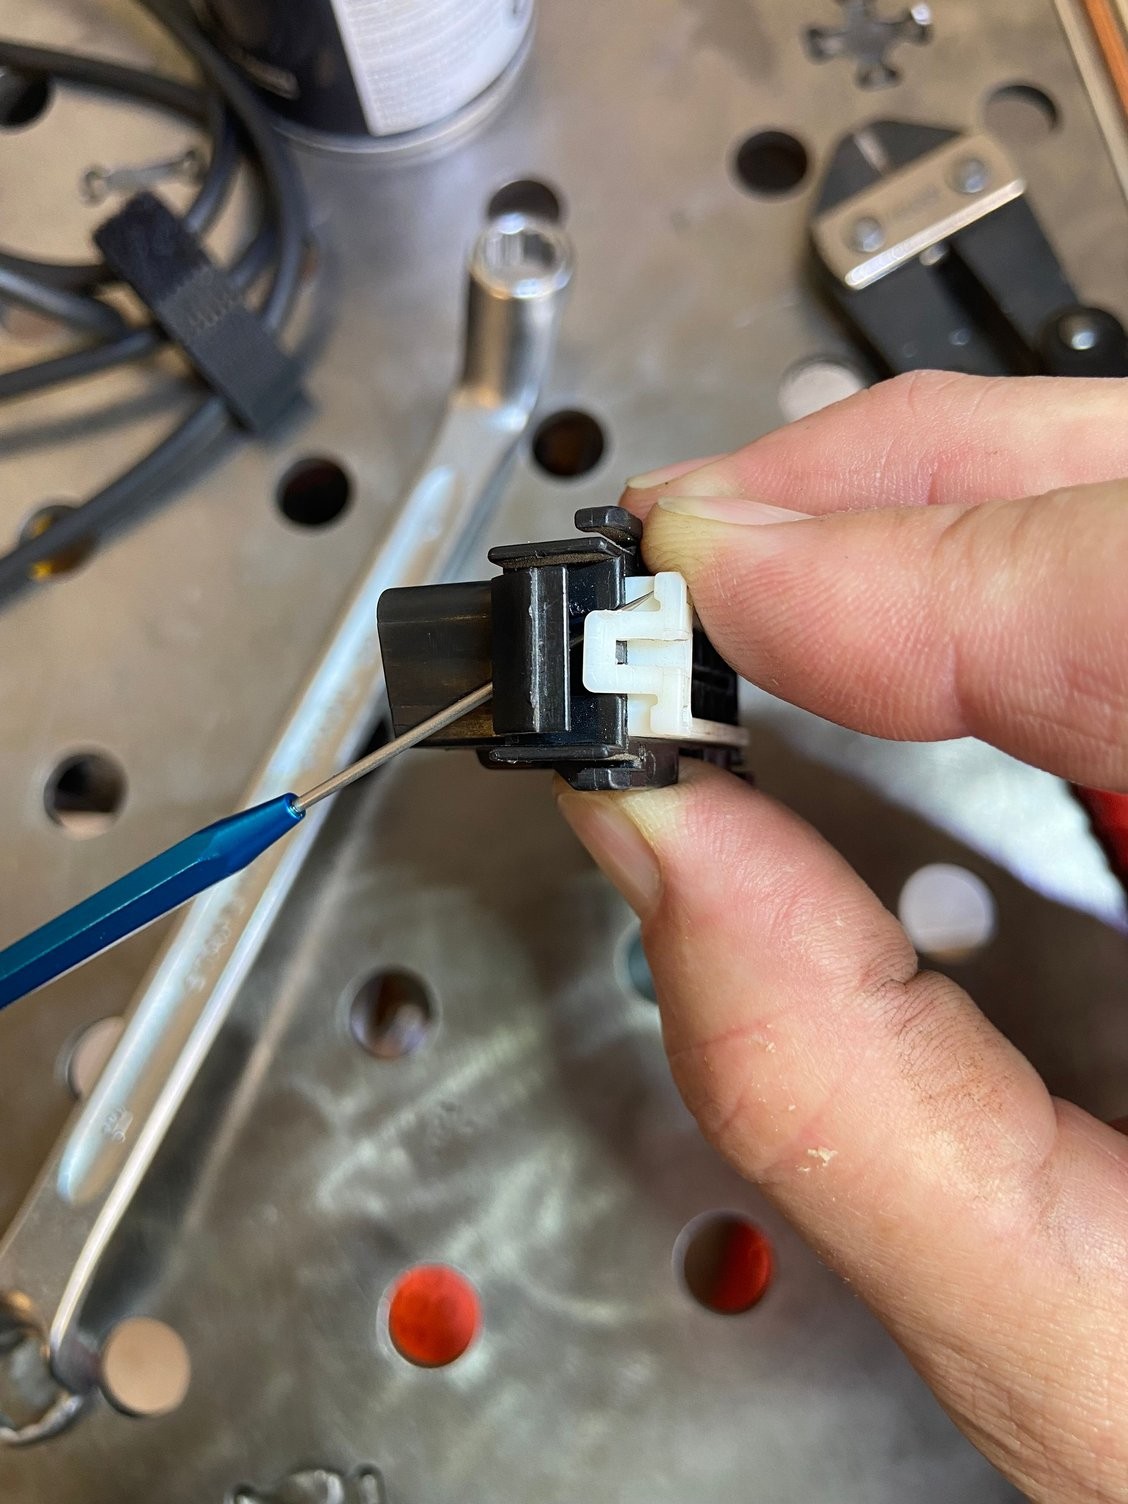
Once the OBD2 port is detached, you’ll see the backside with the wiring. Before proceeding further, it’s crucial to document the wire colors and their positions. Taking pictures or noting down the configuration will be invaluable during reassembly. Next, you need to carefully remove the white plastic retainer clip at the back of the connector. This clip secures the wires and terminals within the OBD2 port housing.
 Removing White Plastic Retainer from OBD2 Port
Using a small probe or a similar tool, gently pry the white plastic retainer upwards. This will release the individual wires, allowing you to access the terminals within the OBD2 connector.
 Probe Releasing White Retainer Clip on OBD2 Connector
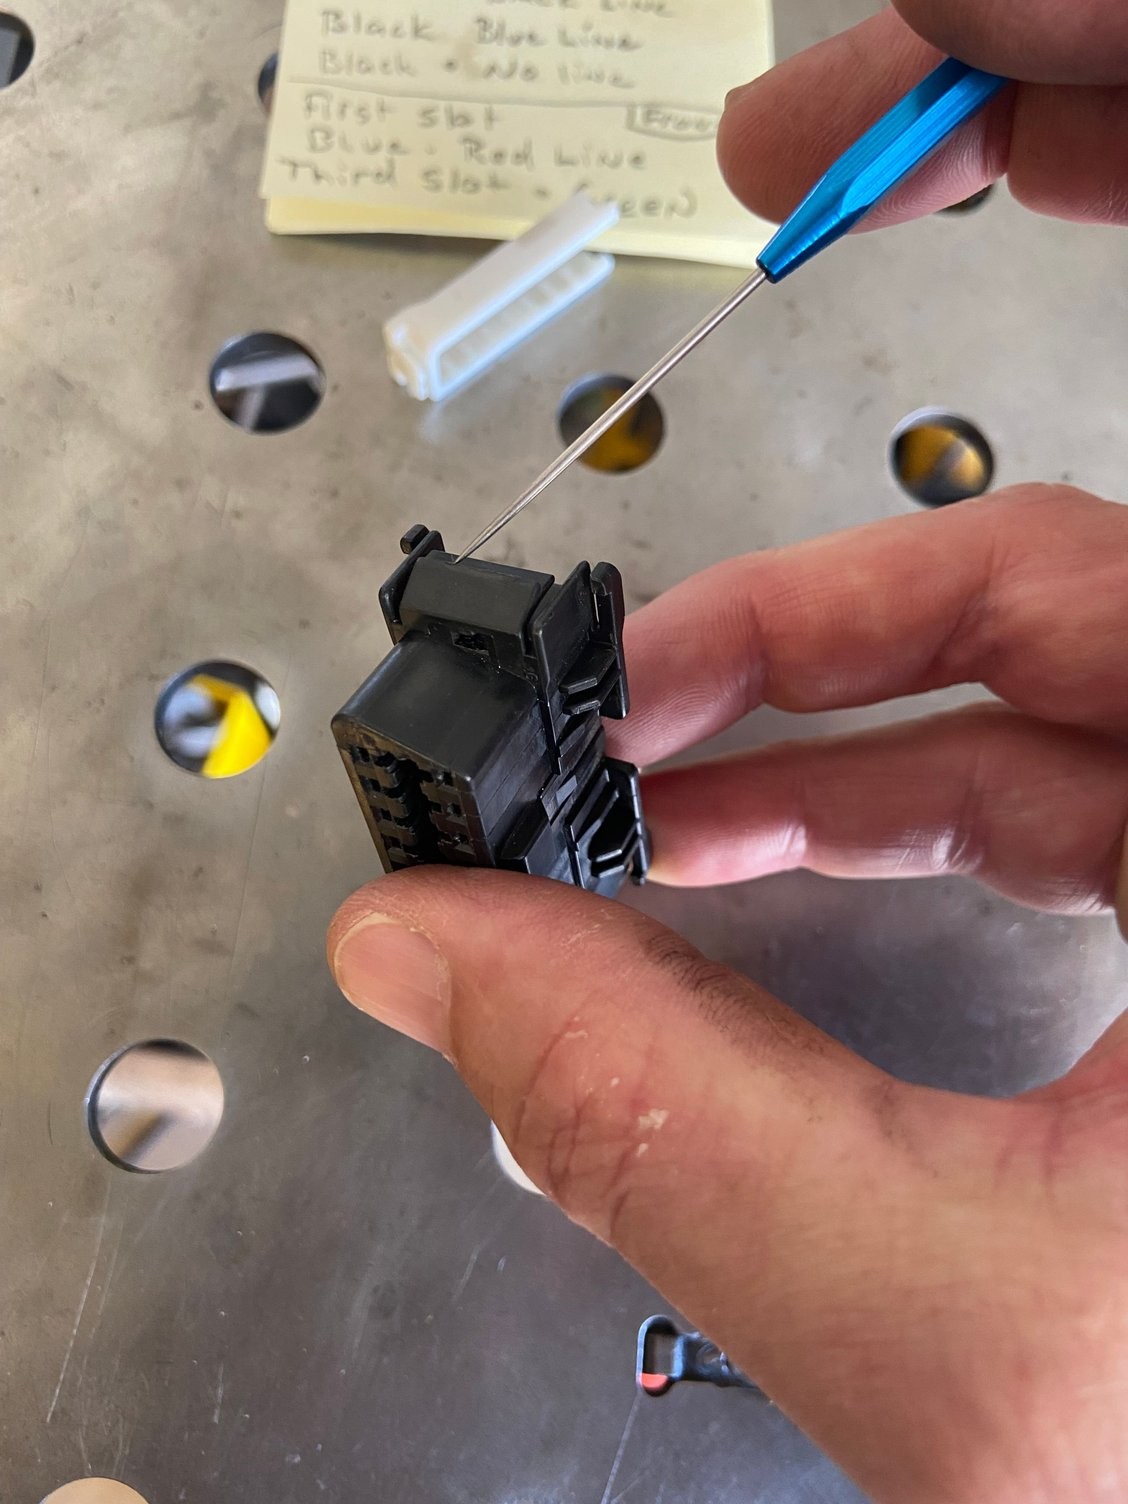
With the retainer removed, you can now access each wire and terminal individually. To release a wire from the OBD2 connector, you’ll need to insert a thin probe into the front of the connector. There’s a small plastic tab within each terminal slot that secures the wire.
 Releasing Wire Terminal from OBD2 Connector with Probe
Carefully insert the probe into the designated slot to depress this tab. You should feel the wire release slightly when the tab is correctly pressed. Avoid forcing the wire out; gentle manipulation and finding the correct angle for the probe are key.
Once the wires are free, the crucial step is to rebend the internal metal tab within each terminal of the OBD2 connector. These tabs are responsible for making contact with the pins of your OBD2 diagnostic tool. Over time, they can flatten out, leading to a loose connection.
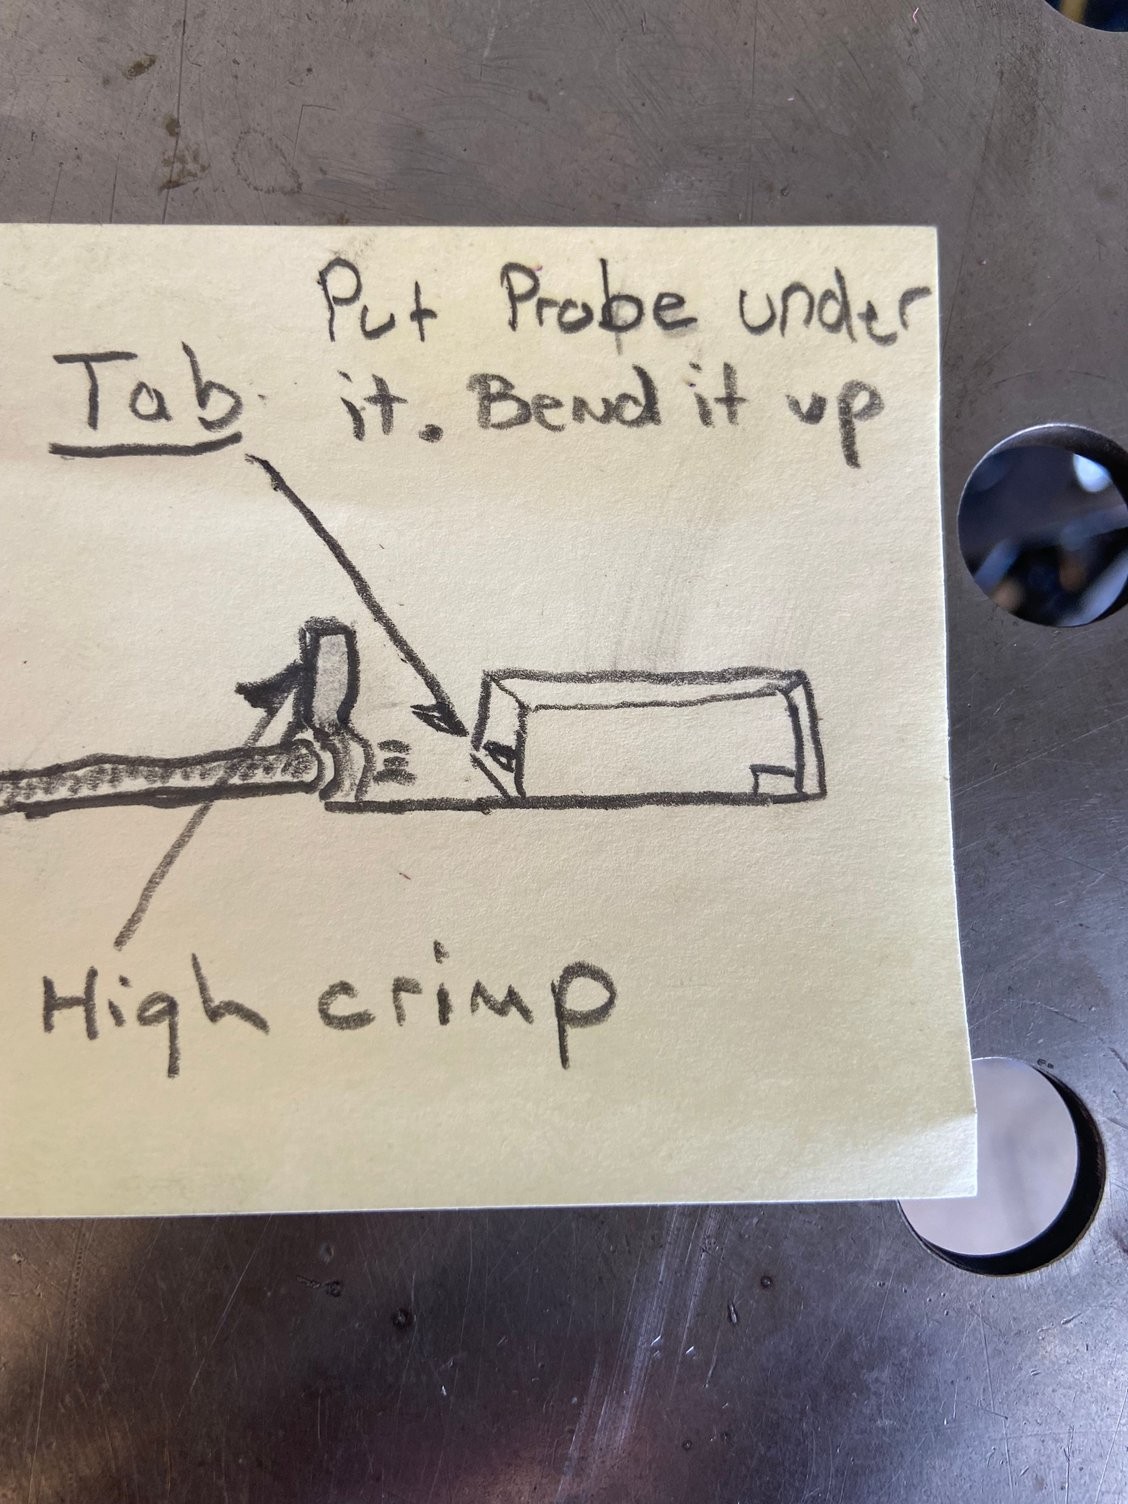 Diagram Showing Probe Re-bending OBD2 Connector Terminal Tab
Using a fine probe, gently insert it into the connector terminal and locate the internal metal tab. Carefully bend the tab upwards to increase the contact pressure. It’s essential to be gentle here to avoid breaking the delicate metal. You’re aiming to restore the tab’s original shape, allowing it to grip the OBD2 scanner pins firmly.
After rebending each terminal tab, carefully reinsert the wires back into their original positions in the OBD2 connector housing. You should hear or feel a click as the terminal locks back into place. Again, avoid forcing the wires; if they don’t go in smoothly, double-check the terminal alignment and ensure the plastic retainer clip is correctly positioned. Small bent nose pliers can be helpful for delicate manipulation, but be cautious not to damage the wire crimp.
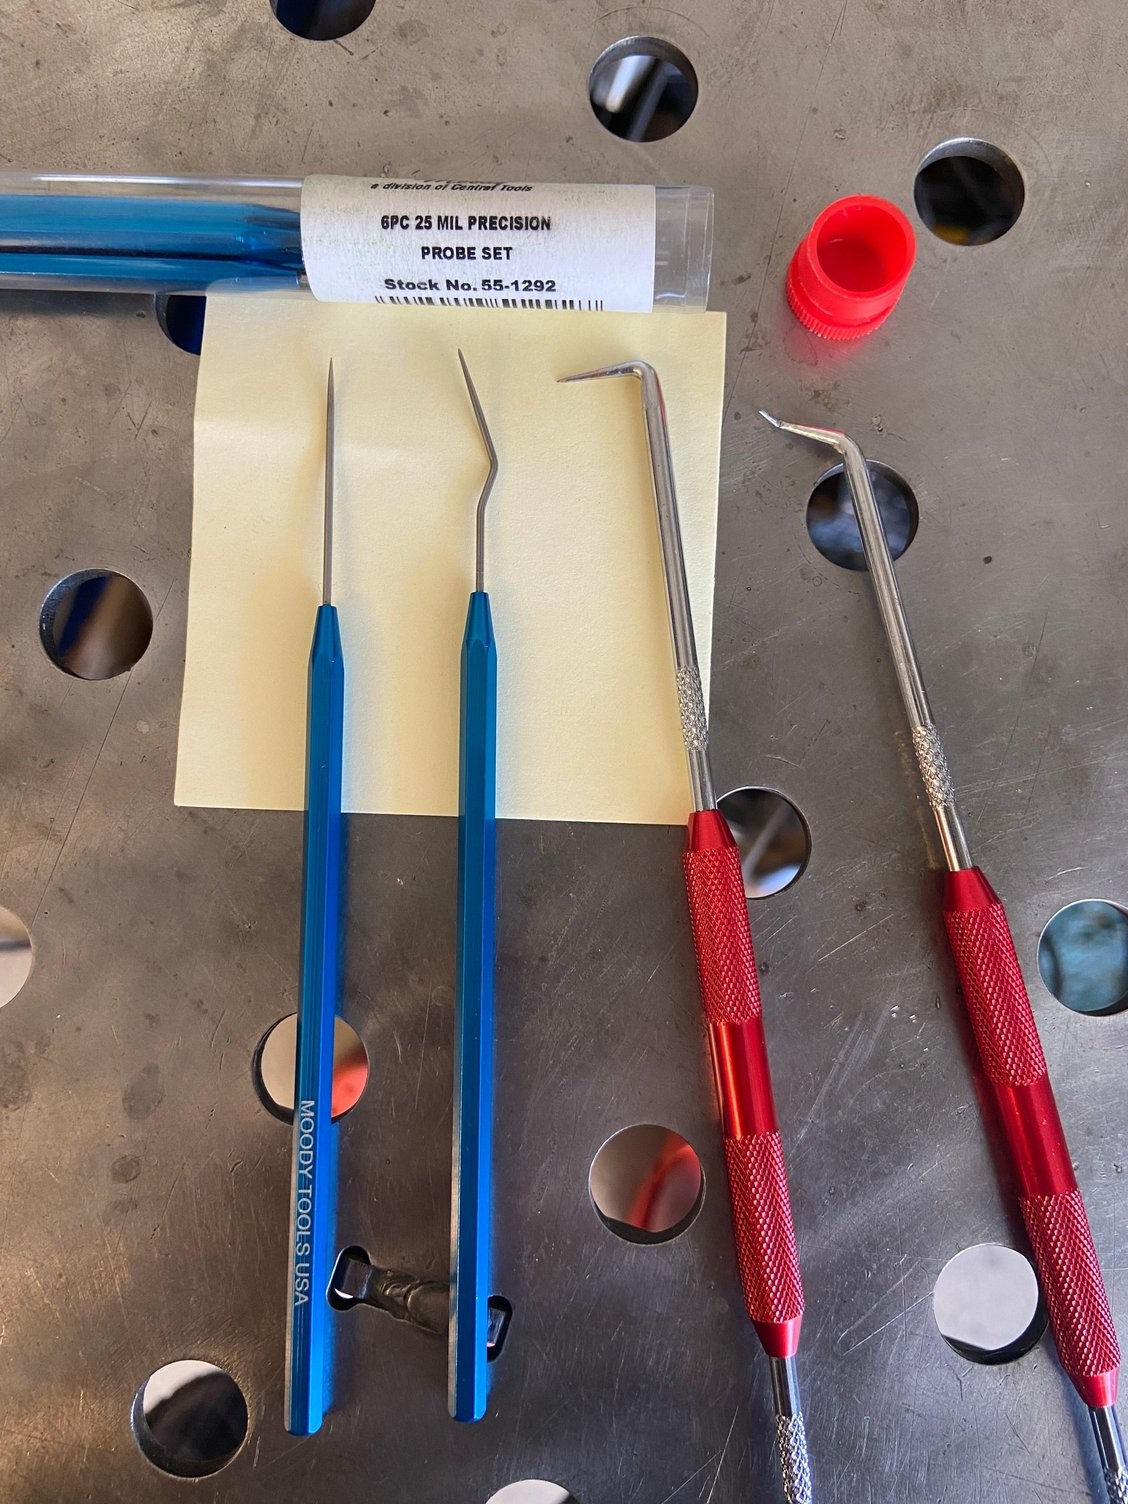 Probes Suitable for OBD2 Connector Terminal Repair
These specialized probes are ideal for this type of delicate work. Finally, reattach the OBD2 port to its mounting bracket. Test the connection with your OBD2 scanner to ensure it now fits snugly and provides a reliable connection.
This DIY fix is a temporary solution. For a more permanent resolution, consider replacing the OBD2 connector and terminals. However, this method can effectively restore a secure connection, allowing you to perform necessary vehicle diagnostics. If you are uncomfortable performing this repair, seeking professional assistance is always recommended.