For those of us who rely on 12V accessories, the need for readily available power outlets in our vehicles is undeniable. If you’ve found yourself wishing for an extra 12V socket in your newer GMC Sierra or Silverado, especially models around 2014 and onwards, you’re not alone. While modern trucks come equipped with various USB ports and sometimes even household outlets, the robust and versatile 12V outlet remains a vital connection for many devices, from RV GPS units to air compressors. This guide walks you through a straightforward DIY installation of an additional 12V power outlet, drawing power from your truck’s reliable 12V supply system, similar to what powers your OBD2 port.
Parts You’ll Need for Your 12V Outlet Installation
Before diving into the installation, gather these essential components. Using genuine GM parts ensures compatibility and a factory-like finish.
- Receptacle – Part # 25774623: This is the 12V outlet socket itself.
- Retainer – Part # 84166962: This piece secures the receptacle in place within the dashboard trim.
- 12 Gauge Wire: Sufficient length to reach from the fuse panel to your desired outlet location. Red for positive, black for negative is recommended for standard practice.
- Standard Connectors: Appropriate connectors for tapping into the fuse panel and connecting to the 12V receptacle. Crimp connectors or solder and heat shrink tubing can be used.
- In-line Fuse: Choose a fuse amperage appropriate for your intended accessories (e.g., 10-15A is often suitable for general use). This protects your vehicle’s electrical system.
 GM 12V outlet receptacle and retainer parts for vehicle installation
Step-by-Step Guide to Installing a 12V Outlet
Follow these steps to safely and effectively add a 12V outlet to your GMC Sierra or Silverado. This installation focuses on tapping into the driver’s side fuse panel for a convenient and readily accessible power source.
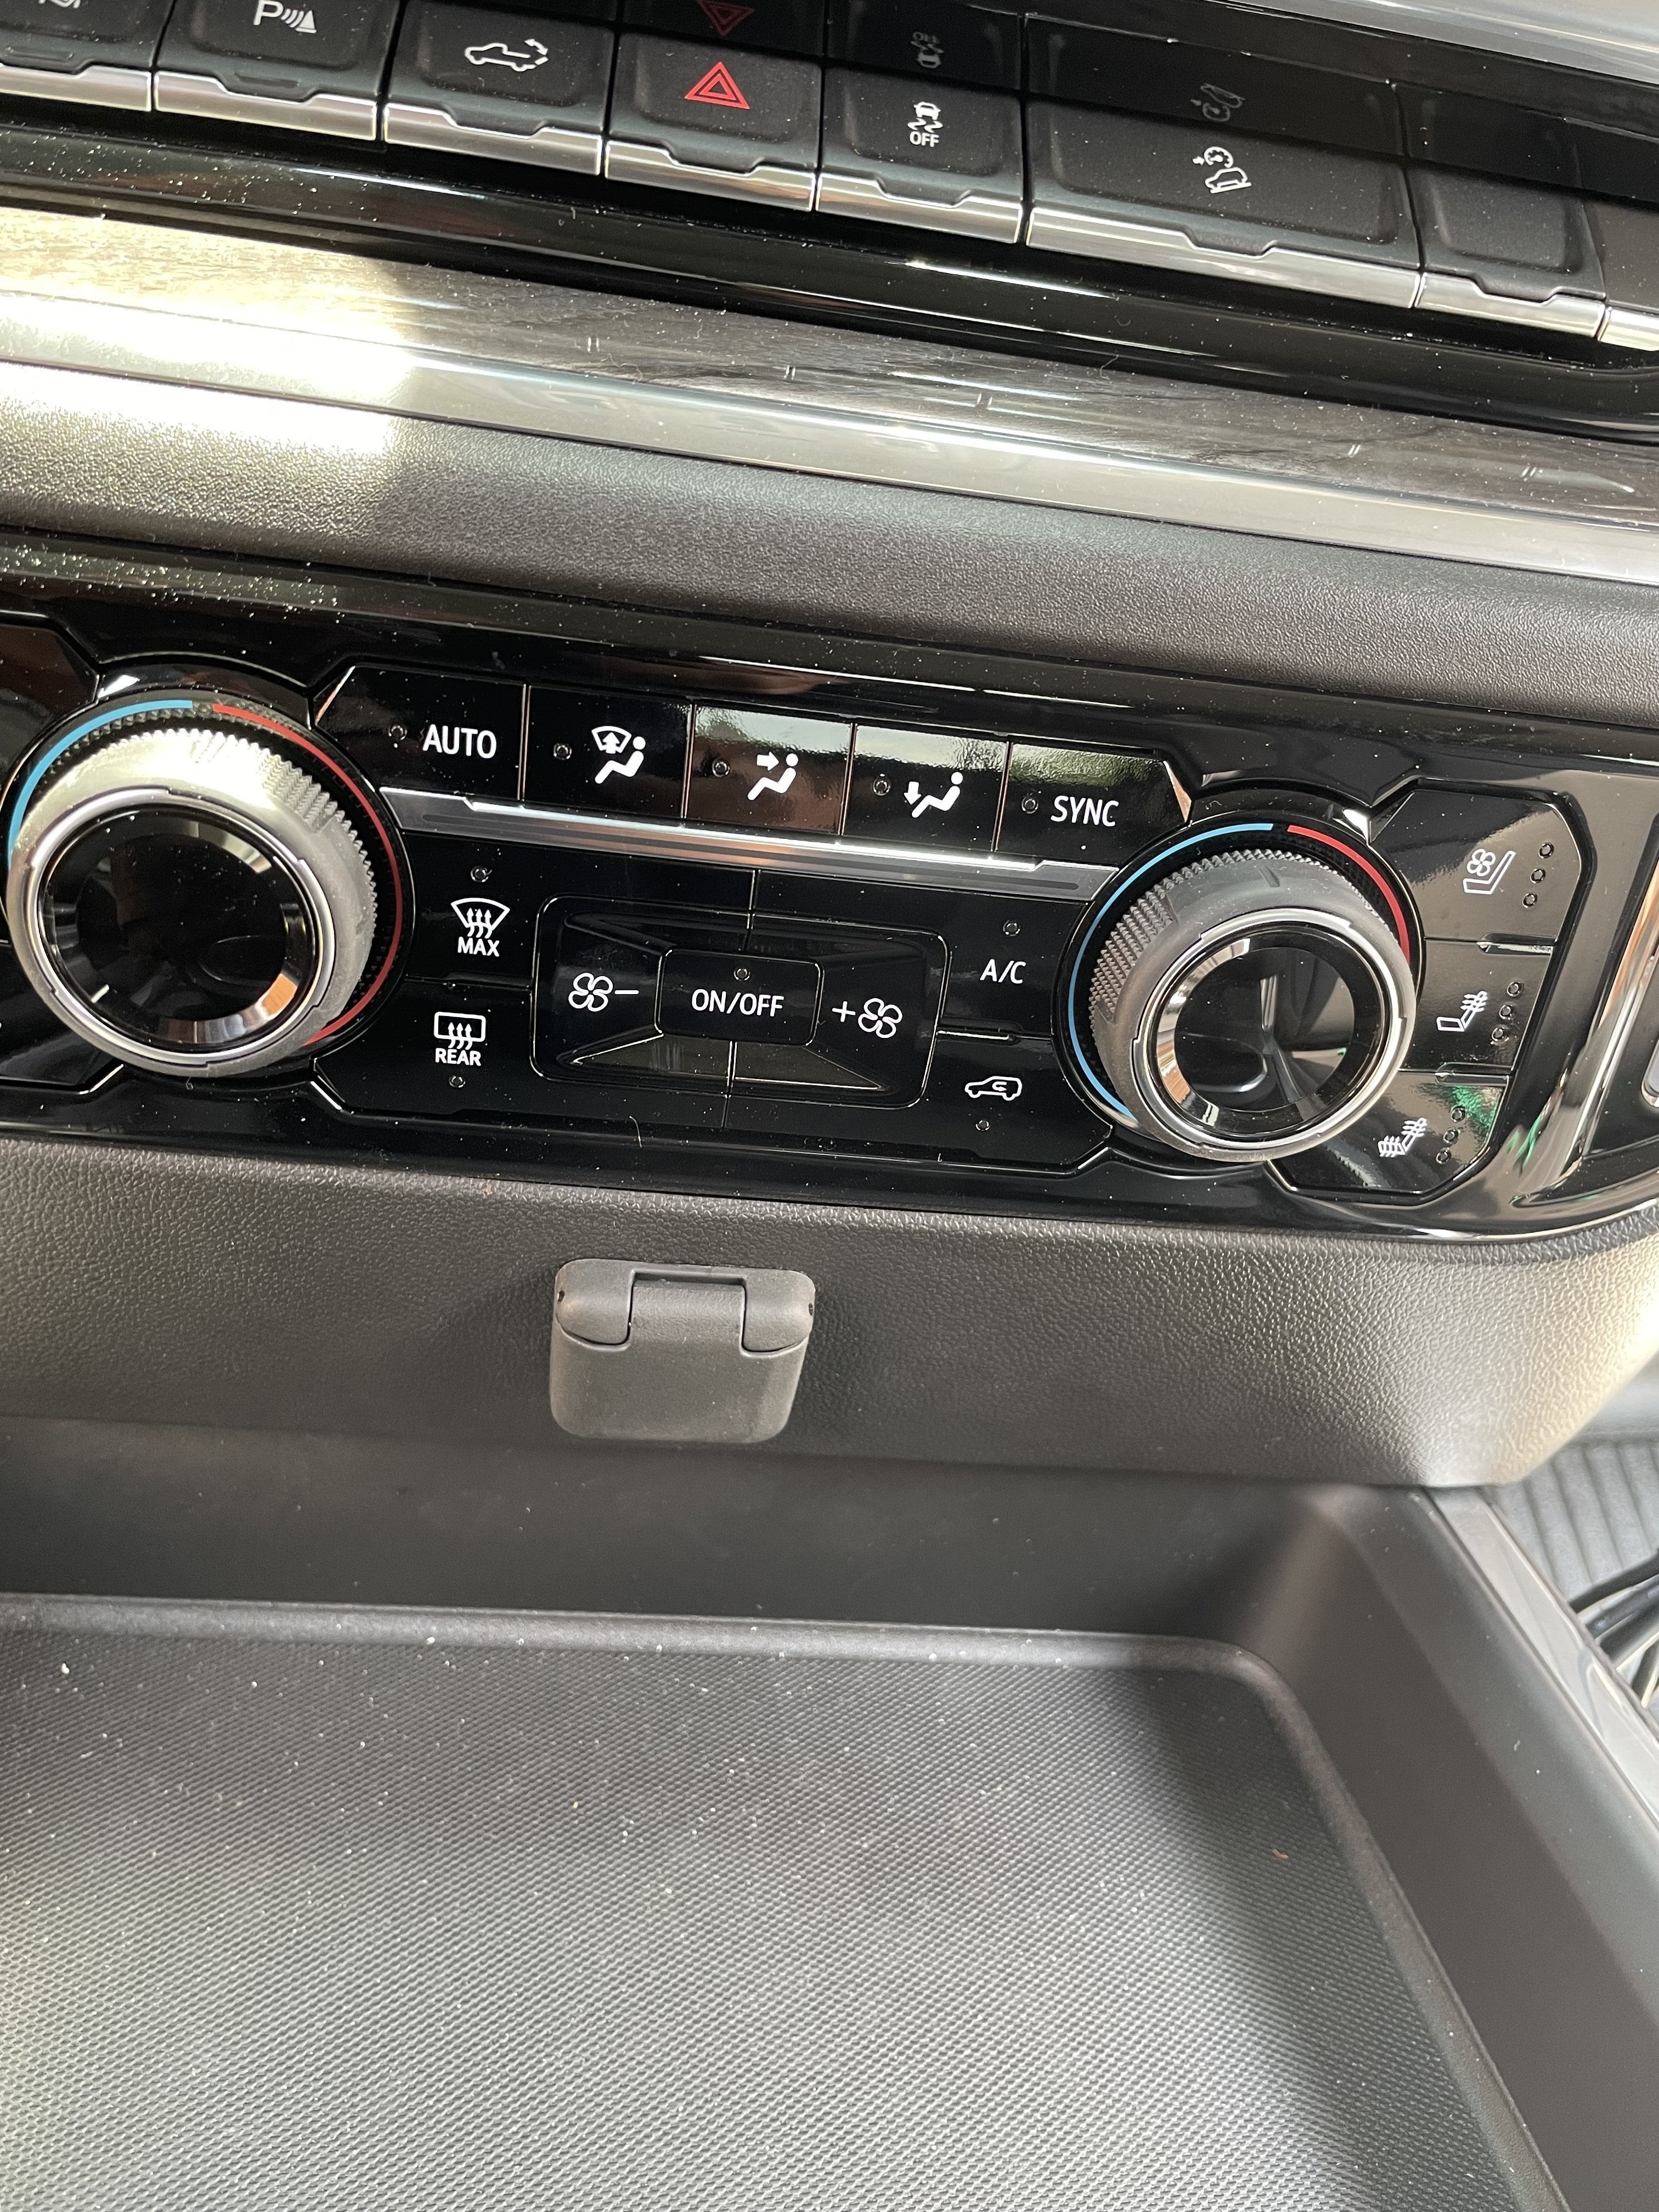
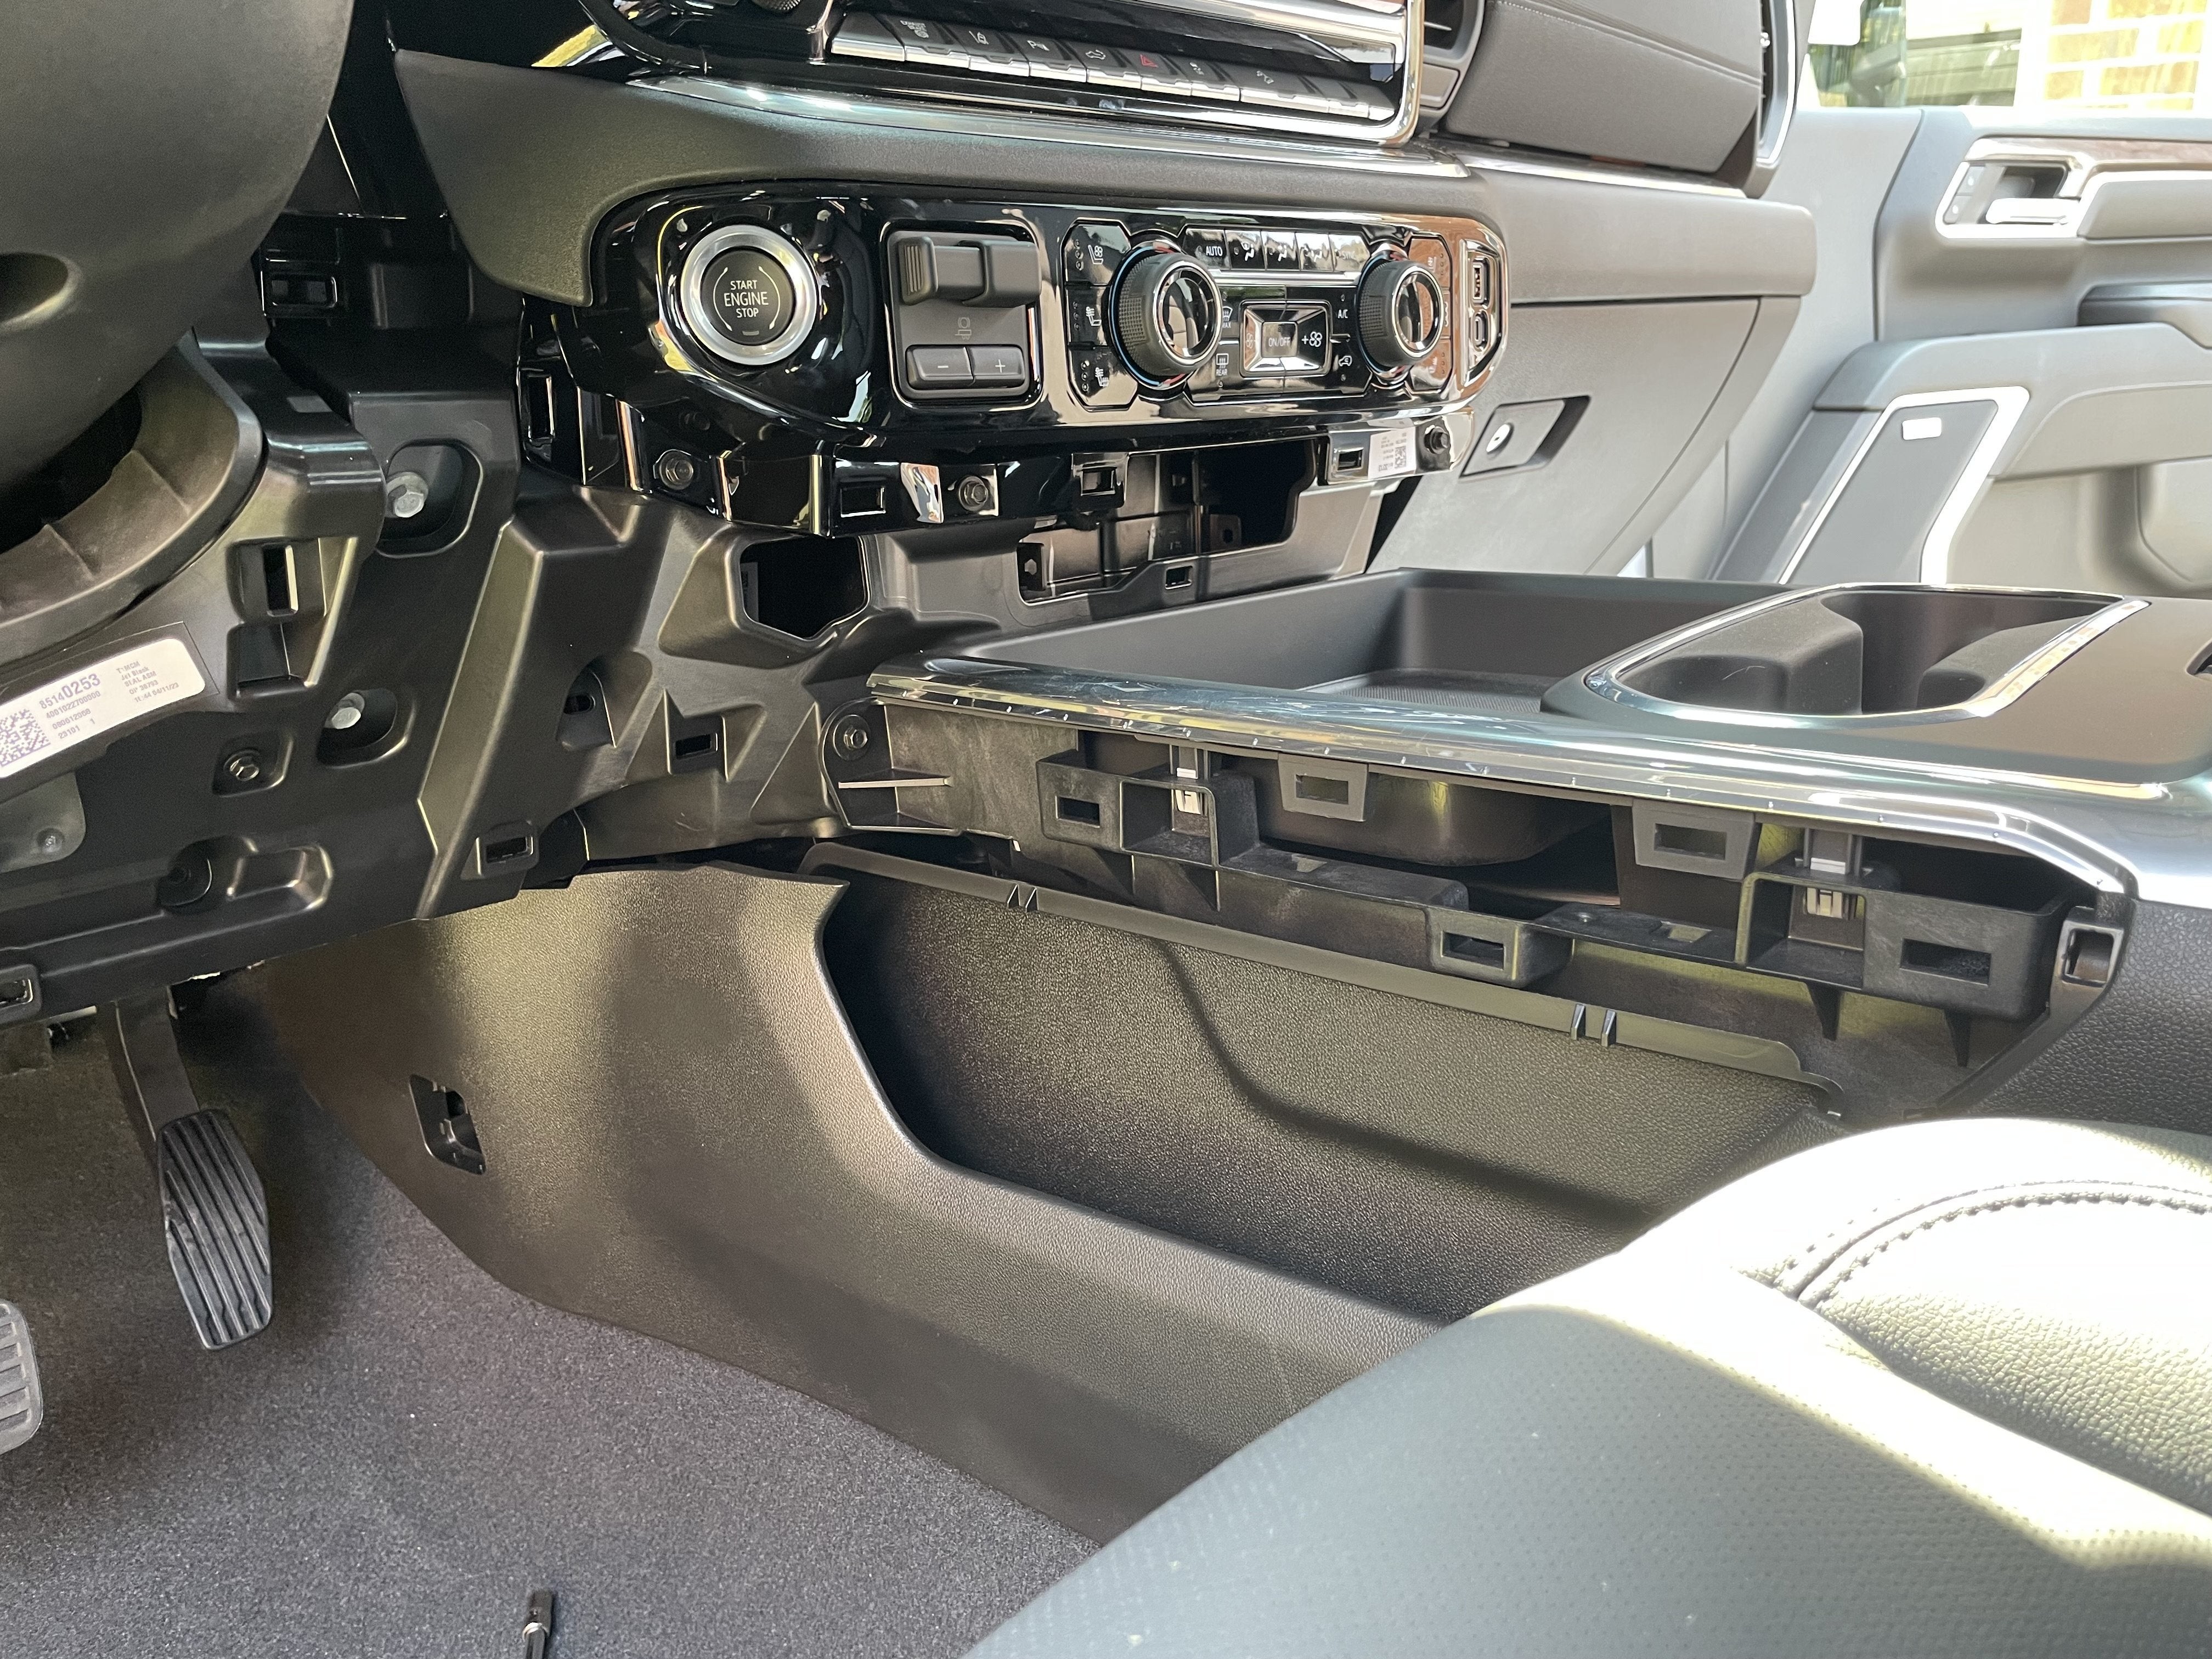
- Prepare the Dash: Begin by accessing the dashboard trim panel where you plan to install the 12V outlet.
- On the driver’s side, carefully remove the trim piece that covers the driver-side fuse panel. This usually pries off with gentle pressure.
- Locate and remove the 7mm bolt situated on the lower center dash piece.
- Remove the top side console trim pieces. These are often silver or a contrasting color on many truck models. For easier removal, start by removing the driver’s side trim first.
- Repeat the removal of the console top side piece on the passenger side after opening the glove box.
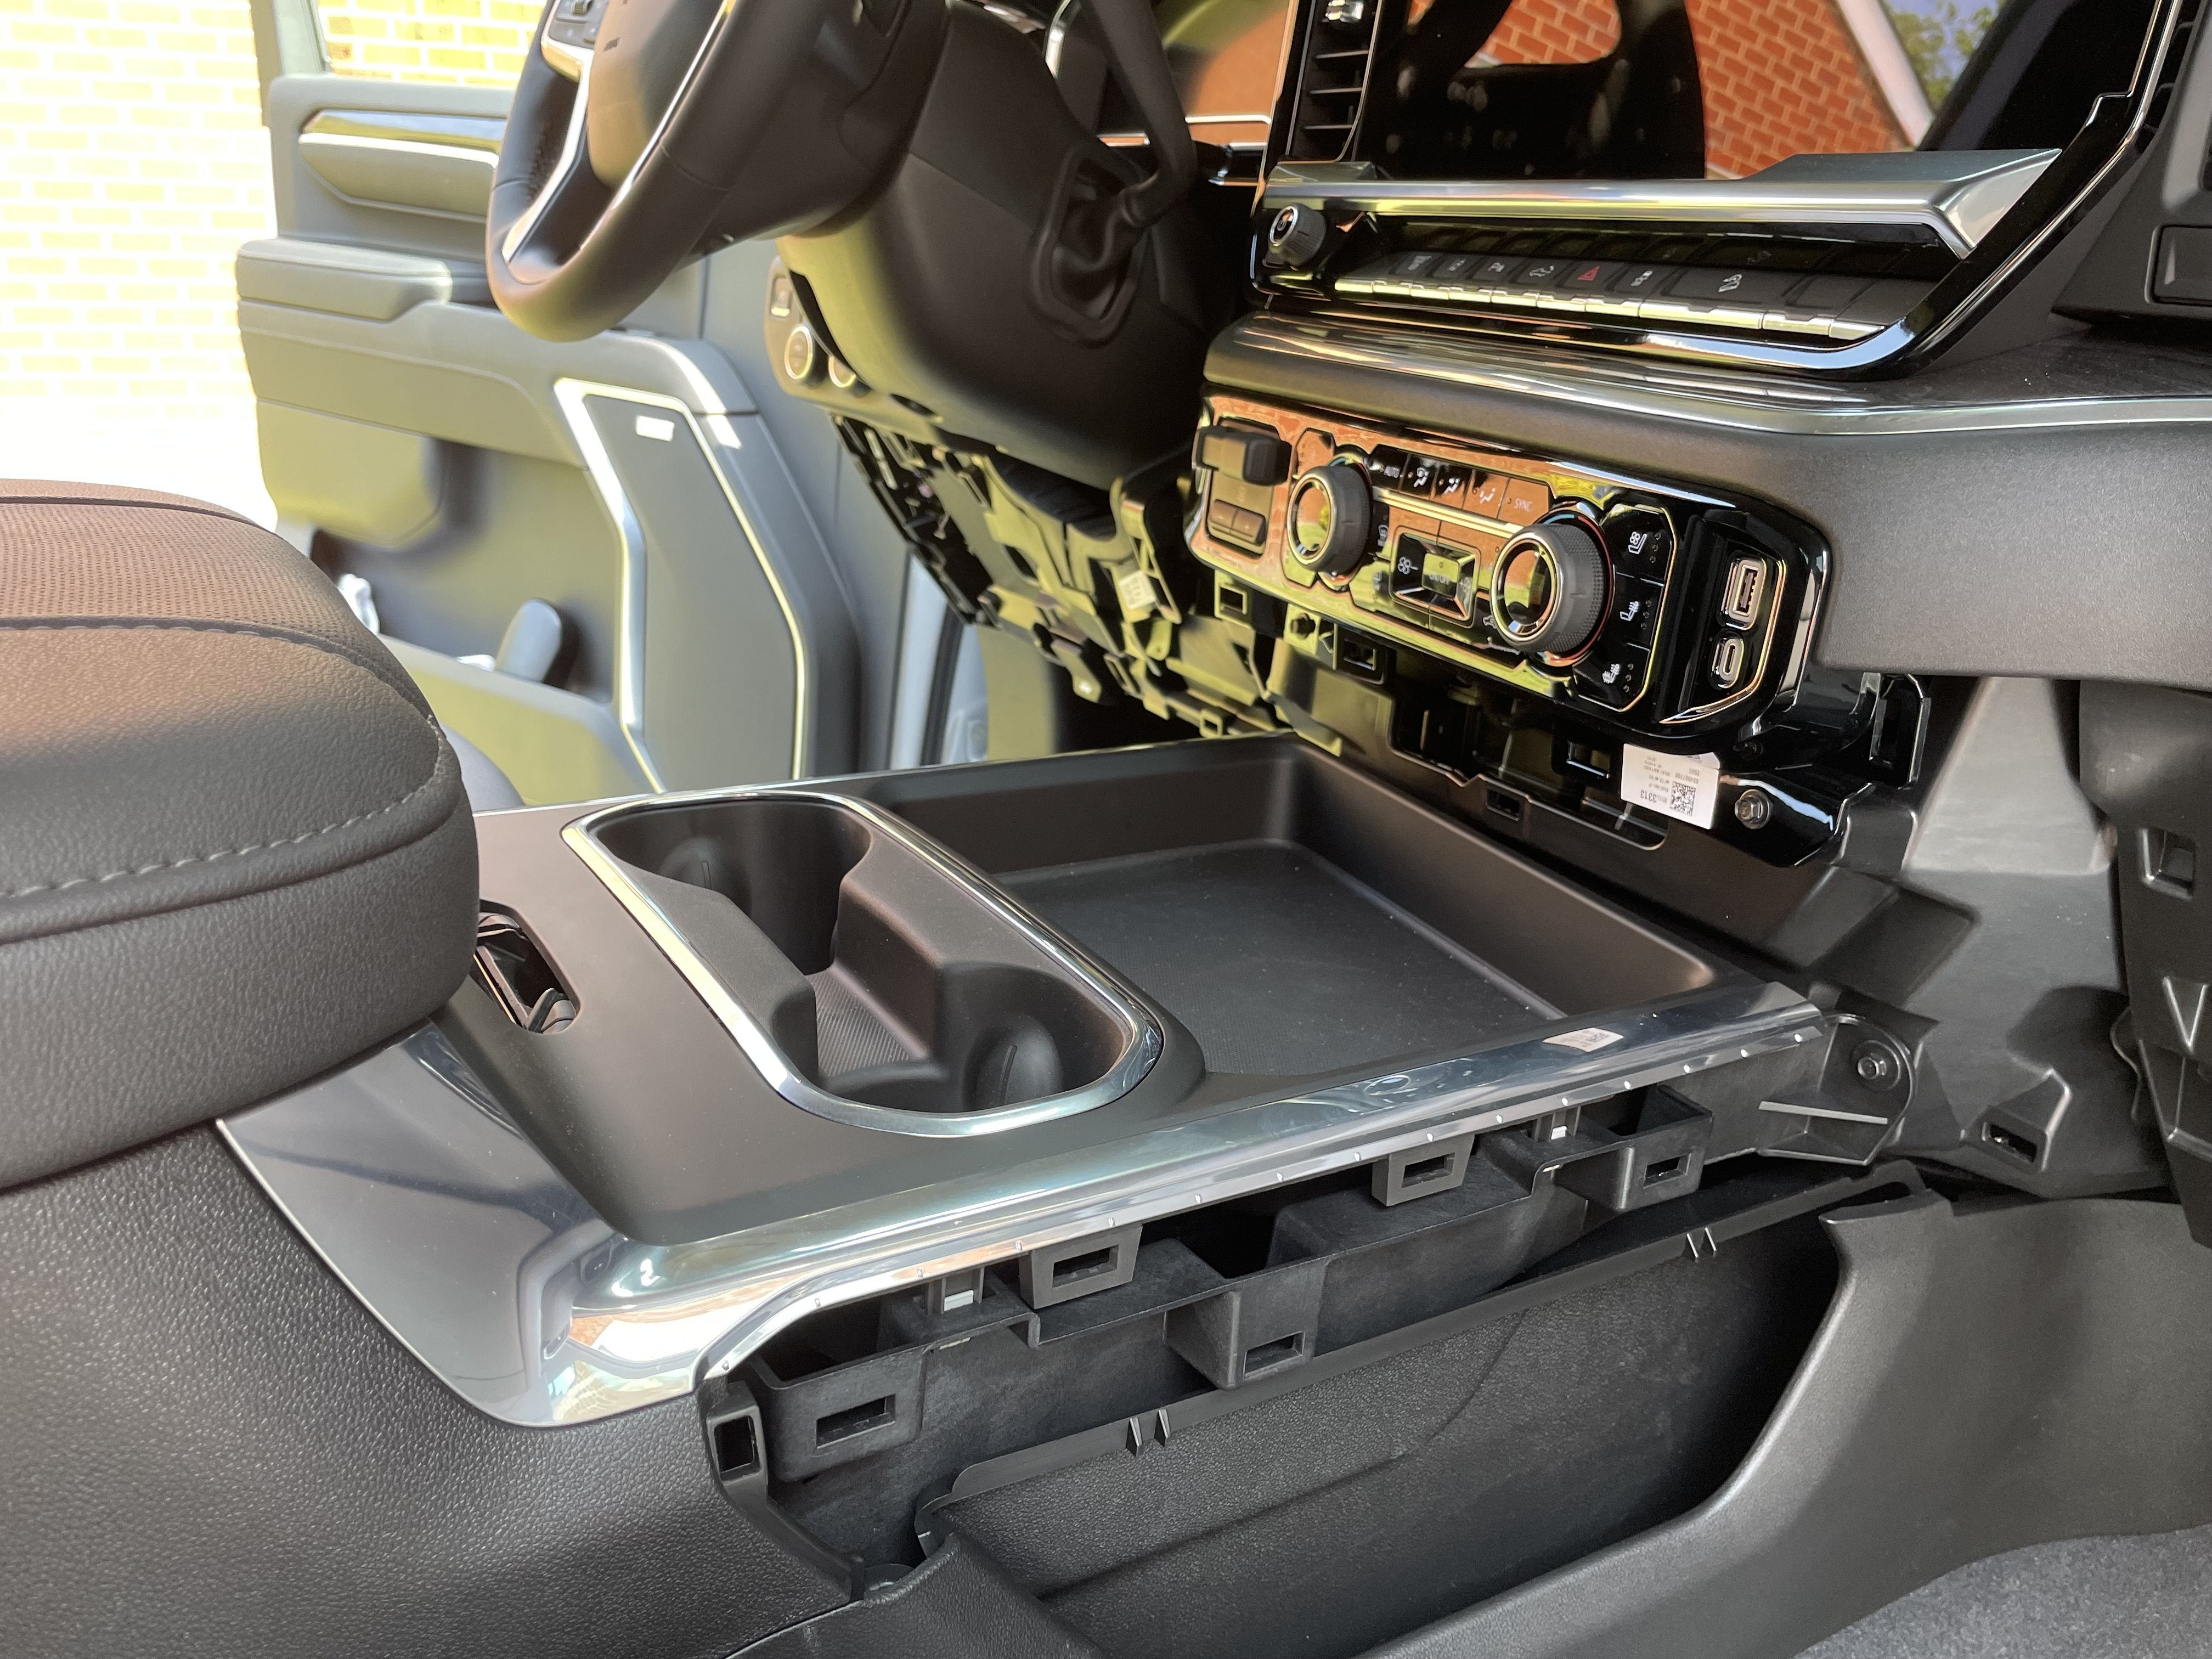
- With the top console trim pieces removed, start from the lower section near the glove box and gently but firmly pull the main trim piece towards you, working your way across to the driver’s side. This piece is held in place by clips.
 Dashboard trim panel removal process in a GMC truck
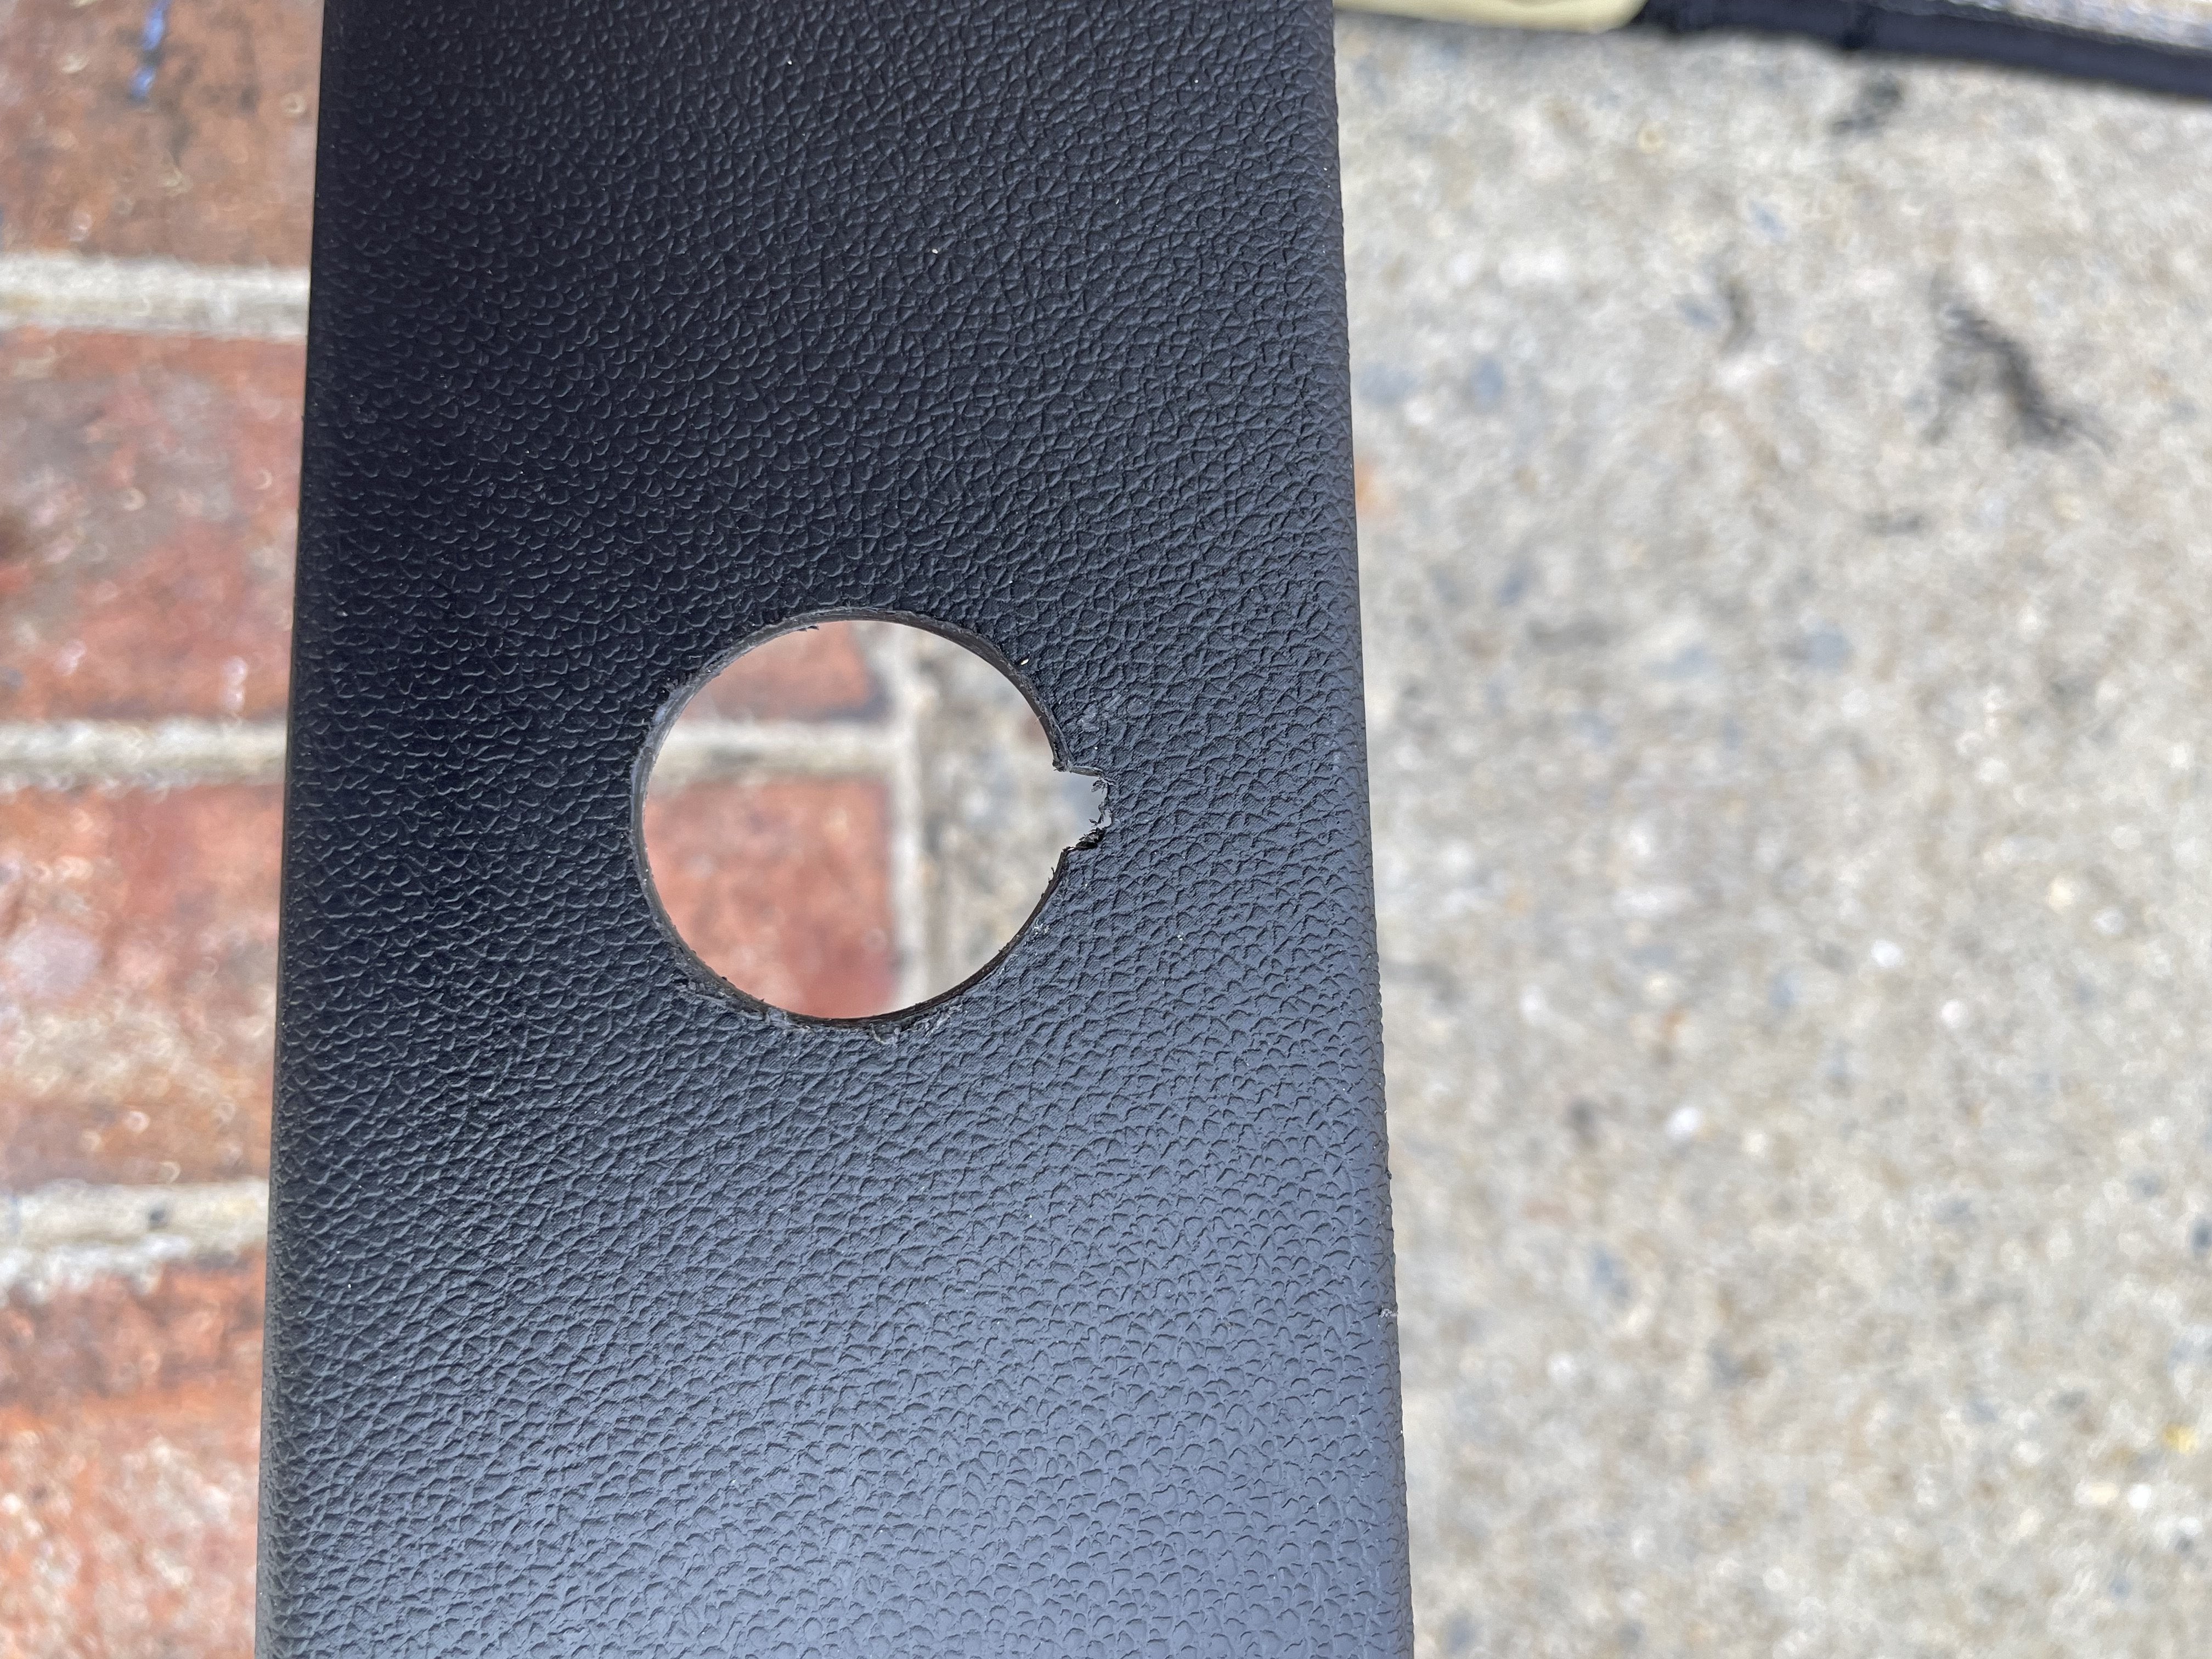
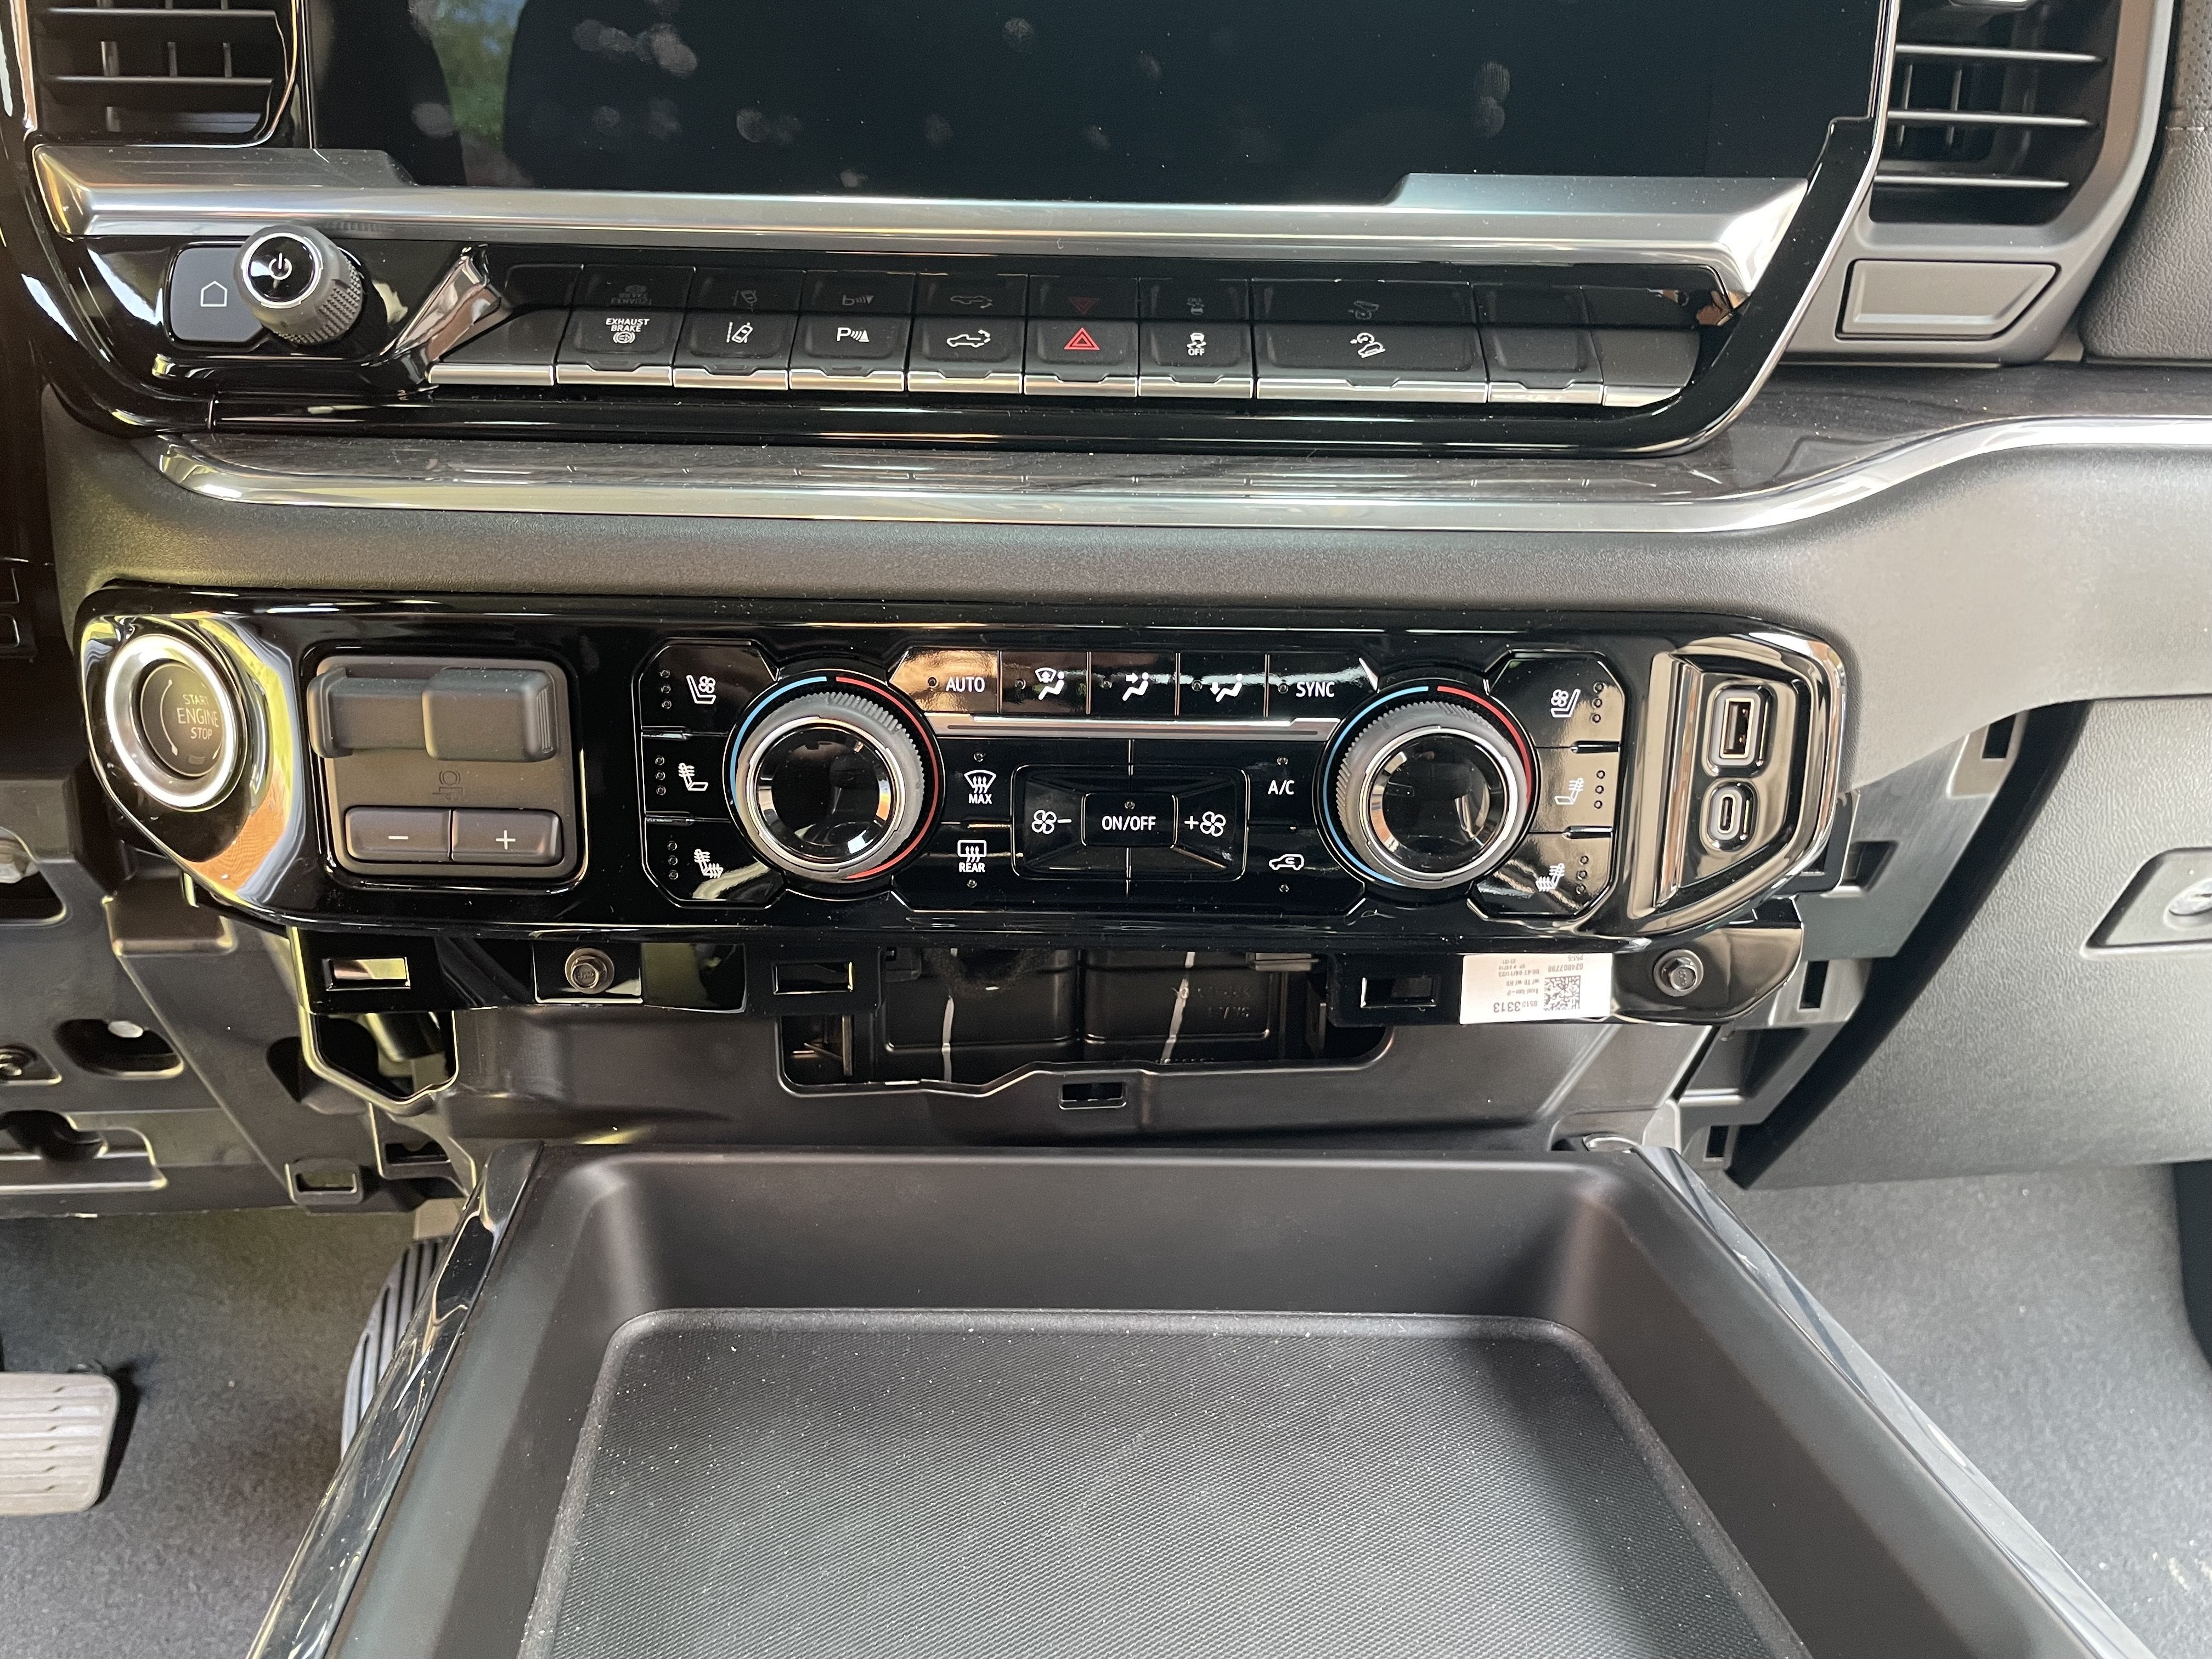
- Drill the Outlet Hole: Once the trim piece is detached, carefully select your desired location for the 12V outlet. A spot under the radio is often a practical and discreet location.
- Using a drill, create a 1-inch (25mm) hole at your chosen spot in the trim piece.
- Enlarge the hole to approximately 27mm using a round grinding bit or a step drill bit, ensuring a snug fit for the 12V receptacle.
- File a small notch at the top center of the hole. This notch aligns with a corresponding feature on the 12V receptacle, ensuring correct orientation of the outlet cover.
 Drilling a hole in the dashboard trim for the 12V outlet
- Wire the 12V Outlet: Now, prepare the wiring for your new outlet.
- Run your 12-gauge wire from the driver’s side fuse panel area to the location of your drilled hole. Leave some extra length for flexibility.
- Attach connectors to both ends of your positive (red) and negative (black) wires.
 Wiring components for the 12V outlet installation
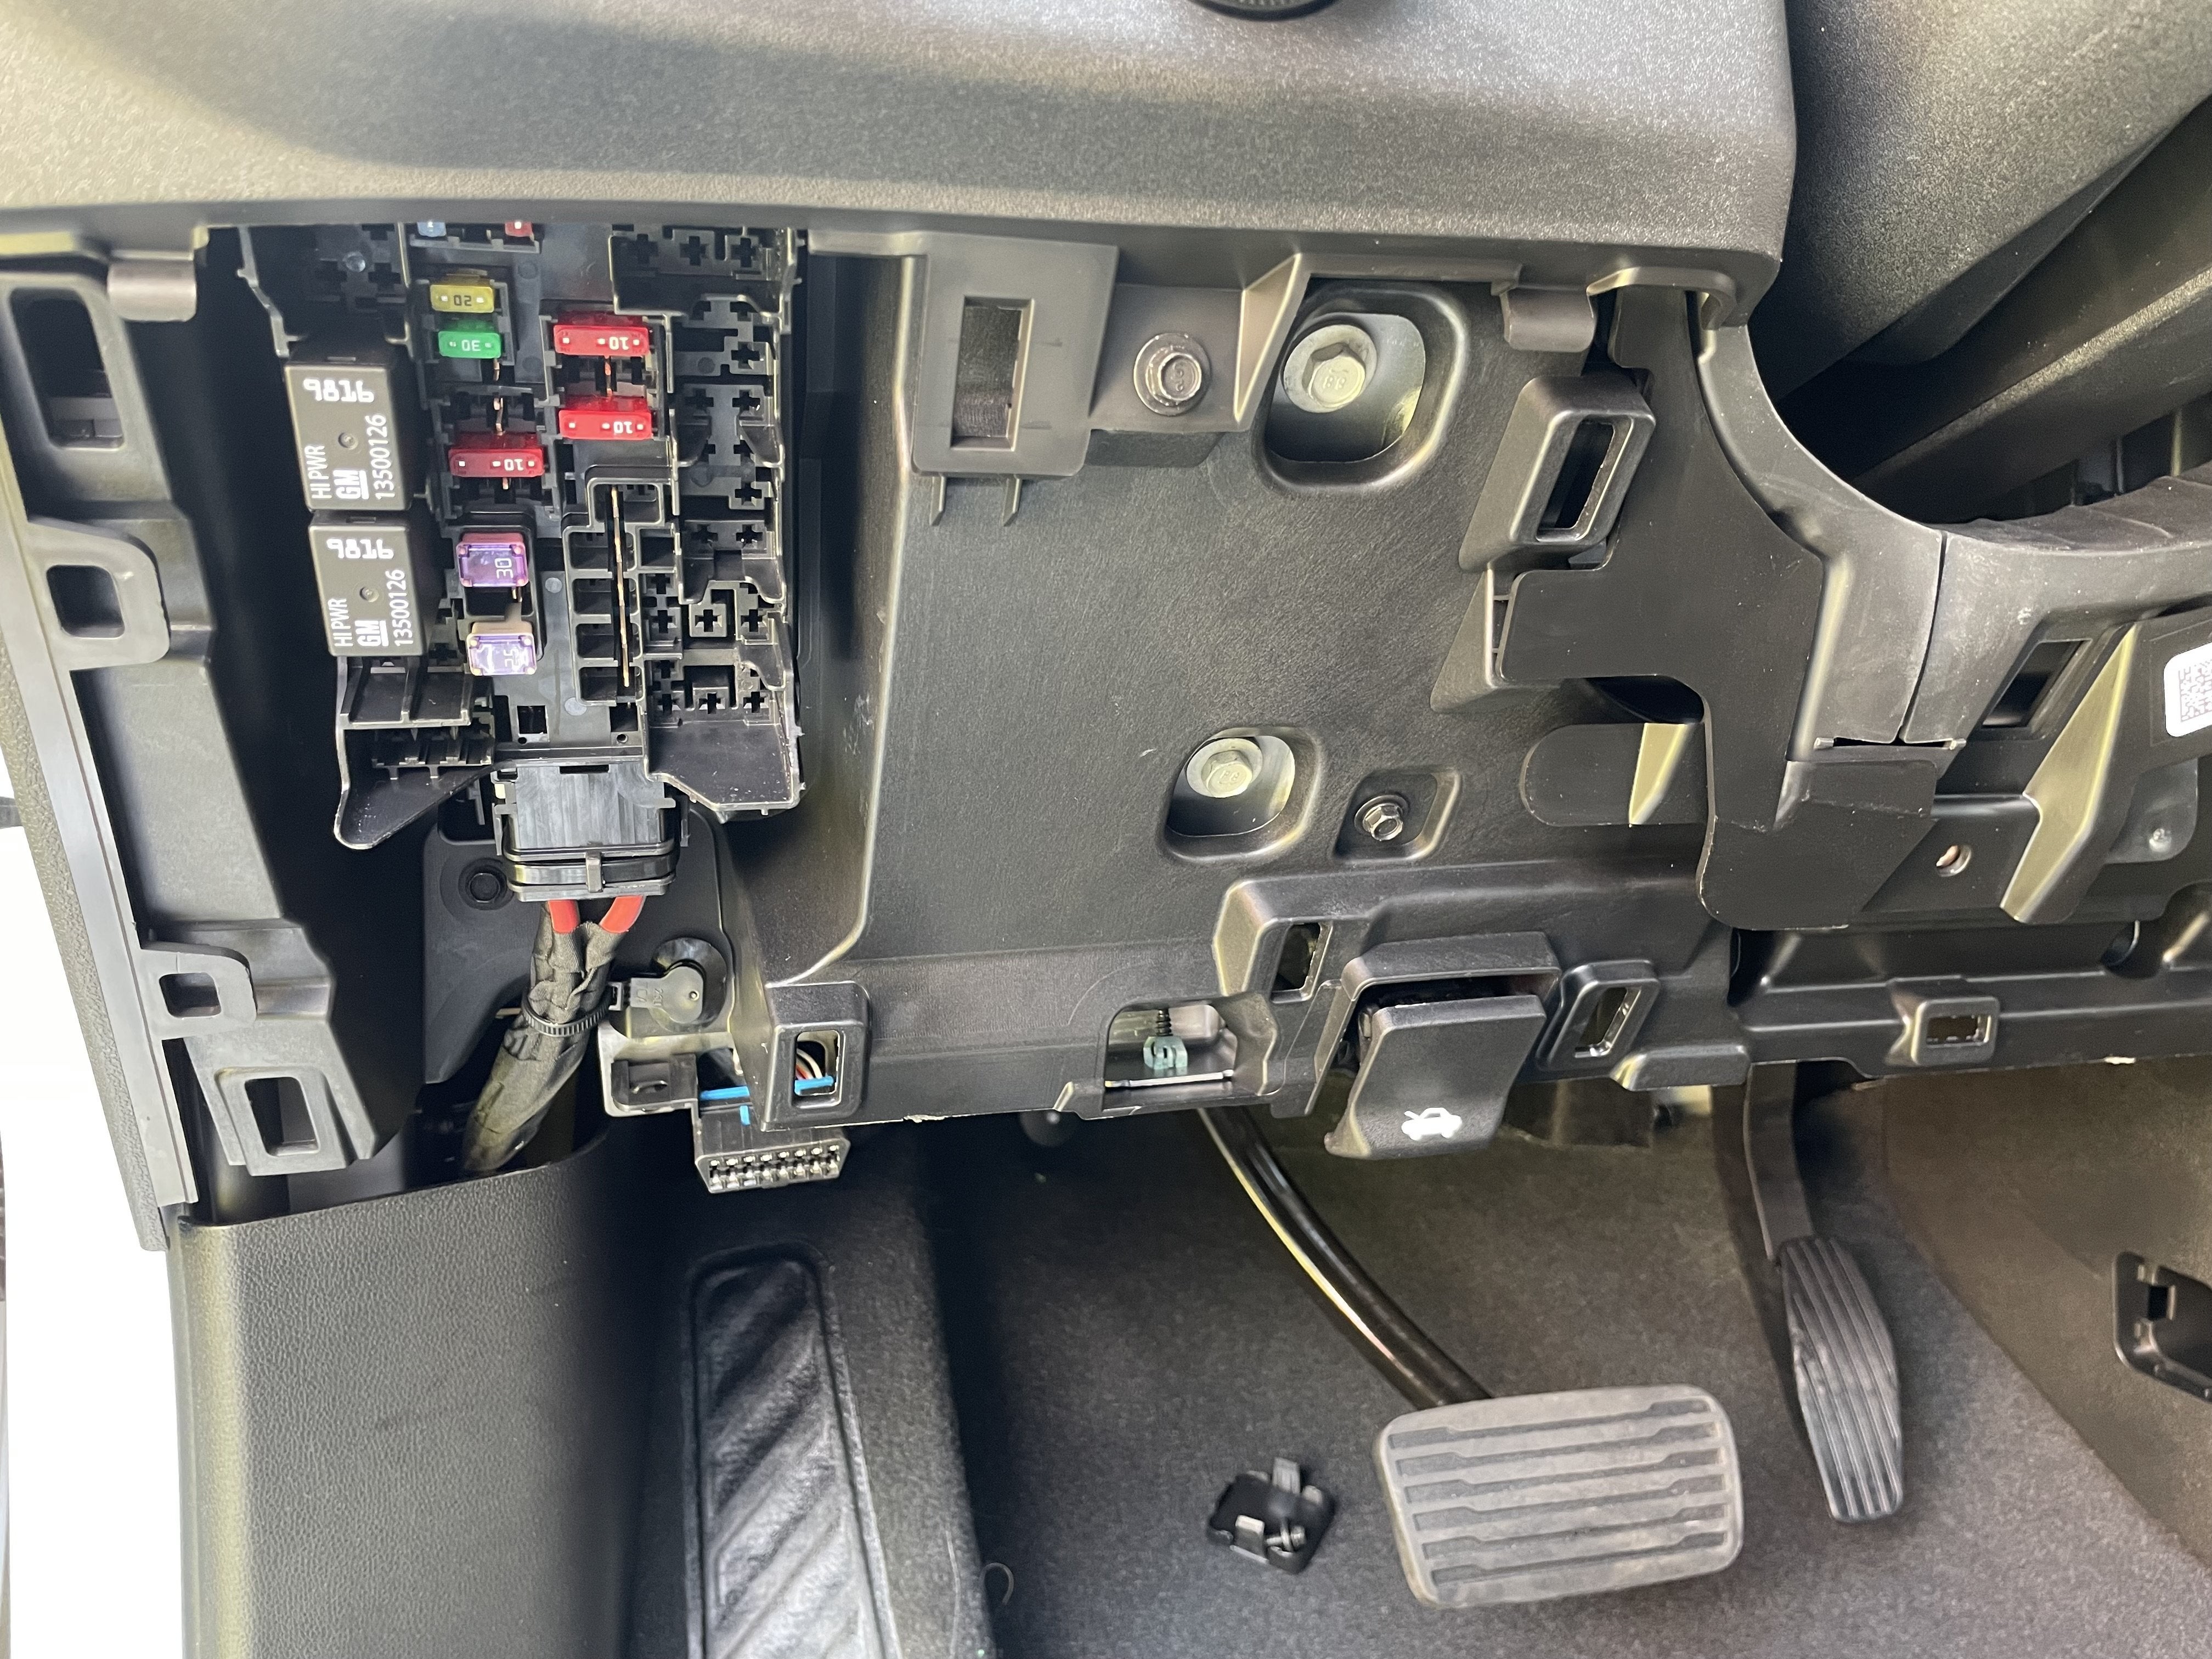
- Connect to Power and Ground: Establish the electrical connections for your new 12V outlet.
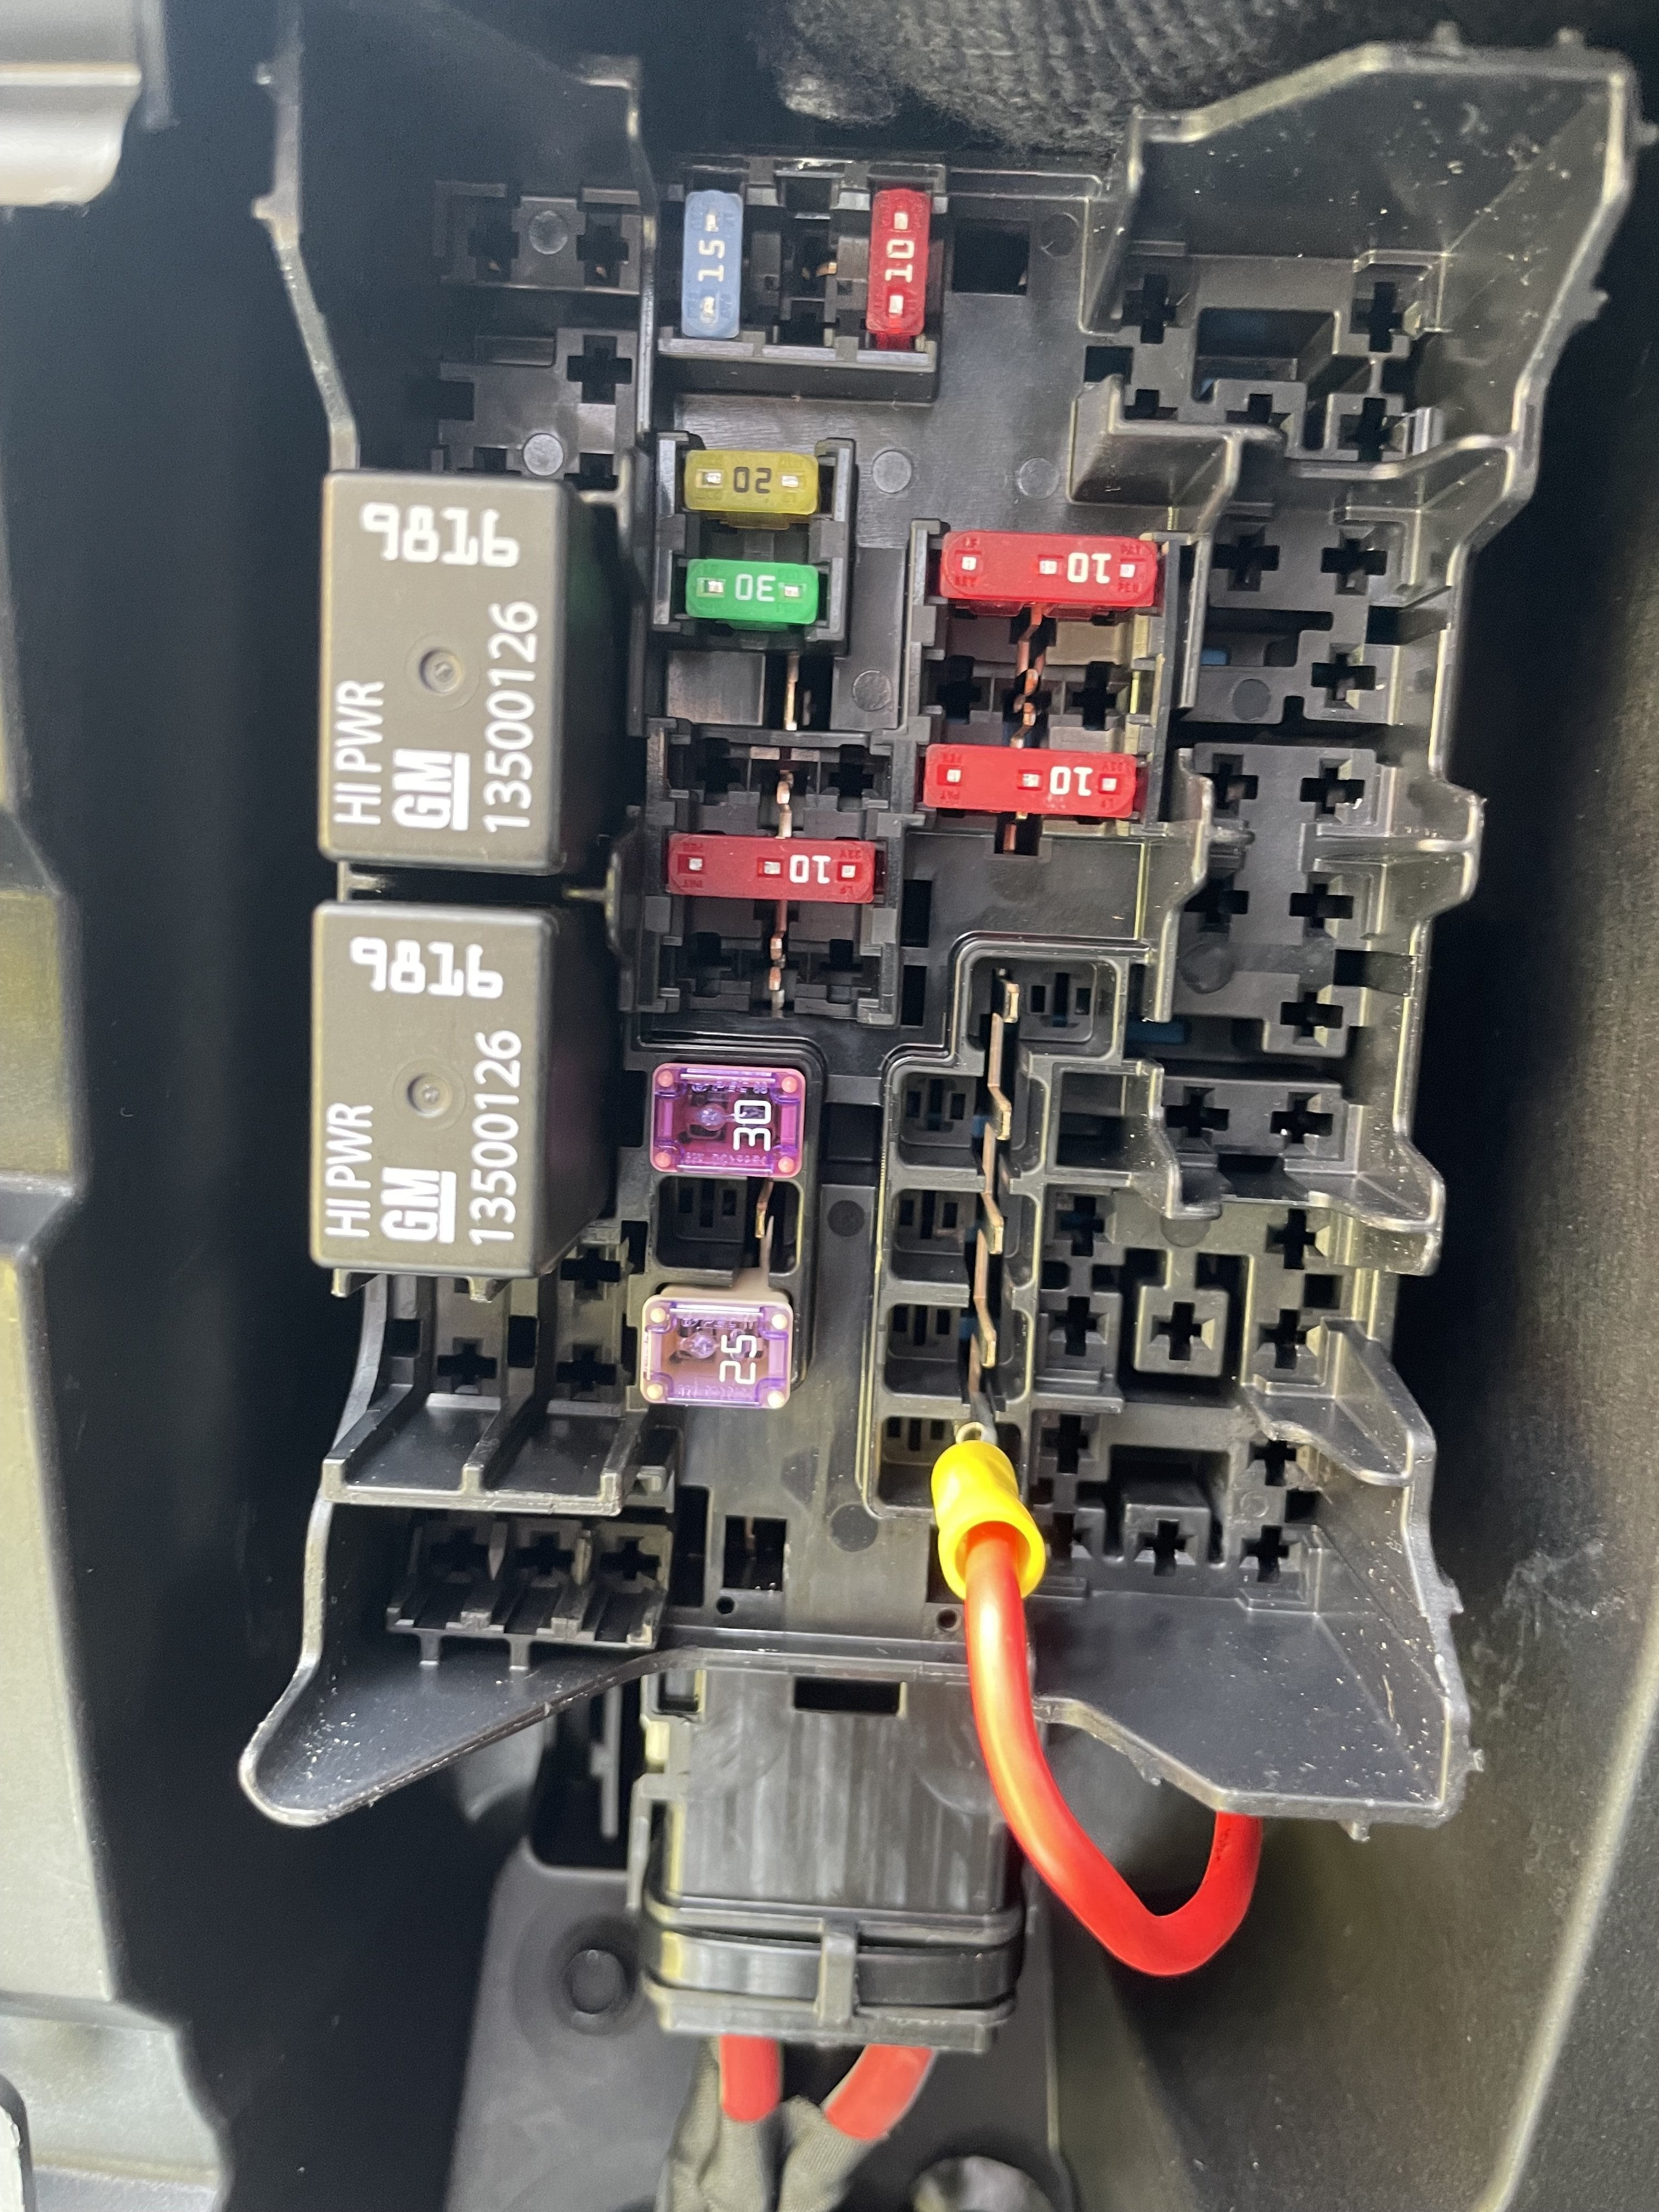
- Positive Connection: Locate the driver’s side fuse panel. Unlike the passenger side panel, it typically has several open, unutilized circuits. Choose an appropriate circuit and use a fuse tap or add-a-circuit connector (if needed, depending on your chosen fuse panel type and desired method) to create your positive connection, incorporating your in-line fuse for safety.
- Negative Connection: Find a suitable grounding point under the steering wheel. A bolt connected to the vehicle’s chassis is ideal. Securely attach the negative wire connector to this ground bolt.
 Fuse panel access for 12V power supply connection in truck
 Ground connection point under the steering wheel for negative terminal
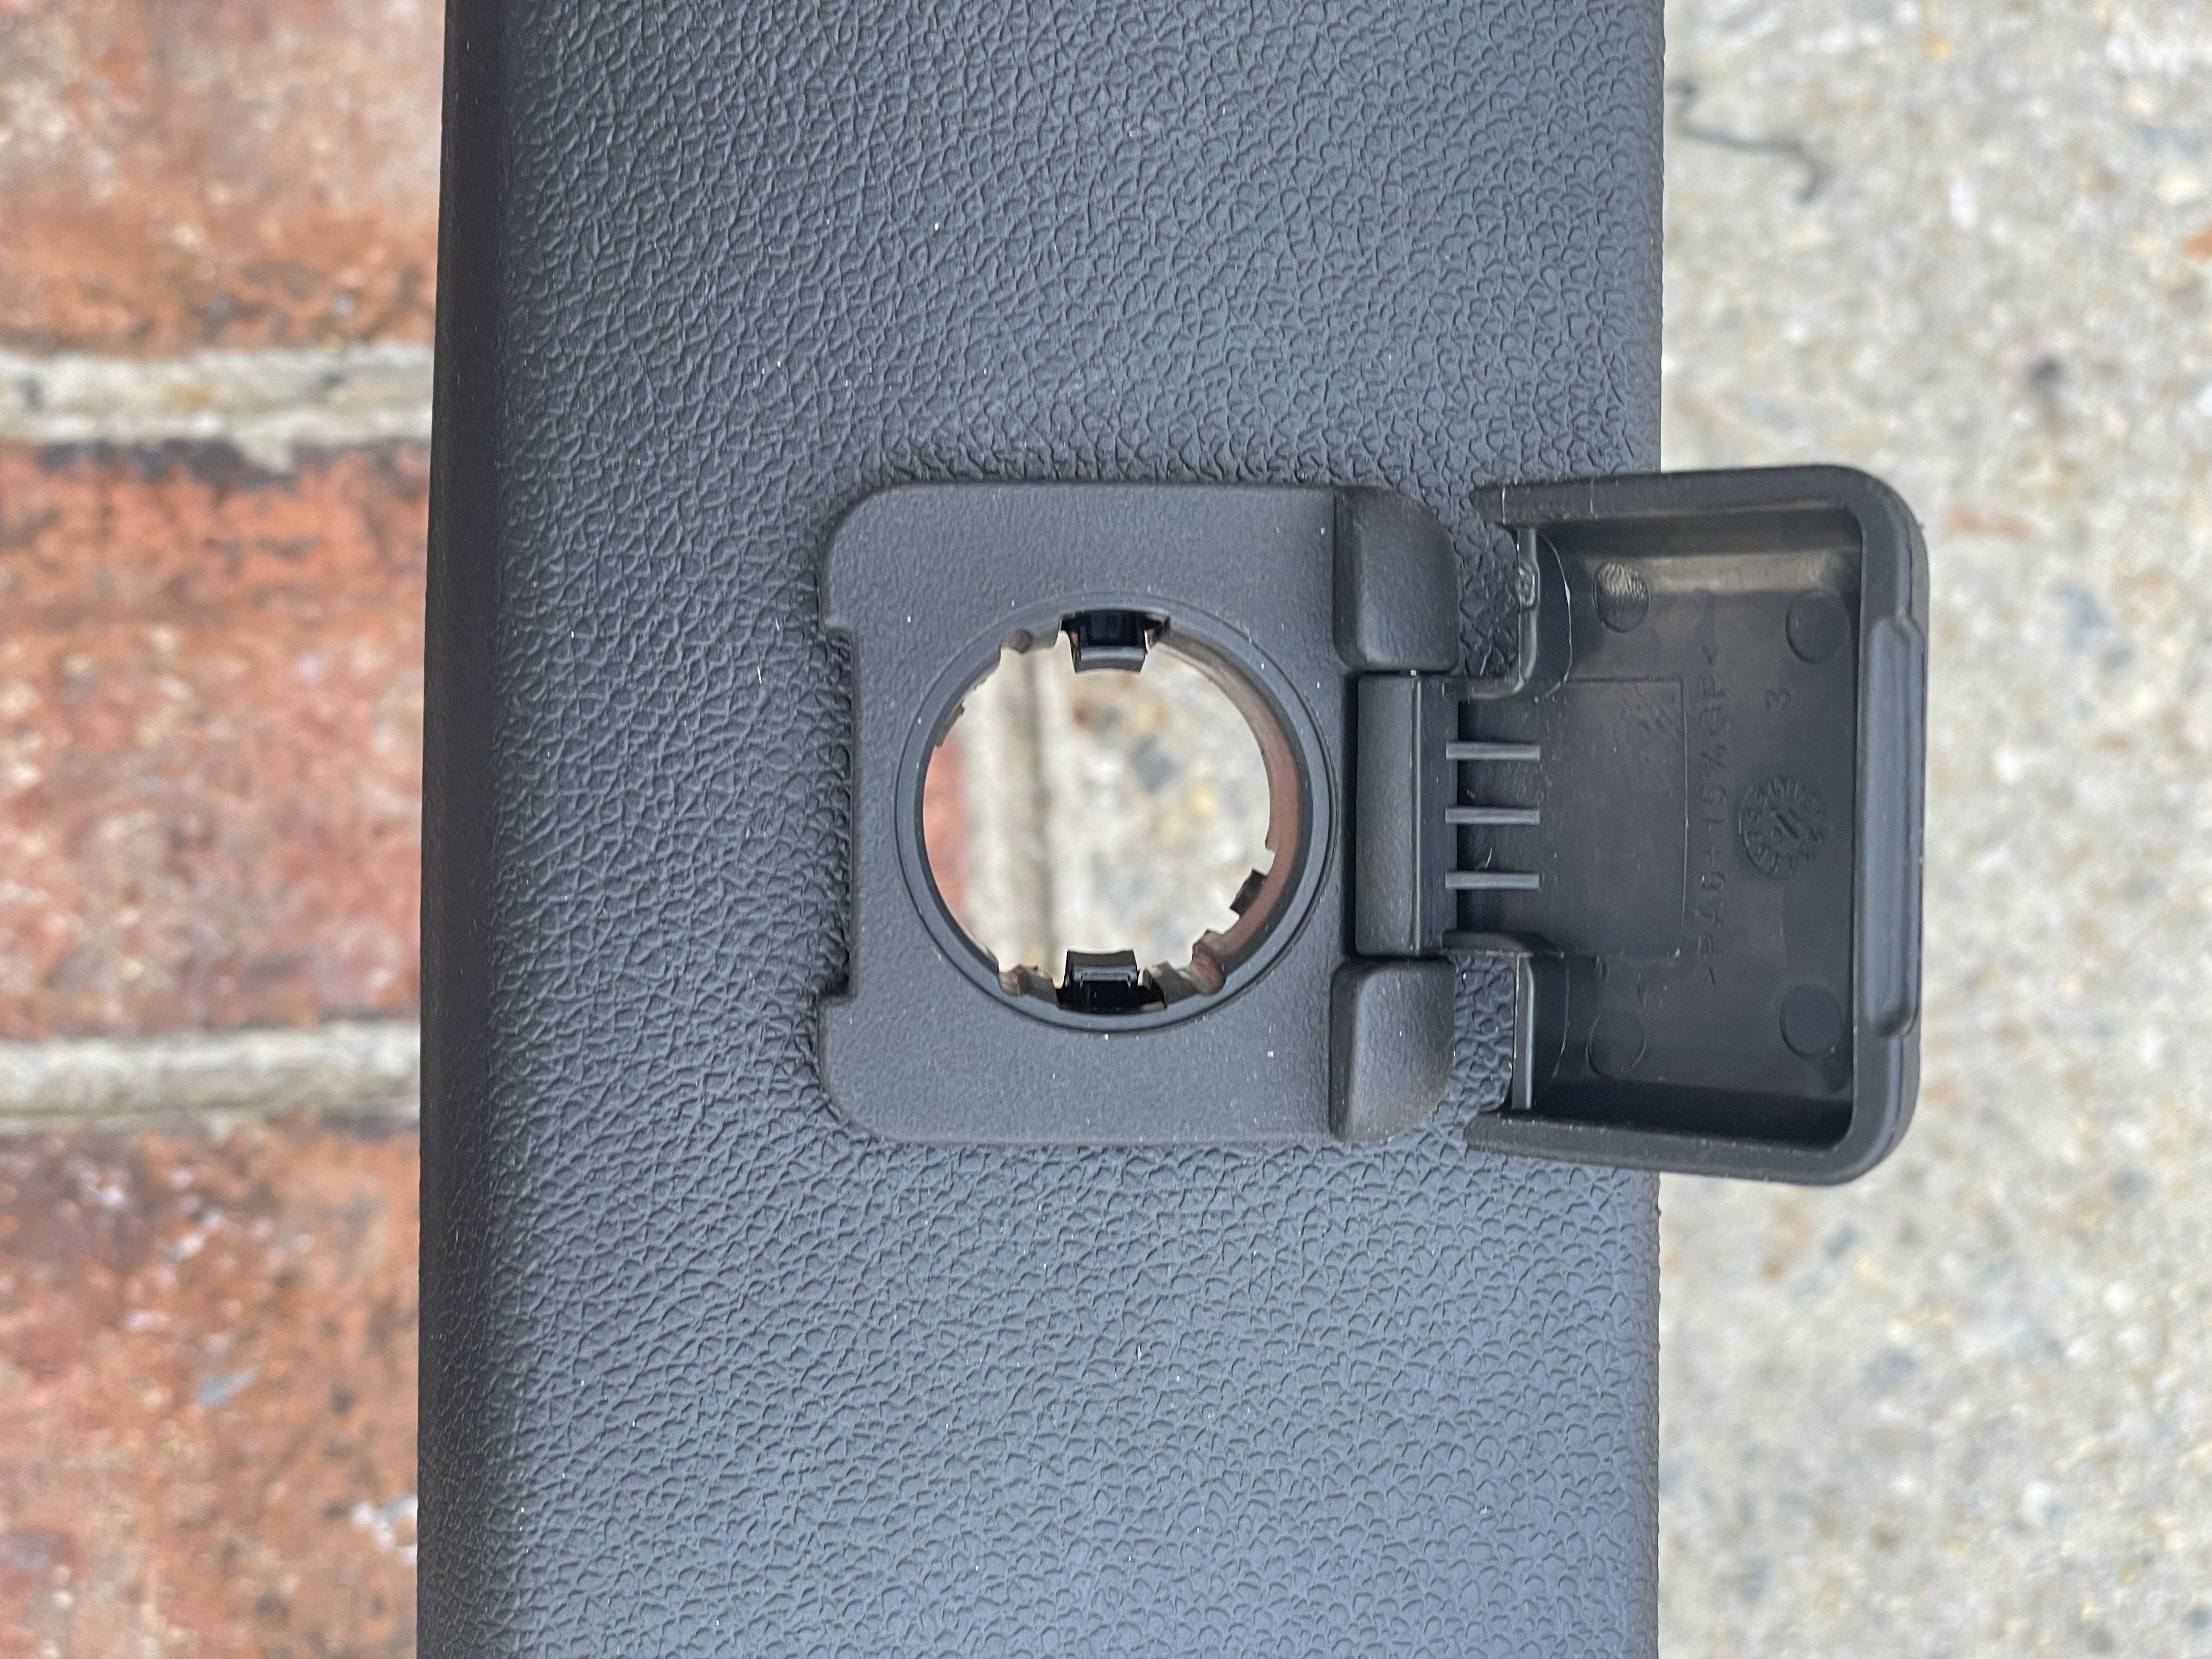
- Install the 12V Receptacle: Assemble and mount the 12V outlet into the prepared trim piece.
- Insert the 12V receptacle into the hole you drilled in the trim piece.
- From the back side of the trim, secure the receptacle using the retainer clip (Part # 84166962). It should snap into place, holding the outlet firmly.
- Connect the positive and negative wires to the corresponding terminals on the back of the 12V receptacle.
 Assembling the 12V outlet receptacle and retainer in the trim panel
 Rear view of 12V outlet wiring connections
- Reassemble the Dash: Carefully reinstall the trim pieces in reverse order of removal.
- Gently guide the main dash trim piece back into position, ensuring all clips are properly aligned and engaged.
- Reinstall the console top side trim pieces on both the driver and passenger sides.
- Replace the 7mm bolt in the lower center dash piece.
- Finally, reattach the driver’s side fuse panel access trim piece.
 Reinstalling the dashboard trim panel after 12V outlet installation
 Finished 12V outlet installation in the truck dashboard
The Enduring Relevance of 12V Power in Modern Vehicles
While USB ports are convenient for charging phones and smaller devices, the 12V outlet remains a powerhouse for a wide range of automotive accessories. From tire inflators and portable coolers to work lights and even some laptops, 12V outlets provide the robust power delivery needed for demanding applications. Even with the rise of USB-C PD and potentially 48V systems in the future, the 12V standard is deeply entrenched and will likely remain a crucial part of vehicle electrical systems for years to come. Its durability and compatibility with a vast ecosystem of accessories make it an indispensable feature, and adding an extra outlet ensures your truck is ready for any power need you might encounter.