The OBD2 port in your car is essential for diagnostics and accessing crucial vehicle data. If you’re experiencing issues with a loose or damaged OBD2 port, it can prevent you from properly diagnosing car problems or even using important devices that rely on this connection. This guide will walk you through the process of Obd2 Port Replacement, ensuring you restore a reliable connection for your vehicle’s diagnostic needs.
A loose OBD2 port can stem from various factors, including wear and tear, accidental damage, or even just the plastic clips weakening over time. Ignoring a loose OBD2 port can lead to intermittent connection issues, making it difficult to read diagnostic codes accurately. In some cases, a damaged port may even prevent a scan tool from connecting altogether. Replacing the OBD2 port is often a straightforward DIY task that can save you time and money compared to professional mechanic fees.
Before you begin the OBD2 port replacement, gather the necessary tools. For this task, you’ll typically need a small probe or pick set, potentially small pliers, and of course, a replacement OBD2 port compatible with your vehicle. It’s always a good idea to visually inspect your current port and if possible, find a replacement that looks identical to ensure compatibility with your car’s wiring harness.
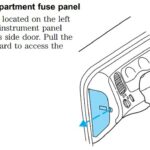
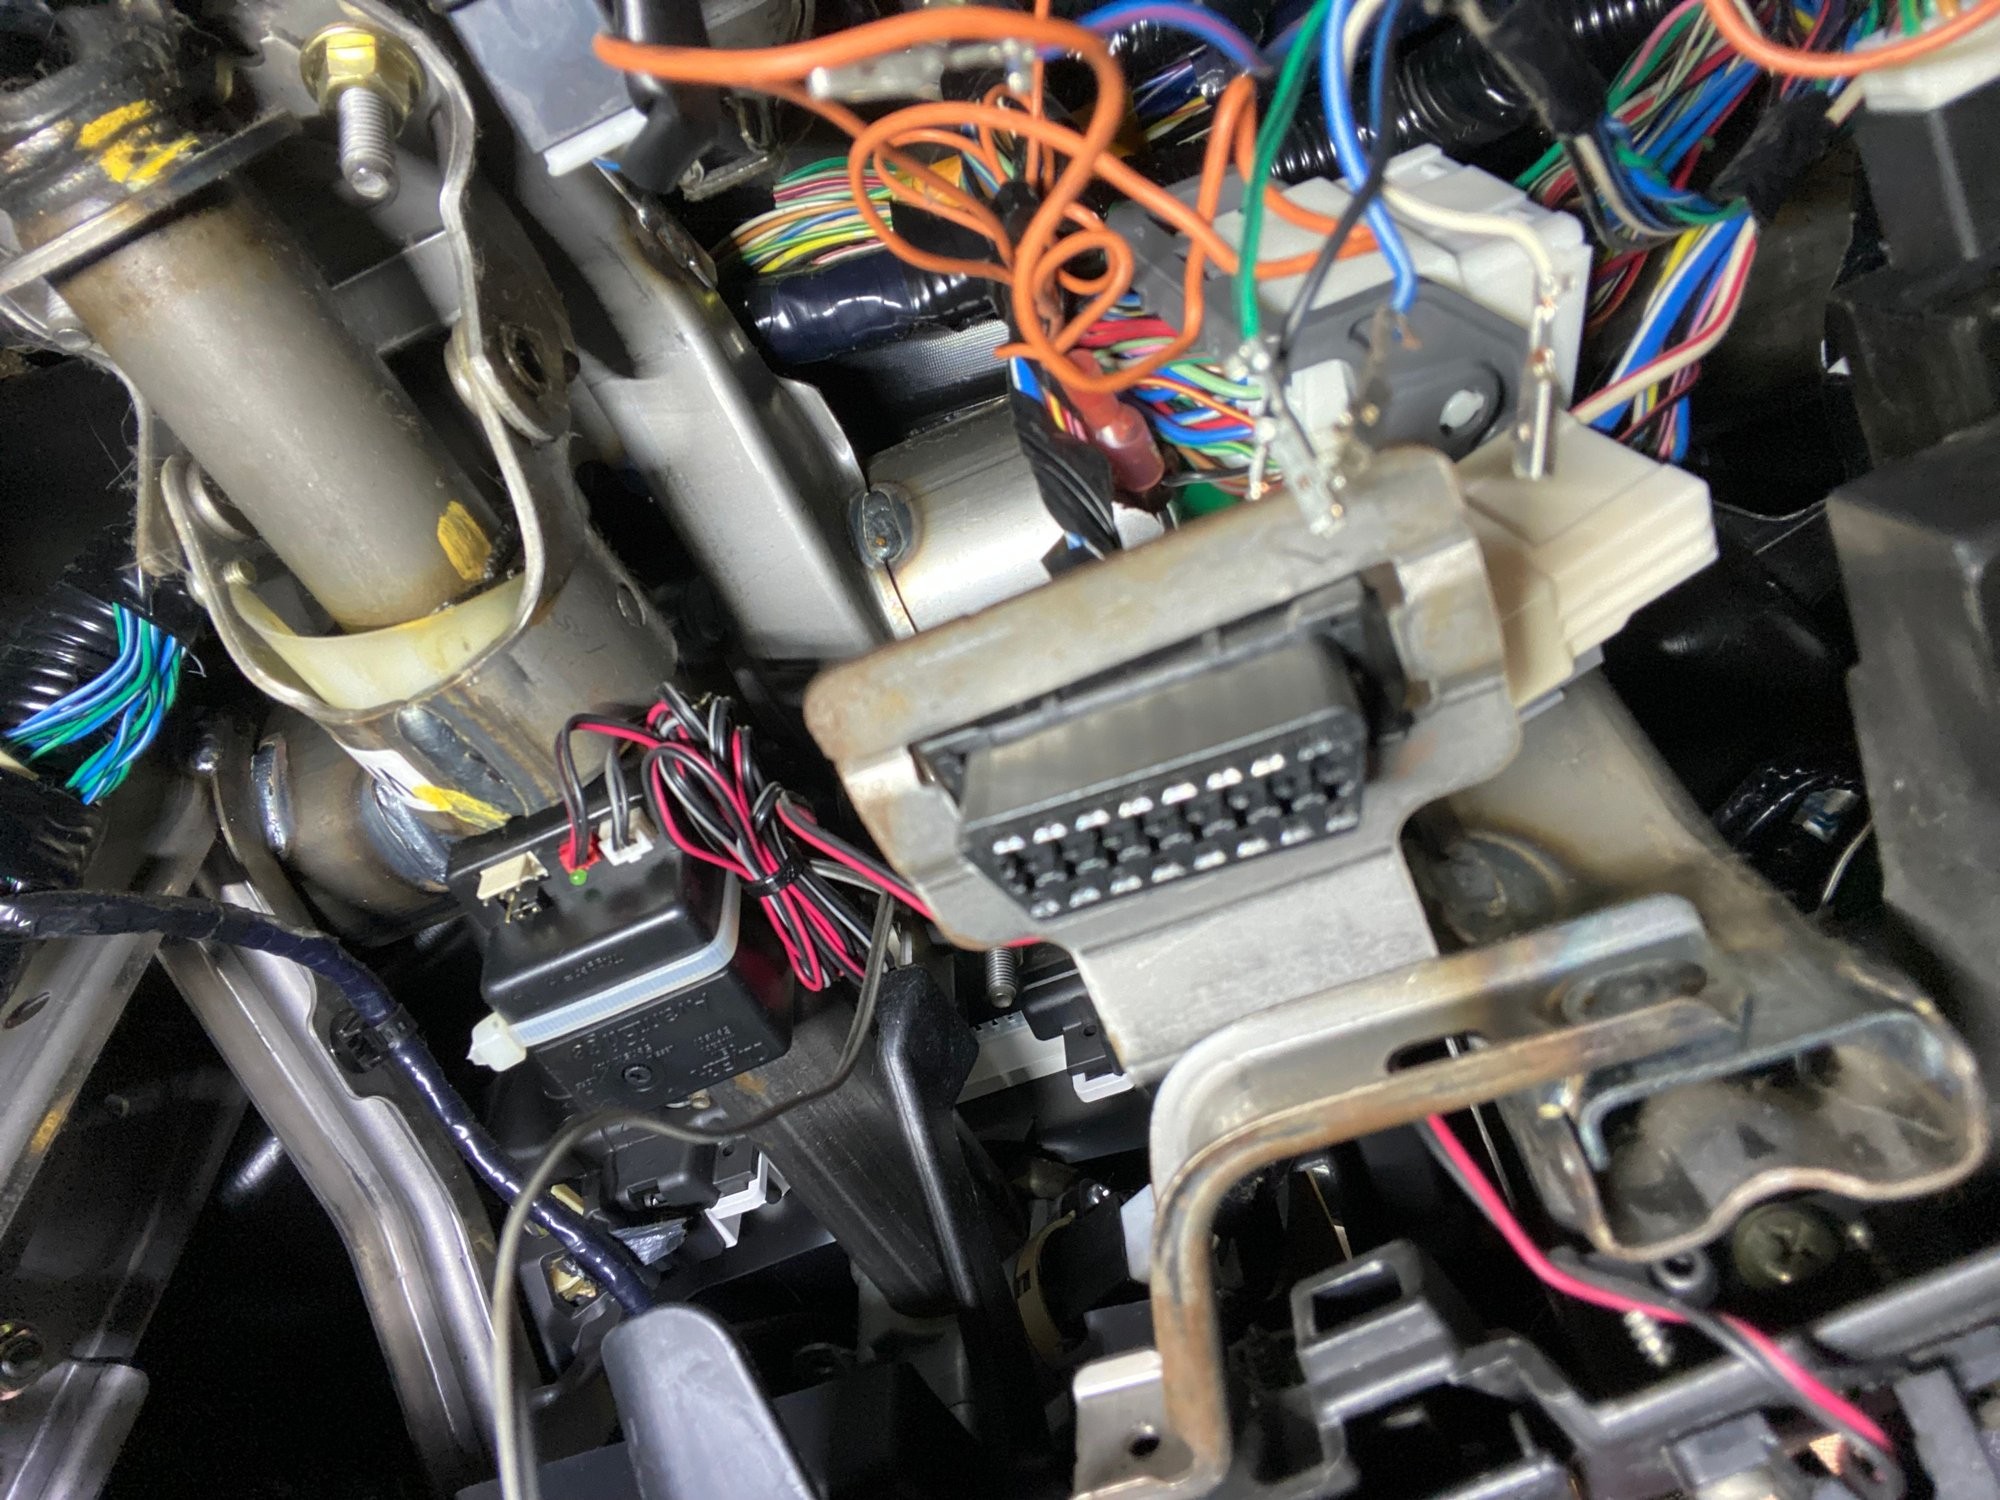
The first step in the replacement process is to access and remove the existing OBD2 port from its mounting bracket. Often, the OBD2 port is secured within a plastic bracket, which is then mounted under your dashboard. To remove the port from the bracket, you’ll typically need to locate small plastic tabs on the sides of the port.
 OBD2 Port and Mounting Bracket
These tabs, usually located on the sides of the OBD2 port, are designed to clip into the bracket. Using a small probe or pick, gently push these tabs inwards while simultaneously pushing the OBD2 port outwards from the bracket. Sometimes, applying pressure to one side of the port while manipulating the tab on the opposite side can make removal easier. Be careful not to force anything, as these plastic components can become brittle with age.
 Plastic Tabs on OBD2 Port Connector
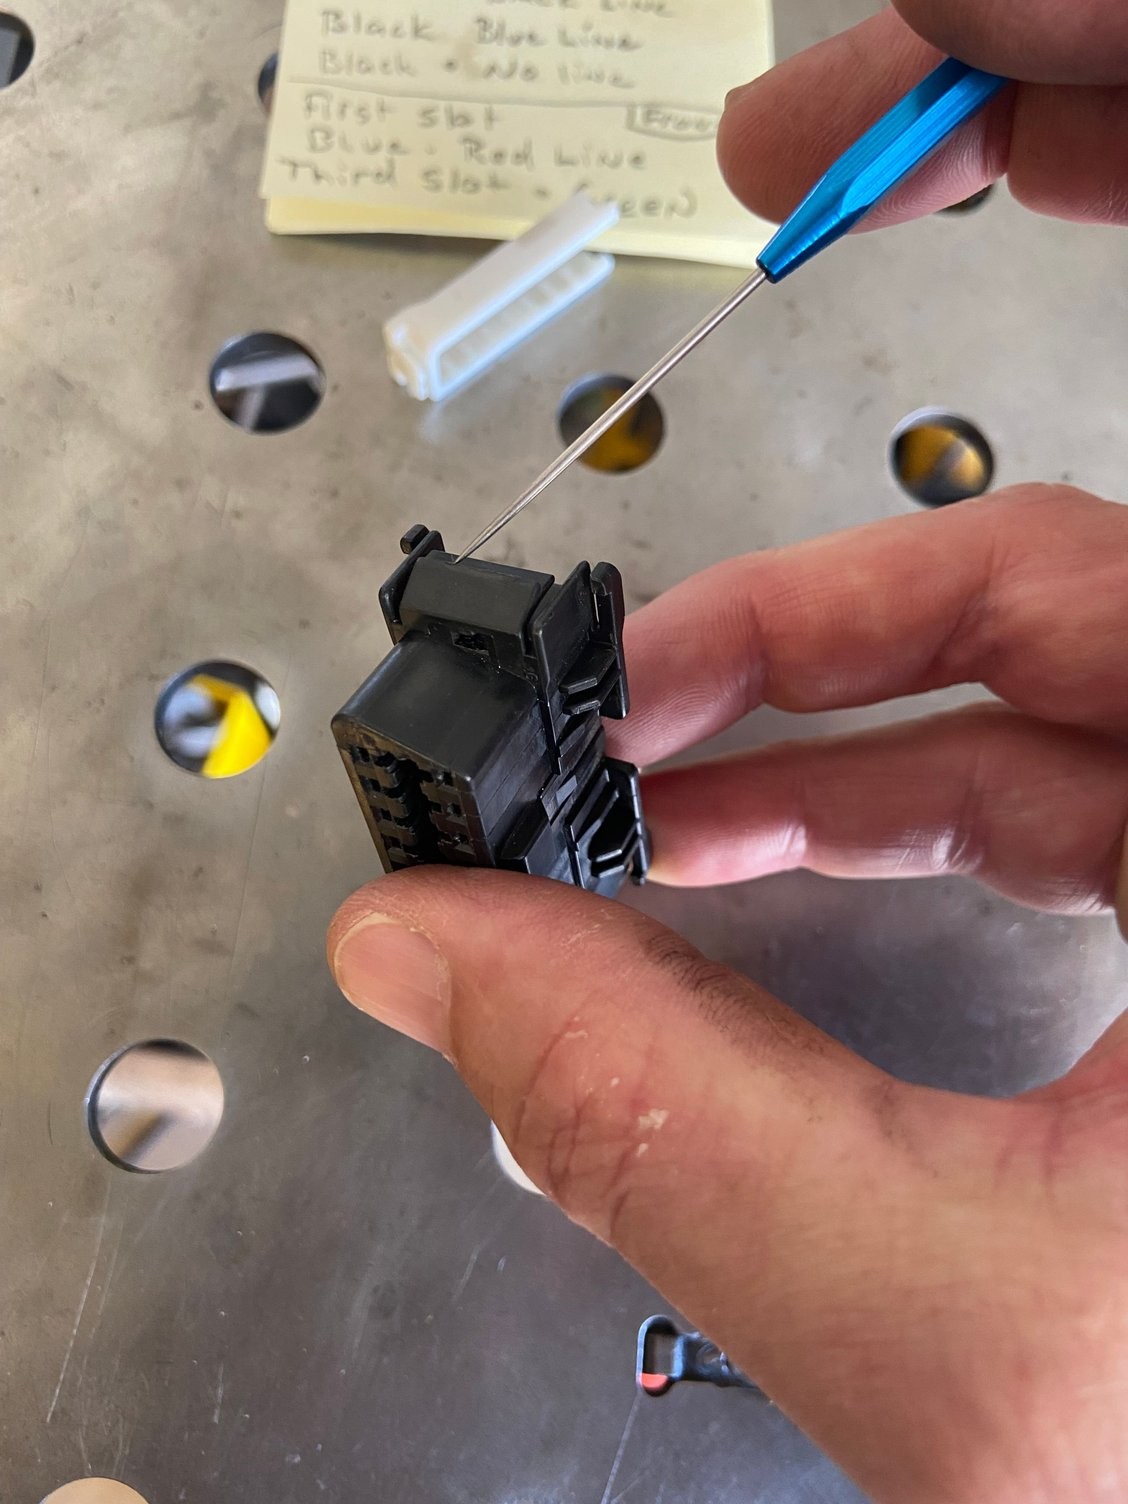
Once the OBD2 port is free from the bracket, you’ll see the back side of the connector where the wiring harness is attached. Before disconnecting any wires, it’s crucial to document the wire configuration. Take pictures or carefully note down the color and position of each wire in the connector. This step is vital to ensure you reconnect the wires correctly to the new OBD2 port. Incorrect wiring can lead to diagnostic tool malfunction or even electrical issues in your vehicle.
With the wiring configuration documented, you can now proceed to disconnect the wires from the OBD2 port. Often, there’s a white plastic retainer clip that secures all the wires in place. This retainer needs to be removed to access the individual wire terminals.
 Removing White Retainer Clip from OBD2 Port
Use your probe or pick to gently pry or lift this white retainer clip. It might be held in place by small catches, so carefully examine it to understand how it releases. Once the retainer is removed, you can disconnect each wire individually.
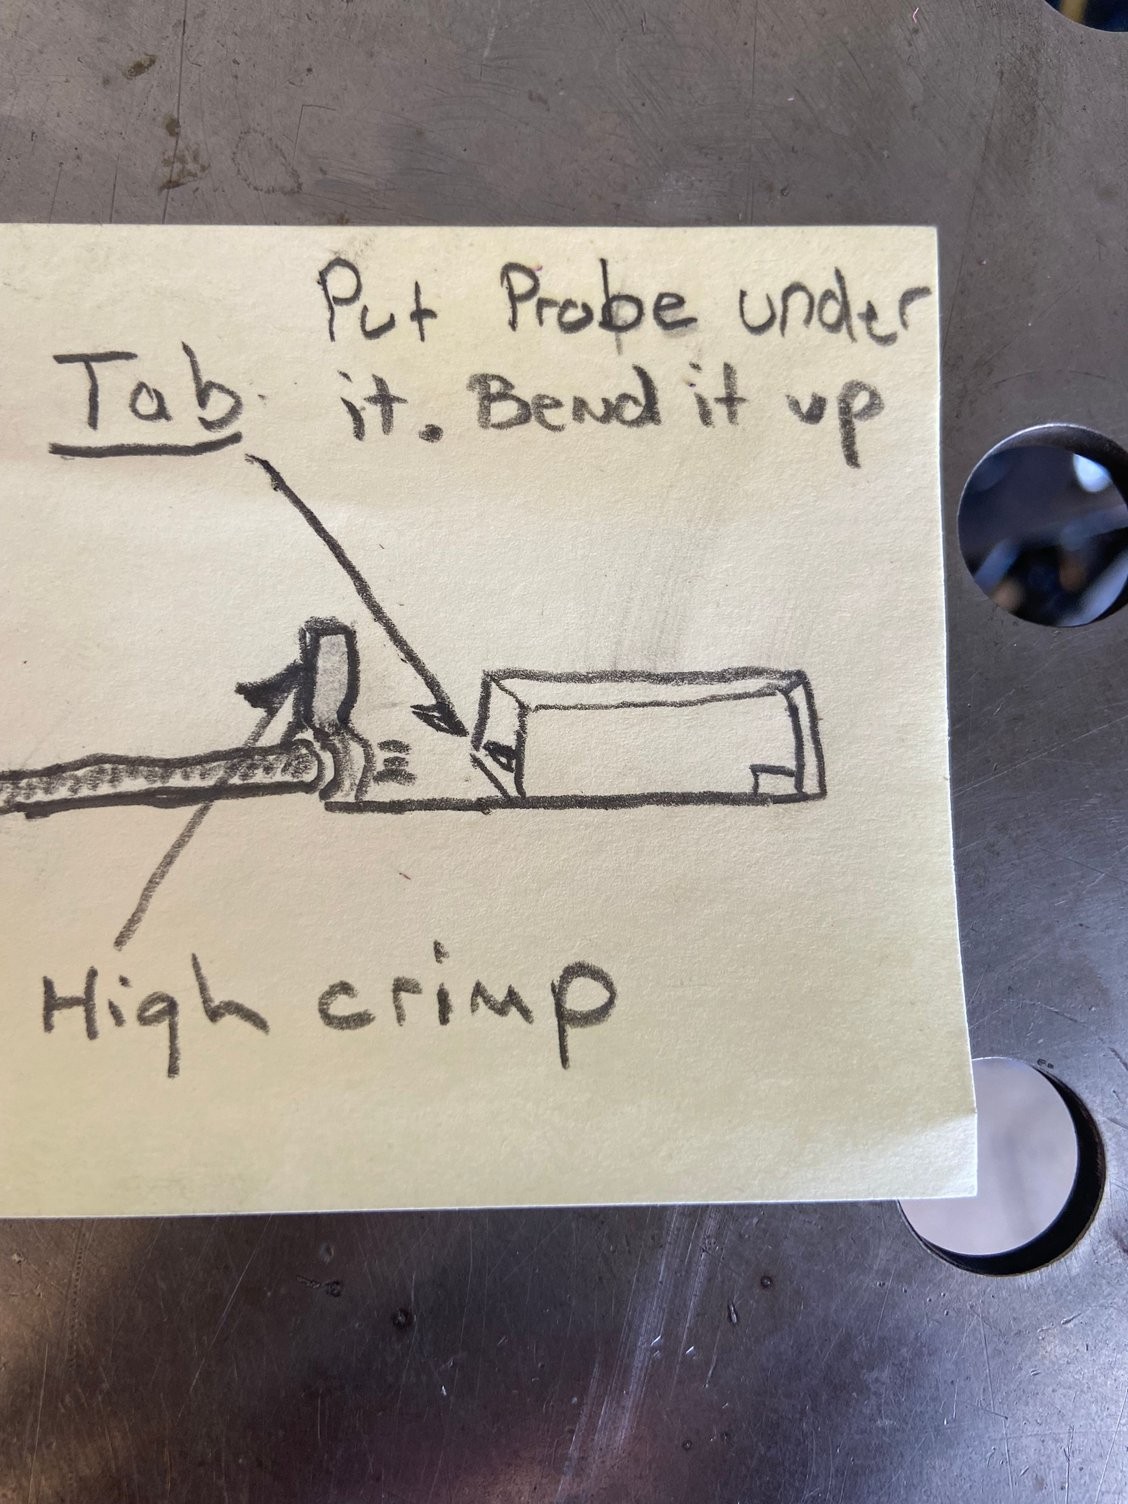
Each wire is typically held in the OBD2 port connector by a small plastic tab within the connector housing. To release a wire, you’ll need to insert a small probe or pick into the front of the connector, alongside the wire terminal, to depress this plastic tab.
 Depressing Wire Terminal Release Tab in OBD2 Port
When you’ve successfully depressed the tab, you should be able to gently pull the wire out from the back of the connector. Do not force the wires; if a wire doesn’t release easily, re-check that you’ve correctly located and depressed the release tab. Repeat this process for each wire, keeping them organized and noting their positions if you didn’t take pictures earlier.
With all the wires disconnected from the old OBD2 port, you are ready to install the new replacement port. If your original issue was simply loose terminals within the port, as hinted at in the original article, you could attempt to carefully rebend the internal tabs in the old connector to improve contact. However, for a reliable long-term solution and if you’re already replacing the port, it’s best to use a brand new OBD2 port.
 OBD2 Port Connector Terminal Detail
Take your new OBD2 port and reconnect the wires one by one, referring to the wiring diagram or pictures you took earlier. Push each wire firmly into its correct position in the new connector until you feel and hear a click, indicating that the terminal is securely locked in place. Ensure each wire is inserted into the correct pin location according to your recorded configuration.
Once all wires are reconnected to the new OBD2 port, re-install the white retainer clip if your new port has one. This will secure all the wires in the connector. Then, carefully push the new OBD2 port back into the mounting bracket until it clicks into place, ensuring it is firmly secured.
Finally, test your OBD2 port replacement by connecting a scan tool or diagnostic device. Ensure that the connection is stable and that you can successfully communicate with your vehicle’s computer. If you encounter any issues, double-check your wiring and ensure all connections are secure.
If you’re uncomfortable working with car electronics or are unsure about any step in this process, it’s always best to consult a professional mechanic. However, for many DIY enthusiasts, OBD2 port replacement is a manageable task that can restore essential diagnostic functionality to their vehicle.
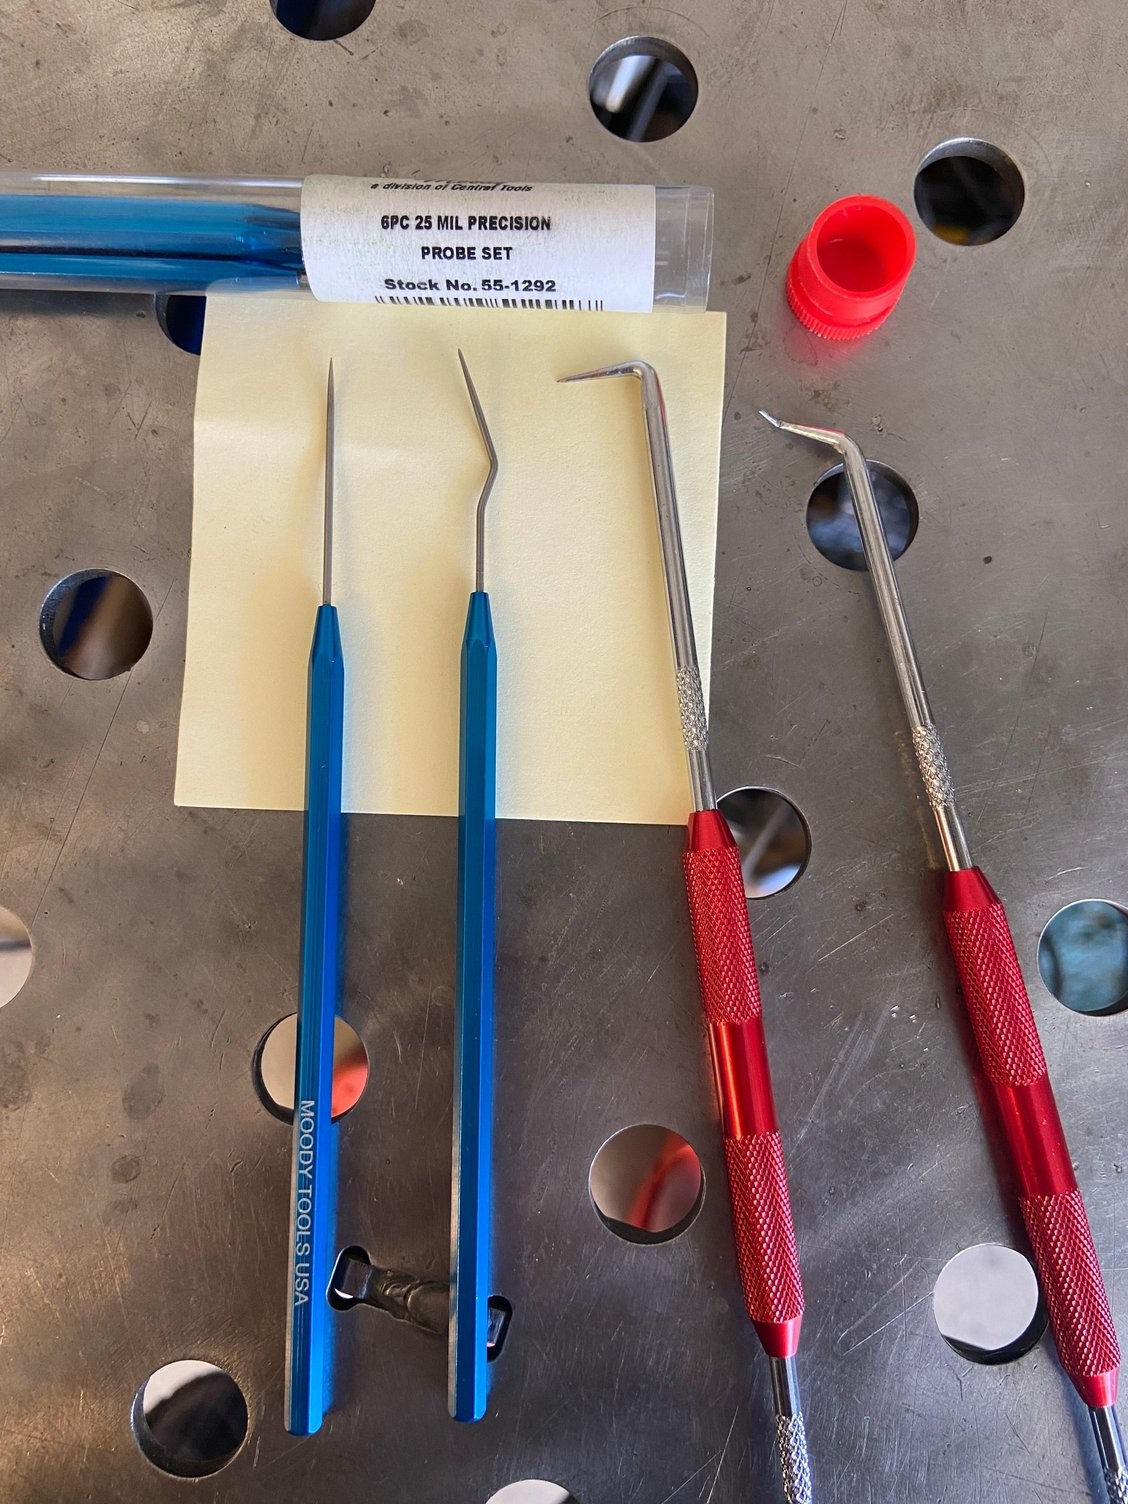 Probes for OBD2 Port Repair
Having a properly functioning OBD2 port is crucial for modern vehicle maintenance and diagnostics. By following these steps, you can effectively perform an OBD2 port replacement and ensure a reliable connection for years to come.