Experiencing a loose OBD2 port in your 2004 Mazda RX-8 can be frustrating, especially when you’re trying to diagnose engine issues or read sensor data. A wobbly connection can lead to intermittent communication with your scan tool, making it difficult to retrieve accurate readings from your 2004 Rx8 Obd2 Sensor system. Many owners of the 2004 RX-8 find themselves facing this problem, and luckily, it’s often a fix you can tackle yourself. This guide will walk you through the steps to secure your OBD2 port, ensuring a reliable connection for diagnostics.
Identifying a Loose OBD2 Port
Before diving into the fix, let’s confirm if you have a loose OBD2 port. Common symptoms include:
- Wiggling Port: The OBD2 port moves excessively when you try to plug in a scan tool.
- Intermittent Connection: Your scan tool loses connection or has trouble establishing a link with the car’s computer.
- Difficulty Diagnosing Issues: Inconsistent readings or inability to read data from your 2004 RX8 OBD2 sensor and other systems.
A loose OBD2 port can stem from the internal connector terminals losing their tightness over time. This can prevent proper contact with the pins of your diagnostic tool, hindering communication and the ability to monitor your vehicle’s sensors effectively.
Tools You’ll Need
For this DIY fix, you won’t need an extensive toolkit. Here’s what’s recommended:
- Small Probe or Pick Tool: Essential for releasing plastic tabs and adjusting connector terminals. A set of automotive probe tools, like the blue ones mentioned in the original article, is ideal.
- Small Flathead Screwdriver (Optional): Can be used instead of a probe in some steps.
- Bent Nose Pliers (Optional): May be helpful for gently manipulating wires or terminals.
- Good Lighting: To clearly see the small components within the OBD2 port.
- Camera or Phone: To take pictures of the wiring configuration before disassembly – this is crucial!
Step-by-Step Guide to Fixing a Loose OBD2 Port
Let’s get started on securing that OBD2 port in your 2004 RX-8. Remember to work in a well-lit area and take your time to avoid damaging any components.
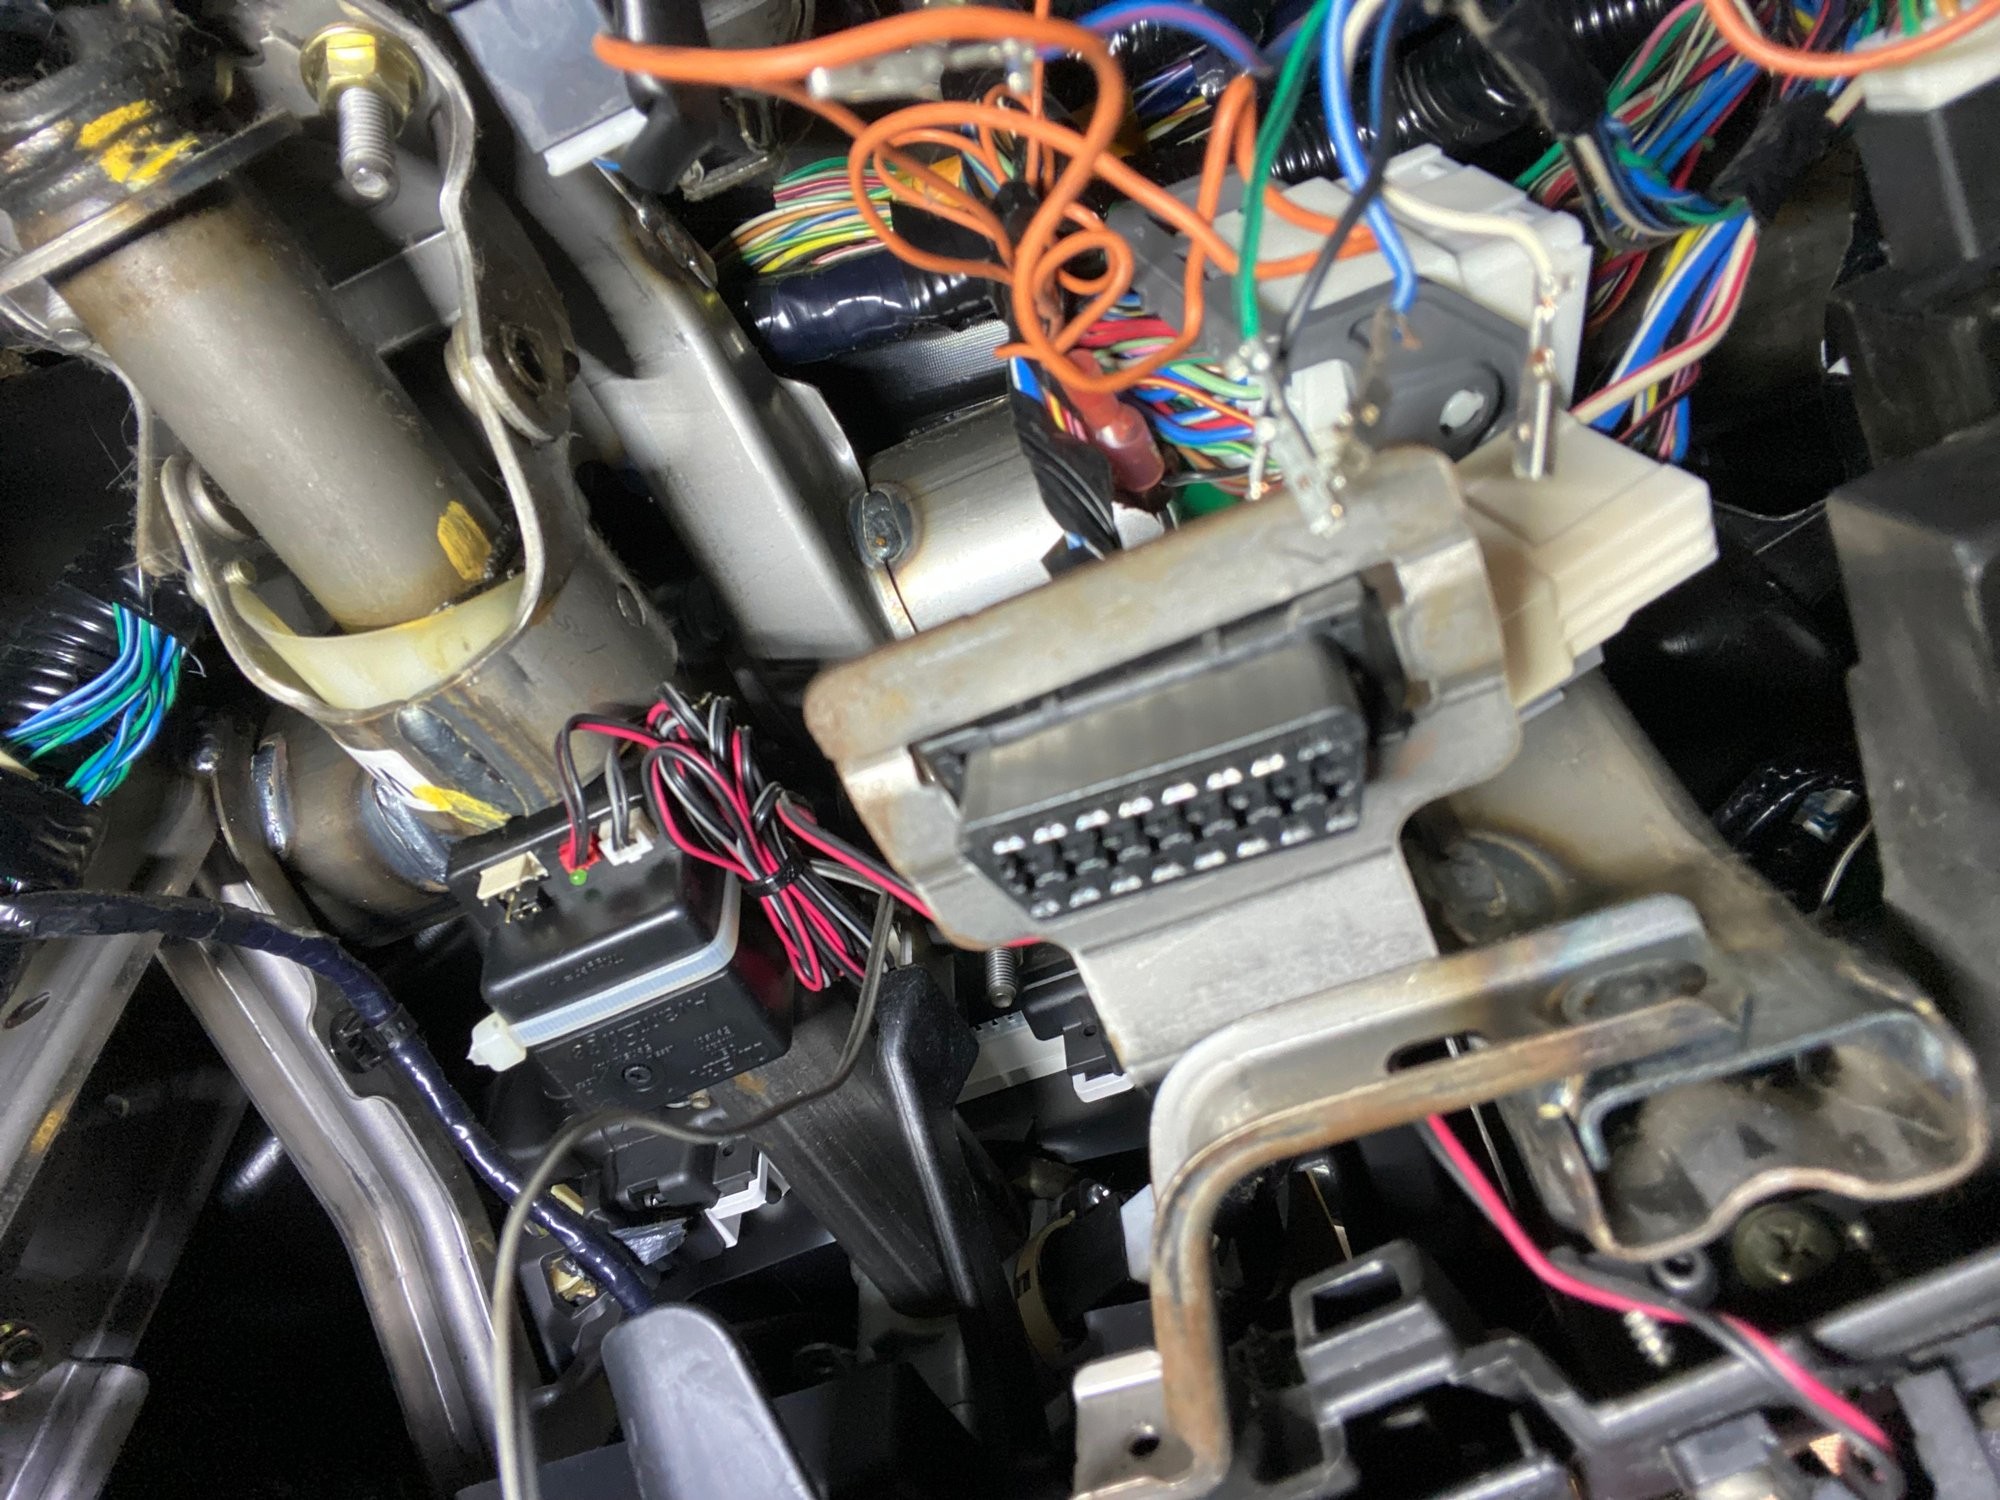
Step 1: Removing the OBD2 Port from the Bracket
The OBD2 port is held in place by a sheet metal bracket, typically located under the dashboard on the driver’s side. To begin, you need to detach the port from this bracket.
Two plastic tabs on the sides of the OBD2 port secure it to the bracket. To release it, you’ll need to push these tabs inwards.
 Bracket and Port
Using your probe or small screwdriver, push one side of the port against the bracket to create a small gap on the opposite side. Then, use your tool to press the plastic tab on the side with the gap. You might need to wiggle the port slightly while pressing the tabs to free it from the bracket. Repeat this process for the tab on the other side. Once both tabs are released, you should be able to push the OBD2 port upwards and out of the bracket.
Step 2: Disconnecting the Wires
With the OBD2 port removed from the bracket, you can now access the back side where the wires are connected. Before proceeding, take pictures of the wire arrangement and note down the color pattern and their positions. This is vital for correct reassembly.
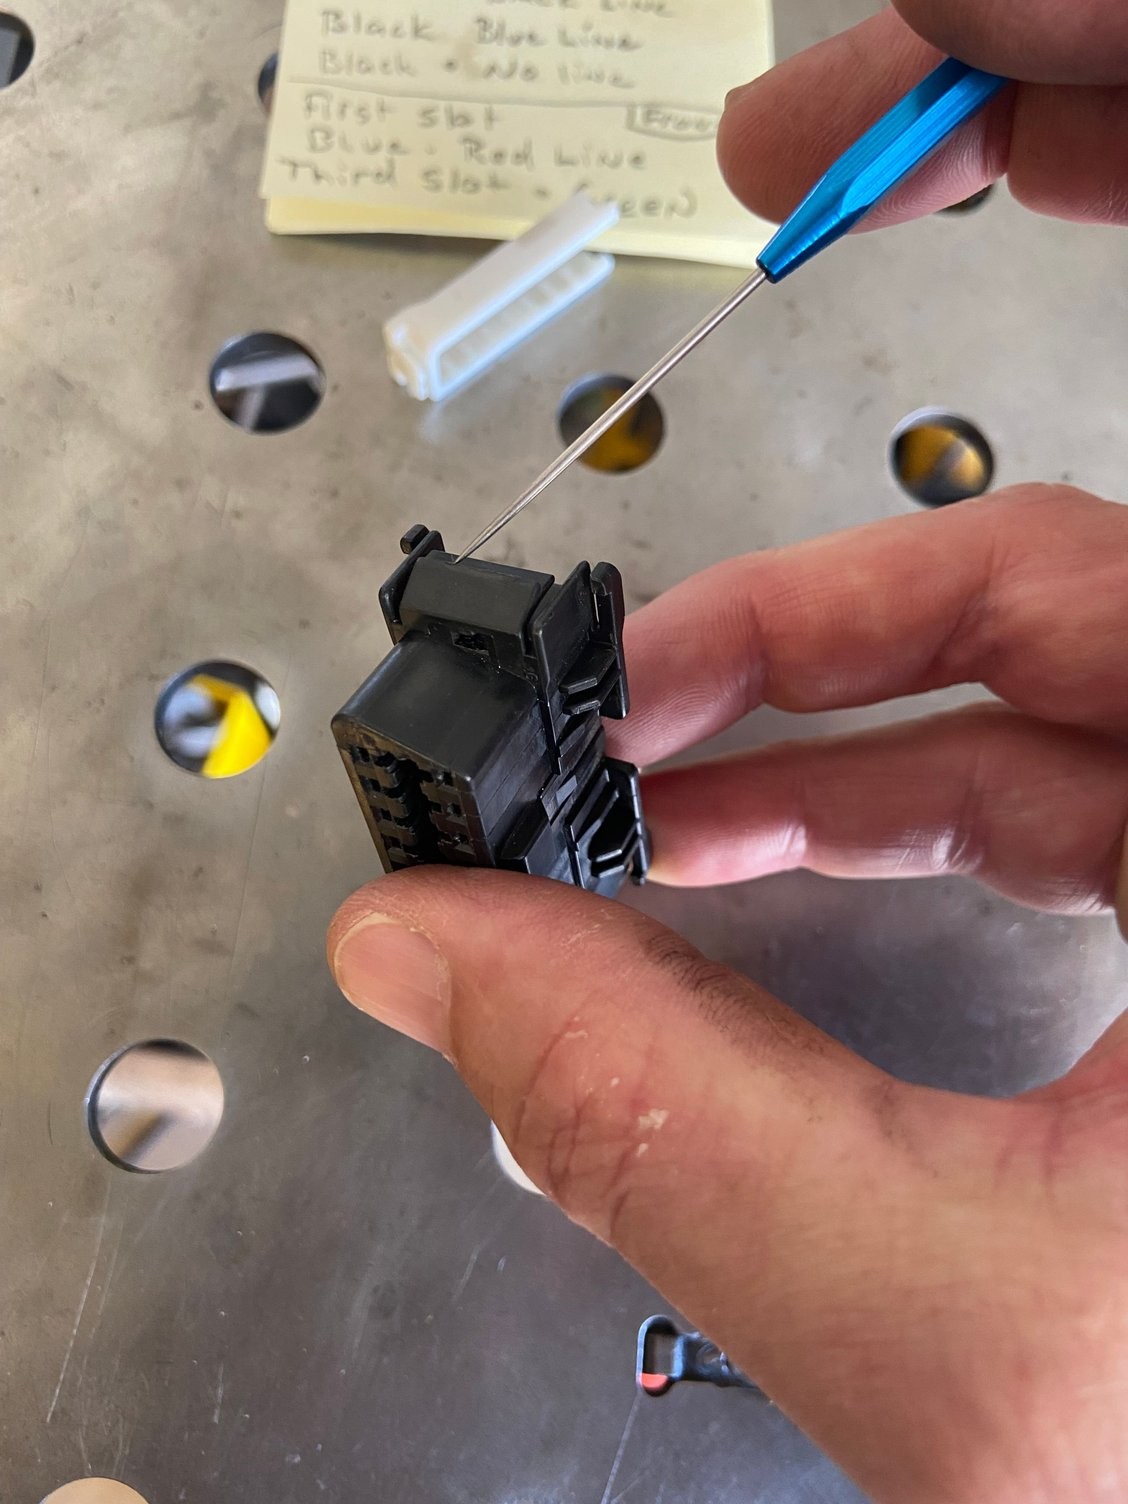 OBD2 Port Side Tabs
Next, you’ll notice a white plastic piece that secures all the wires in the OBD2 port. This piece needs to be removed to access the individual wire connectors.
 White Plastic Retainer in OBD2 Port
Use your probe to gently push the white plastic retainer upwards, away from the OBD2 port housing. You may need to insert the probe underneath the edge of the white piece to lift it.
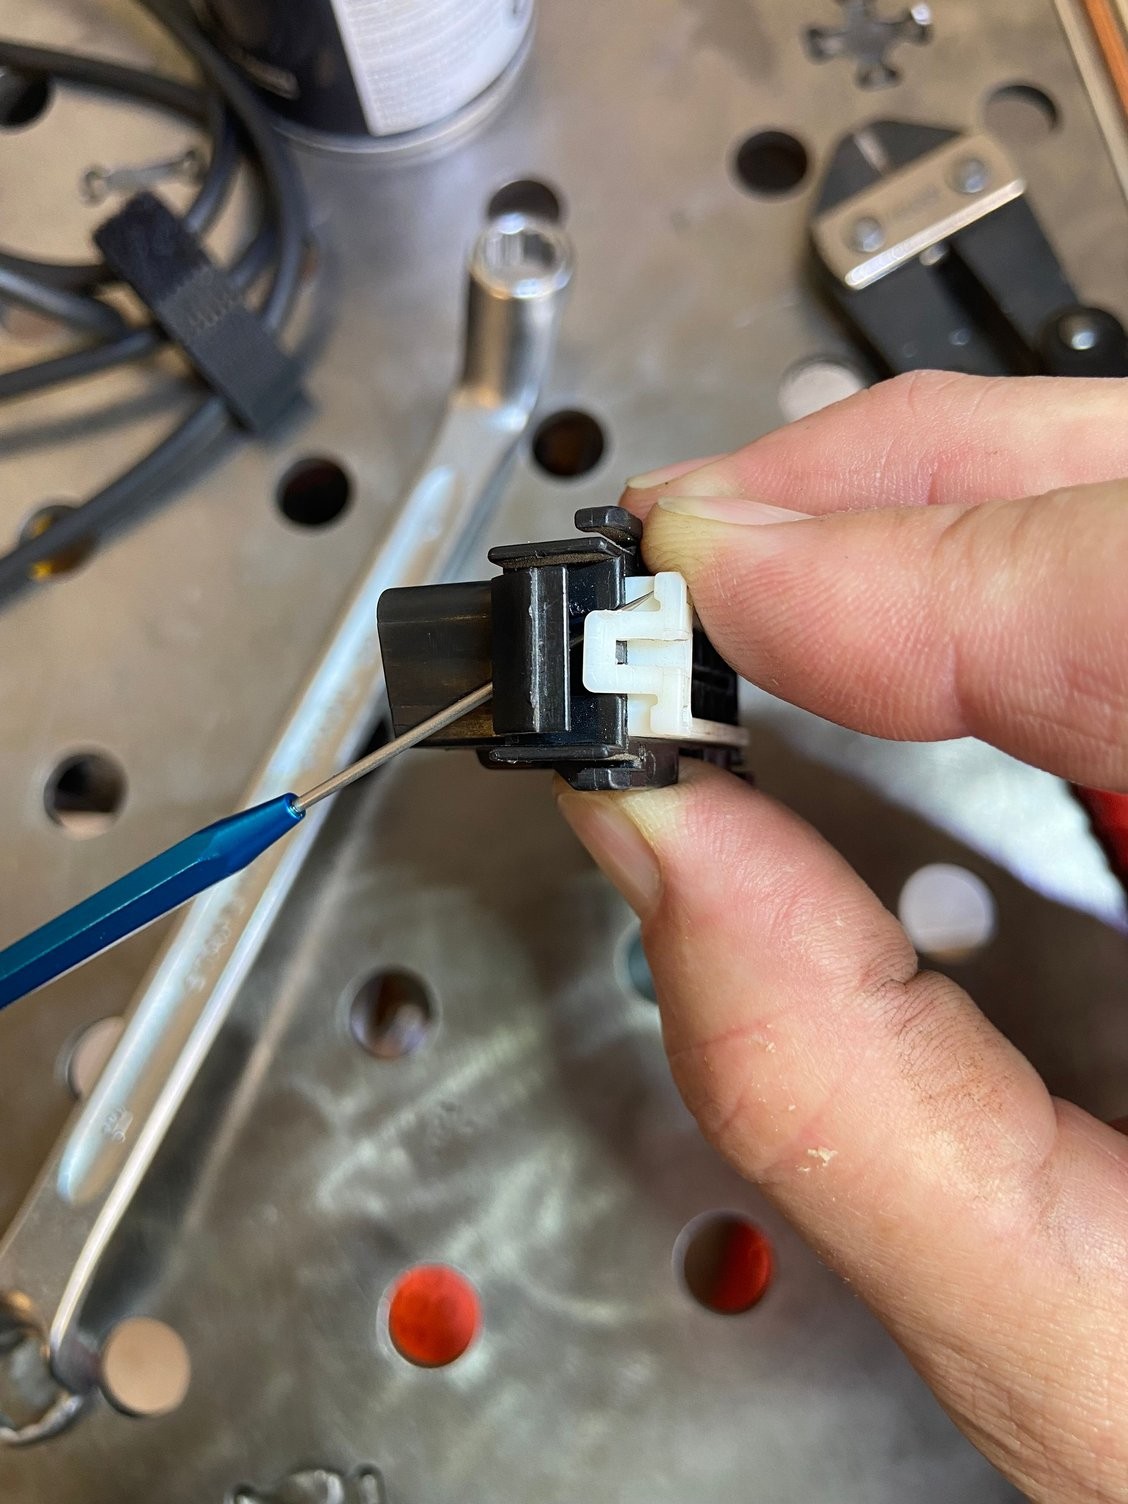 Removing White Plastic Retainer
The white tab might be partially tucked under a black tab. Ensure you run your probe underneath it to fully release it. Once the white retainer is removed, you can proceed to disconnect the individual wires.
To release each wire, you need to insert your probe into the front of the OBD2 port, alongside the metal terminal of the wire. You’re aiming to press a small plastic tab inside the connector that secures the wire in place.
 Releasing Wire Connector Tab
Gently push the probe in until you feel the wire release. Do not force it. If you’ve pressed the tab correctly, the wire should pull out with minimal effort from the back of the OBD2 port. Repeat this for each wire, one at a time, keeping track of their original positions.
Step 3: Tightening the Connector Terminals
The likely cause of a loose OBD2 port is the internal metal tabs within the wire connectors becoming bent outwards, losing their firm grip on the OBD2 scan tool pins. To fix this, you need to carefully rebend these tabs inwards.
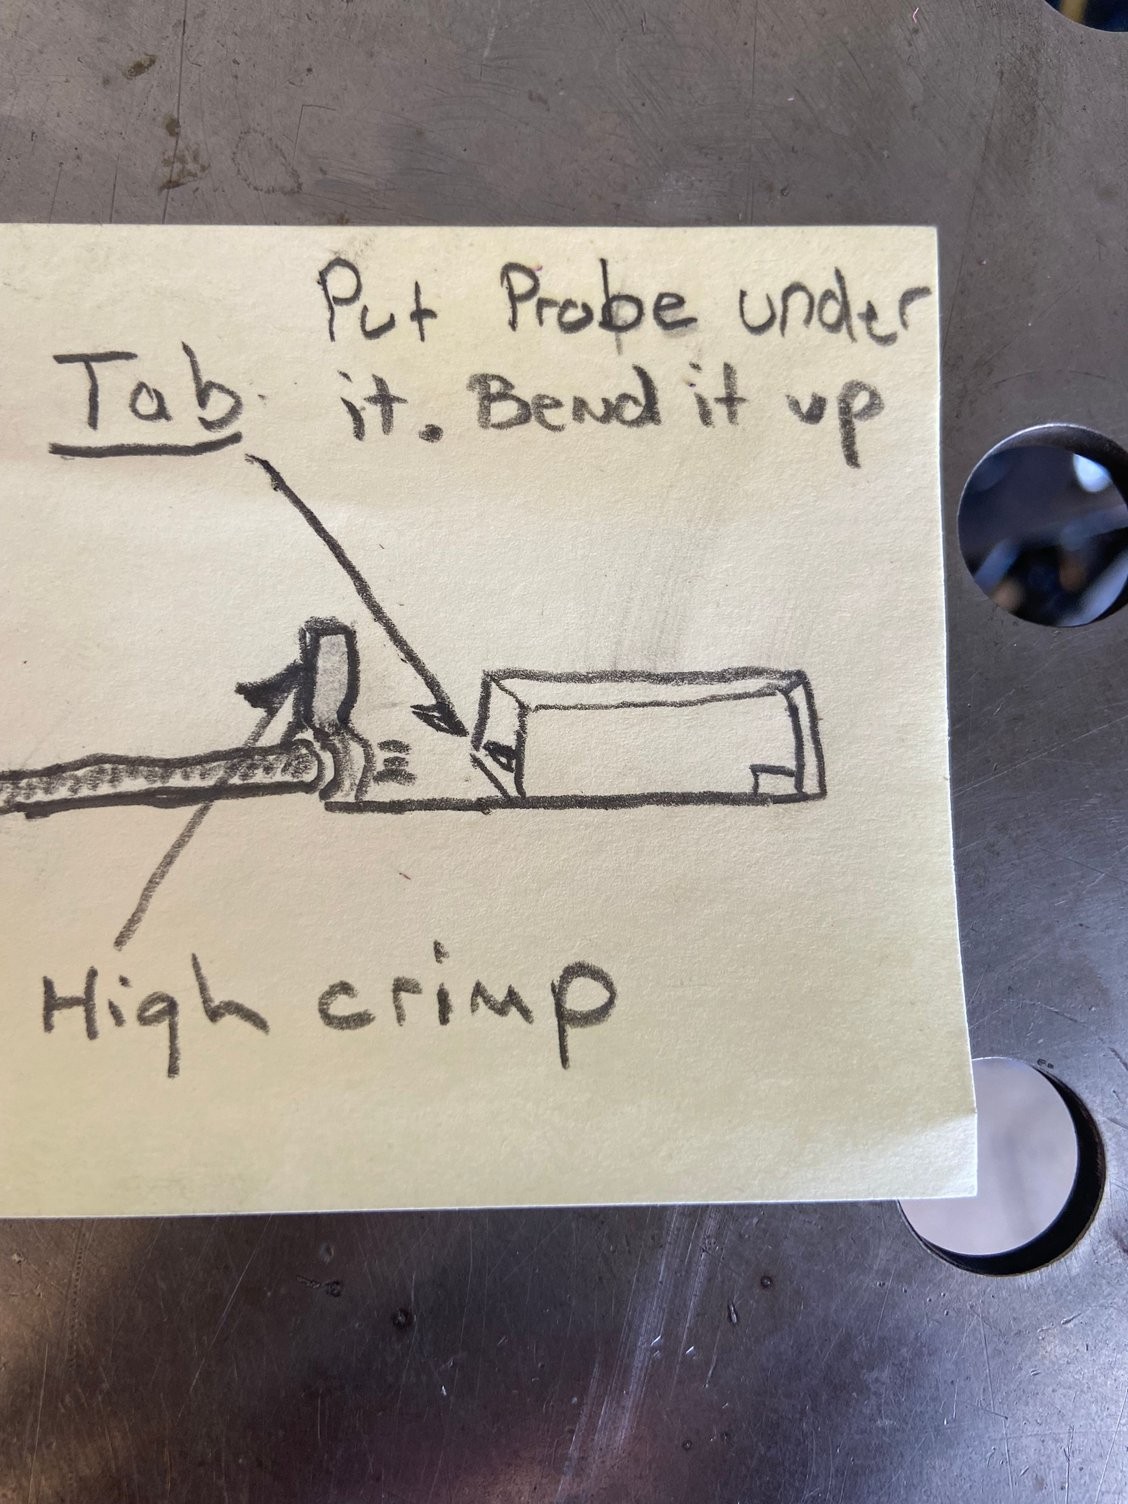 OBD2 Connector Terminal Adjustment
Looking into the connector end of each wire, you’ll see a small metal tab. Insert your probe into the connector and position it under this tab. Gently push upwards on the tab to bend it slightly inwards, increasing the tension. Be careful not to bend it too much, as it could break. The goal is to restore some of its original springiness to ensure a tighter fit.
Step 4: Reassembling the OBD2 Port
After adjusting the terminals, it’s time to reassemble the OBD2 port.
Carefully push each wire back into its correct position in the OBD2 port, referring to the pictures and notes you took earlier. You should feel a click as the terminal locks back into place. Again, avoid forcing the wires; if they don’t go in easily, double-check that you’re inserting them into the correct slot and orientation. Bent nose pliers can be used to gently guide the connectors if needed, but be extremely cautious not to damage the wire crimp.
Once all wires are securely back in the OBD2 port, re-install the white plastic retainer to lock them in place. Finally, push the OBD2 port back into the sheet metal bracket until the plastic tabs click and secure it.
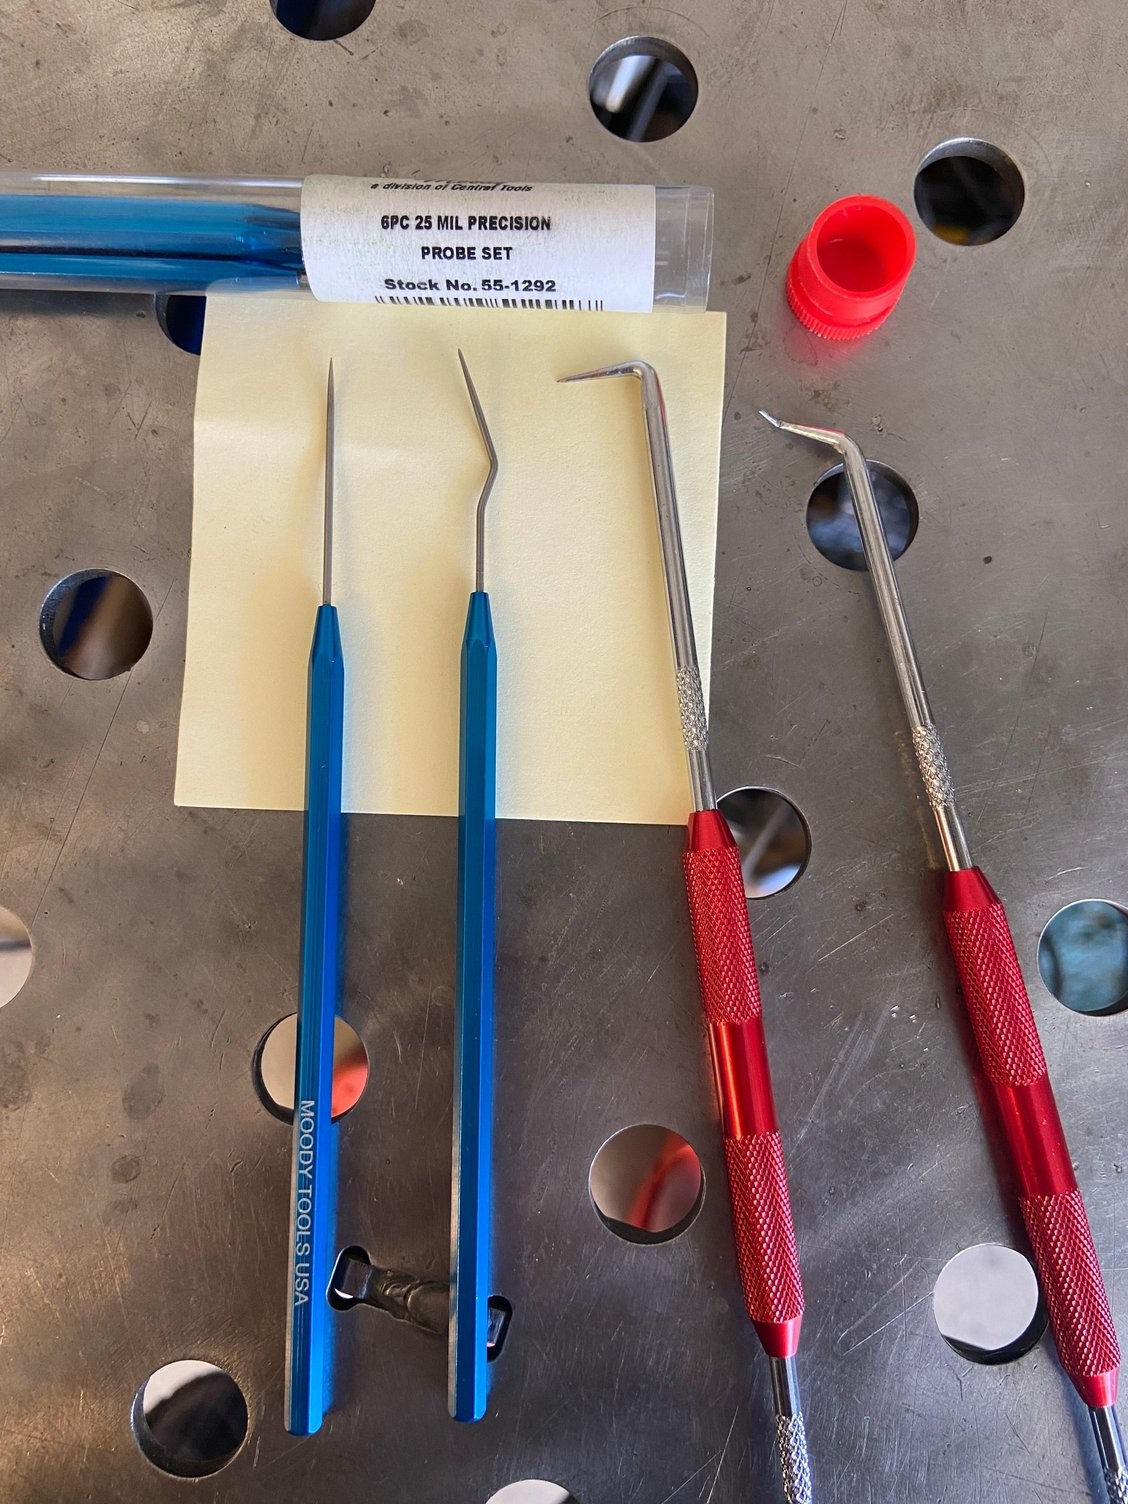 Probe Tools for OBD2 Repair
Conclusion
By following these steps, you should have successfully tightened the connection of your 2004 RX-8’s OBD2 port. This DIY fix can restore reliable communication for diagnostics, allowing you to accurately read data from your 2004 RX8 OBD2 sensor system and troubleshoot any issues effectively.
Keep in mind that this repair is essentially a temporary fix by re-tensioning the existing terminals. For a truly permanent solution, replacing the entire OBD2 port and potentially the terminals would be ideal, especially if a part number for the OBD2 port and new terminals becomes available. However, this DIY method is a cost-effective and often sufficient way to address a loose OBD2 port and get your diagnostic capabilities back online.