Diagnosing car troubles used to be a shot in the dark, but with the advent of technology like Wi-Fi OBD2 scanners, it’s now easier and more precise than ever. These scanners provide a straightforward way to understand your vehicle’s health, offering insights that can save time and money on repairs. A standout tool in this category is the Foxwell NT809BT, known for its user-friendly interface and comprehensive features, especially when paired with a PC for in-depth analysis.
If you’re looking to take charge of your car maintenance by connecting your PC to a Wi-Fi OBD2 scanner, this guide will walk you through the process. Let’s explore how you can establish this connection and leverage it for effective vehicle diagnostics.
Understanding OBD2 Scanners and Their Importance
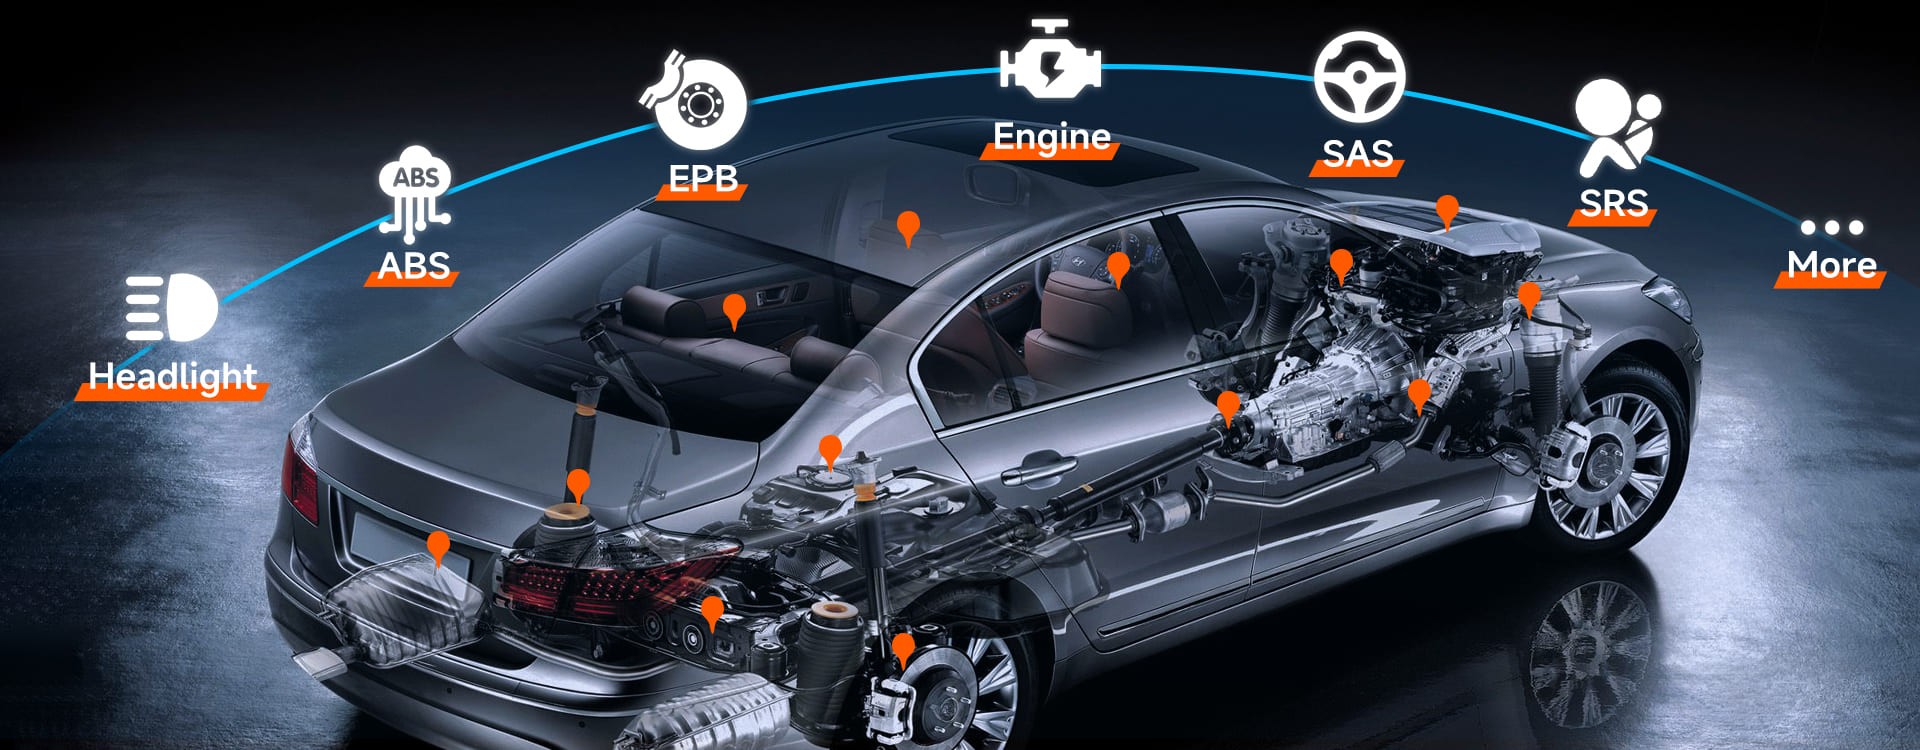 Car Scanner Full System Diagnosis | Foxwell
An OBD2 scanner acts as a vital communication bridge between you and your car’s computer. It interprets the complex data from your vehicle’s onboard diagnostic system, translating it into understandable information about engine performance, fuel efficiency, and diagnostic trouble codes.
Wi-Fi enabled OBD2 scanners, such as the Foxwell NT809BT, enhance this functionality by offering wireless connectivity to your PC or other devices. This wireless capability provides numerous advantages:
- Comprehensive Diagnostics: From deciphering engine fault codes to examining ABS and transmission issues, these scanners cover a broad spectrum of vehicle systems.
- Real-Time Monitoring: Access live data streams including RPM, engine temperature, and sensor readings, allowing for dynamic diagnostics.
- Wireless Convenience: Enjoy a fast and stable connection to your PC without the clutter of cables, simplifying the diagnostic process.
Whether you are a seasoned automotive technician or a car owner keen on performing DIY maintenance, a Wi-Fi OBD2 scanner is an invaluable tool for understanding and maintaining your vehicle.
Preparing for Connection: Essential Items
Before you begin the process of connecting your Wi-Fi OBD2 scanner to your PC, ensure you have the following items ready:
- Wi-Fi Enabled PC or Laptop: This will serve as the interface for viewing and analyzing the diagnostic data.
- Foxwell NT809BT Scanner: Ensure your scanner is charged and ready for connection.
- Vehicle Access: Have your car accessible and know the location of the OBD2 port, typically found under the dashboard on the driver’s side.
- Diagnostic Software: Install compatible diagnostic software on your PC. Popular options include Torque, OBD Auto Doctor, or Foxwell’s dedicated PC software, depending on your scanner’s compatibility and your diagnostic needs.
Important Pre-Connection Step: Turn your car’s ignition to the “ON” position without starting the engine. This activates the car’s electronic systems and enables the scanner to establish a connection.
Step-by-Step Guide: Connecting NT809BT to Your PC via Wi-Fi
Step 1: Physical Connection to OBD2 Port
Locate the OBD2 port in your vehicle. It is usually positioned beneath the steering wheel column or in the vicinity of the center console. Firmly plug the Foxwell NT809BT scanner into this port until you hear a click, indicating a secure connection. Once connected, the scanner should power on, and you should see indicator lights illuminating.
Step 2: Establishing Wi-Fi Connection with NT809BT
- Activate Wi-Fi on your PC: Open your PC’s Wi-Fi settings to view available networks.
- Identify NT809BT Network: Look for the Wi-Fi network name associated with your scanner. It will likely be named similarly to “NT809BT_WIFI”.
- Connect to Scanner’s Wi-Fi: Select the NT809BT network and connect using the default password provided in the scanner’s manual, which is often “1234” or a similar simple code.
Step 3: Configuring Diagnostic Software
Launch the diagnostic software you’ve installed on your PC. Navigate to the software’s settings or connection setup menu.
- Select Wi-Fi Connection: Choose Wi-Fi as the preferred connection type within the software settings.
- Input Scanner Details: Enter the IP address and port number specific to your NT809BT scanner. These details are essential for establishing communication and can typically be found in the scanner’s user manual.
- Save Configuration: After entering the necessary details, save the connection settings in your diagnostic software.
Step 4: Verifying the Connection
Most diagnostic software includes a “Test Connection” or similar function. Use this feature to ensure that your PC is successfully communicating with the NT809BT scanner. Upon successful setup, you should start receiving real-time data from your vehicle, confirming a successful connection between your PC and the Wi-Fi OBD2 scanner. Congratulations, you are now connected and ready to diagnose!
Advantages of Using Foxwell NT809BT
The Foxwell NT809BT stands out from basic OBD2 scanners due to its enhanced capabilities and features that provide significant value:
- Effortless Updates: Keep your scanner up-to-date with the latest vehicle models and diagnostic protocols through convenient Wi-Fi updates, ensuring long-term compatibility.
- Comprehensive System Coverage: Unlike basic scanners that primarily focus on engine codes, the NT809BT offers extensive diagnostics for systems like ABS, airbags, transmission, and more, providing a holistic view of your vehicle’s health.
- Versatile Operation: Use the NT809BT as a standalone device with its intuitive touchscreen interface for quick checks, or connect it to your PC for more detailed analysis and reporting.
Whether you are a novice or an experienced automotive professional, the Foxwell NT809BT is a robust tool that enhances your diagnostic capabilities.
Troubleshooting Common Connection Issues
Encountering issues while trying to connect your Wi-Fi OBD2 scanner to your PC can be frustrating. Here are some troubleshooting steps for common problems:
PC Not Detecting NT809BT Network
- Check Physical Connection: Ensure the NT809BT is securely plugged into your car’s OBD2 port.
- Verify Ignition Status: Double-check that your car’s ignition is turned to the “ON” position.
Software Not Receiving Data
- Correct IP and Port: Verify that you have correctly entered the IP address and port number from the scanner’s manual into your diagnostic software.
- Restart Devices: Reboot both the NT809BT scanner and your PC to refresh the connection.
Intermittent Connection Drops
- Proximity: Ensure your PC is within a reasonable range of the scanner to maintain a stable Wi-Fi signal.
- Firmware Updates: Check for and install any available firmware updates for your NT809BT, as updates often include bug fixes that can improve connectivity.
Tips for Maximizing Your Diagnostic Setup
- Regular Updates: Keep your NT809BT firmware updated to benefit from the latest features and vehicle compatibility. Foxwell provides easy update processes over Wi-Fi.
- Software Customization: Take advantage of the customization options in your PC diagnostic software. Configure the display to prioritize the data parameters most relevant to your diagnostic tasks.
- Data Logging and Export: Utilize your PC to save and export diagnostic reports. This is invaluable for tracking vehicle issues over time and sharing data with mechanics if needed.
Final Thoughts on PC-Connected OBD2 Diagnostics
Investing in a Foxwell NT809BT and connecting it to your PC elevates your ability to monitor and maintain your vehicle. This setup provides a powerful diagnostic platform, enabling you to address everything from routine check engine light issues to in-depth performance analysis. By following these steps to connect your PC to a Wi-Fi OBD2 scanner, you gain unprecedented insight into your car’s operation, empowering you to make informed decisions about its care and upkeep. Embrace this technology to enhance your car maintenance routine and drive with greater confidence.
Frequently Asked Questions
How do I establish a connection between my OBD2 scanner and my computer?
Connect the OBD2 scanner to your vehicle, then connect your computer to the scanner’s Wi-Fi network, and finally, configure your diagnostic software with the scanner’s details.
What is the procedure for using a Wi-Fi OBD2 scanner?
Begin by plugging the scanner into your car’s OBD2 port, then establish a Wi-Fi connection to your chosen device (like a PC), and use a compatible app or software to interpret the diagnostic data.
Can a computer be used for car diagnostics?
Yes, by connecting a Wi-Fi OBD2 scanner to your computer and utilizing diagnostic software, you can effectively perform comprehensive car diagnostics.