Seeing the check engine light illuminate on your dashboard can be unsettling, especially in a modern vehicle with a push button start system. You might wonder what’s wrong and how to figure it out without an immediate trip to the mechanic. The good news is, for many common car issues, you can get a preliminary diagnosis yourself using an OBD2 scanner. This guide will walk you through exactly how to use an OBD2 scanner with a push button start car, empowering you to understand those cryptic engine codes and take informed action.
Understanding the Check Engine Light and OBD2 System
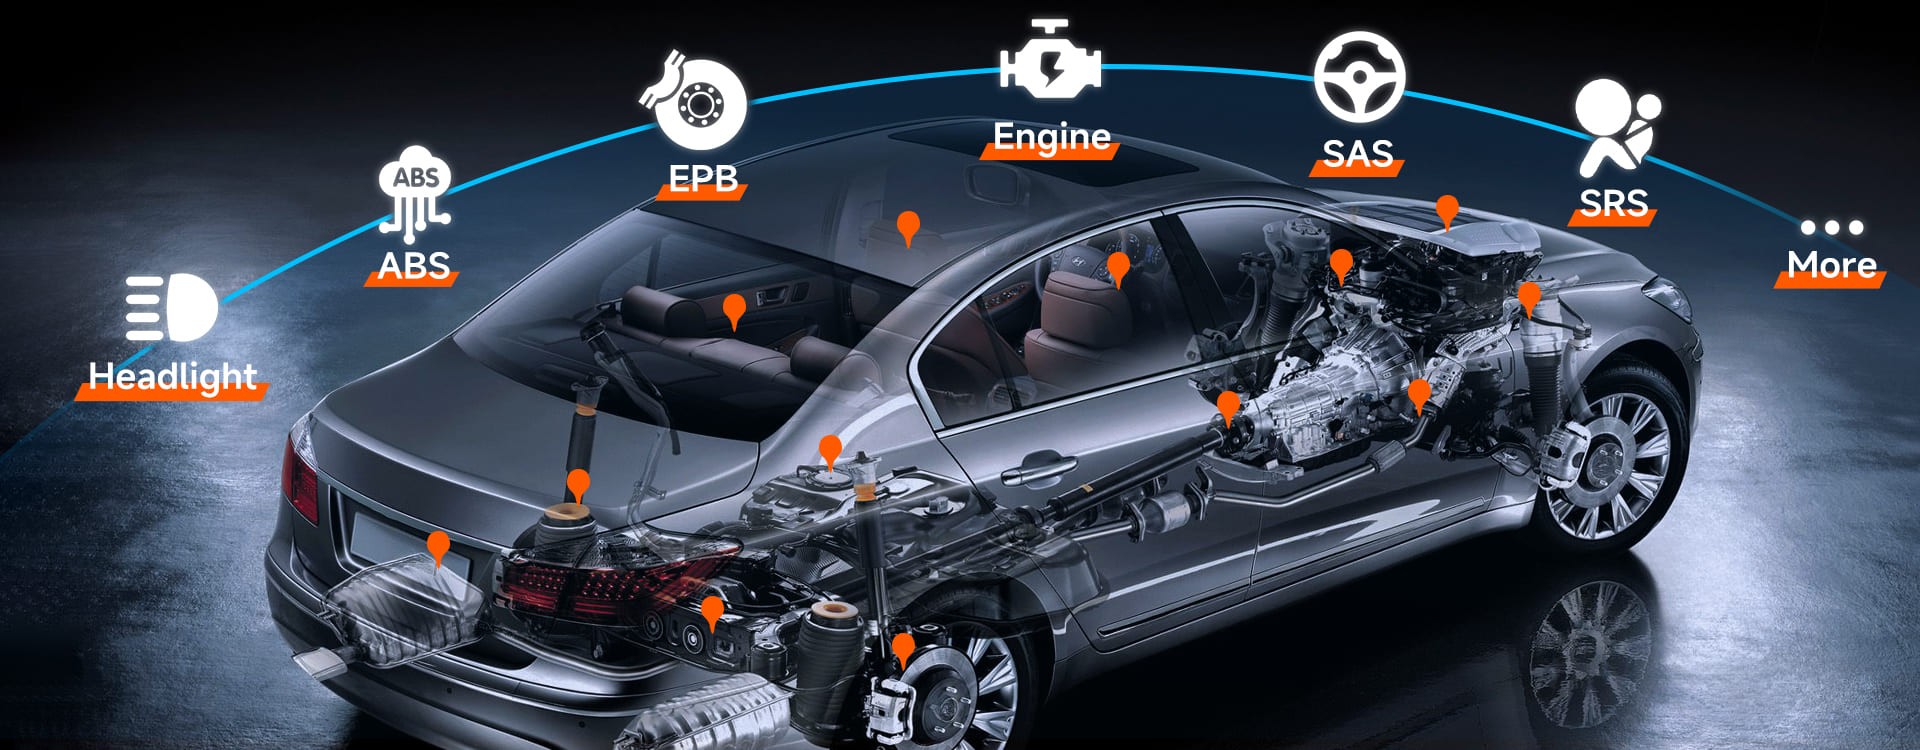 OBD2 Scanner Functions Displaying Diagnostic Capabilities
The check engine light, often represented by an engine symbol or the words “CHECK ENGINE” or “SERVICE ENGINE SOON”, is your car’s way of communicating that its onboard diagnostic system has detected a problem. When your vehicle senses an issue affecting its emissions or performance, it generates a Diagnostic Trouble Code (DTC). These codes are not meant to be secret; they are designed to help technicians pinpoint the source of the problem efficiently. From a loose gas cap to a malfunctioning sensor, the range of potential issues is broad, making these codes invaluable for effective car maintenance and repair.
The OBD2 (On-Board Diagnostics II) system is a standardized system implemented in most vehicles manufactured after 1996. This standardization is key because it means that regardless of your car’s make or model (within the standard), you can use a universal OBD2 scanner to access these trouble codes. The OBD2 system uses a standard OBD2 port, typically located under the dashboard on the driver’s side of your vehicle. This port is your entry point for connecting an OBD2 scanner and accessing the wealth of diagnostic information your car’s computer holds. Using an OBD2 scanner is often the quickest and most reliable way to understand why your check engine light is on, saving you both time and potentially costly guesswork at the repair shop.
Push Button Start and Diagnostics: Is There a Difference for OBD2 Scanners?
Modern push button start systems offer convenience, replacing the traditional turn-key ignition with an electronic start mechanism. While push button start technology adds a layer of sophistication to your vehicle, using an OBD2 scanner with a push button start car is fundamentally the same as with a traditional ignition system. The OBD2 port and the diagnostic protocols remain consistent.
The primary difference you might encounter relates to manually trying to trigger diagnostic modes using button combinations, as mentioned in some older guides. However, for the purpose of using an OBD2 scanner, the push button start system doesn’t introduce any significant changes or complications. You don’t need to worry about special procedures related to the push button start when connecting and using your OBD2 scanner. The process is designed to be straightforward and universally accessible, regardless of your car’s ignition type.
Step-by-Step Guide: How to Use an OBD2 Scanner with a Push Button Start Vehicle
Using an OBD2 scanner is a simple process. Follow these steps to retrieve engine codes from your push button start vehicle:
- Ensure Vehicle Safety: Park your car in a safe, level location and engage the parking brake.
- Locate the OBD2 Port: Look for the OBD2 port, which is usually located under the dashboard on the driver’s side. It’s typically within reach of the steering column and may be near the pedals.
- Turn On the Ignition (Accessory Mode): With your foot off the brake pedal, press the push button start once or twice. This will turn on the vehicle’s electrical system and put it in “accessory” or “ignition ON” mode without starting the engine. It’s crucial not to start the engine during this process.
- Plug in the OBD2 Scanner: Connect your OBD2 scanner to the OBD2 port. Ensure it’s firmly plugged in.
- Power On the Scanner: Most OBD2 scanners will power on automatically once connected to the OBD2 port. Some may have a power button that you need to press.
- Navigate the Scanner Menu: Follow the scanner’s on-screen prompts. Typically, you’ll need to select options like “Read Codes,” “Diagnostic Codes,” or similar terms from the scanner’s menu. The exact wording may vary depending on your scanner model.
- Read and Record the Codes: The scanner will display any stored DTCs. Write down each code exactly as it appears, or take a picture of the scanner screen. Note down all codes present.
- (Optional) Clear Codes (With Caution): Many scanners offer the option to clear codes. Only clear codes after you have recorded them and understood their meaning. Clearing codes without addressing the underlying issue will only temporarily turn off the check engine light, and it will likely return. Clearing codes is generally done after repairs have been made to confirm the problem is resolved.
Choosing the Right OBD2 Scanner for Your Needs
The market offers a wide range of OBD2 scanners, from basic, inexpensive models to more advanced, feature-rich professional tools. For most DIY car owners, a basic OBD2 scanner is sufficient for reading and clearing engine codes. However, consider these features when choosing a scanner:
- DTC Lookup: Scanners with a built-in DTC lookup function can provide instant descriptions of the codes, saving you time searching online.
- Live Data: Some scanners offer live data streaming, allowing you to monitor real-time engine parameters like temperature, RPM, and sensor readings. This can be helpful for diagnosing more complex issues.
- Compatibility: Ensure the scanner is compatible with your vehicle’s make and model, although most OBD2 scanners are universally compatible with OBD2 compliant vehicles.
- Ease of Use: Look for a scanner with an intuitive interface and clear display.
- Updates: Some advanced scanners offer Wi-Fi or internet connectivity for software updates, ensuring they remain compatible with newer vehicles and codes.
Models like the Foxwell NT710 and similar devices offer a good balance of features and user-friendliness for DIY diagnostics.
Interpreting OBD2 Codes: Understanding What Your Car is Telling You
Once you have retrieved the DTCs, the next crucial step is understanding what they mean. OBD2 codes are typically five characters long. The first character indicates the system affected (e.g., P for Powertrain, B for Body, C for Chassis, U for Network). The following numbers and letters provide more specific information about the fault.
To interpret the codes, you can:
- Use your scanner’s built-in DTC lookup function (if available).
- Search online databases: Websites and apps dedicated to OBD2 code definitions are readily available. Search using the code (e.g., “P0300 definition”). Reputable automotive websites and forums are good resources.
- Consult your vehicle’s repair manual: For detailed information specific to your car.
Prioritize codes related to critical systems, such as powertrain codes (P-codes), as these often relate to engine or transmission issues. Remember that a DTC points you towards the area of the problem, not necessarily the exact faulty part. Further diagnosis may be required to pinpoint the root cause.
Precautions and Important Reminders
 Mechanic Using Car Scanner for Vehicle Diagnostics
While using an OBD2 scanner is generally safe and straightforward, keep these precautions in mind:
- Avoid Draining the Battery: Do not leave the ignition in the “ON” position for extended periods without the engine running, as this can drain your car battery.
- Accurate Code Interpretation is Key: Take time to properly understand the meaning of the codes. Misinterpreting codes can lead to unnecessary repairs or overlooking the real problem.
- OBD2 Scanners are Diagnostic Tools, Not Fixes: An OBD2 scanner helps identify potential problems, but it doesn’t fix them. Repairs may still be necessary.
- When to Seek Professional Help: If you are uncomfortable interpreting codes, unsure about the diagnosis, or if the codes indicate a serious issue (e.g., engine misfires, transmission problems), it’s always best to consult a qualified mechanic.
Conclusion
Learning how to use an OBD2 scanner with a push button start vehicle empowers you to take a proactive role in your car’s maintenance. By understanding how to retrieve and interpret engine codes, you can gain valuable insights into your vehicle’s health, make informed decisions about repairs, and potentially save money on unnecessary trips to the mechanic. Remember to prioritize safety, take your time with the diagnostic process, and don’t hesitate to seek professional help when needed.
FAQs
How do I use an OBD2 scanner on a car with push button start?
To use an OBD2 scanner on a push button start car, locate the OBD2 port under the dash, turn the ignition to the “ON” position without starting the engine (press start button once or twice without pressing the brake), plug in the scanner, and follow the scanner’s prompts to read diagnostic trouble codes.
Can I diagnose my check engine light myself with an OBD2 scanner?
Yes, you can diagnose your check engine light yourself using an OBD2 scanner. The scanner will retrieve the diagnostic trouble codes that triggered the light, helping you understand the potential issues and allowing for informed decisions about repair or maintenance.