Embarking on a model car project, especially one as iconic as the 1979 Firebird Trans Am, often begins with the allure of the box art. Like many modelers, I’m a sucker for captivating box art, and the MPC 1979 Firebird Trans Am kit is no exception. However, experience teaches us that the box’s promise doesn’t always align with the kit’s reality. This Work-In-Progress (WIP) share is for anyone considering building this MPC kit, offering insights and heads-ups based on my recent build experience.
What you start with when opening the box:
The first step for any modeler is often the spoon test to check paint compatibility and color. In my enthusiasm, I applied a few too many coats on the Firebird body, resulting in a slightly darker shade than initially intended.
Moving on, the decal sheet included in the 1979 Firebird Trans Am kit is genuinely impressive. The quality and detail are commendable and a definite high point of this model kit.
However, the build takes a turn when you examine the parts sprues more closely. The way the bumpers and spoiler are attached is rather unusual and frankly, not ideal for clean parts removal and minimal damage.
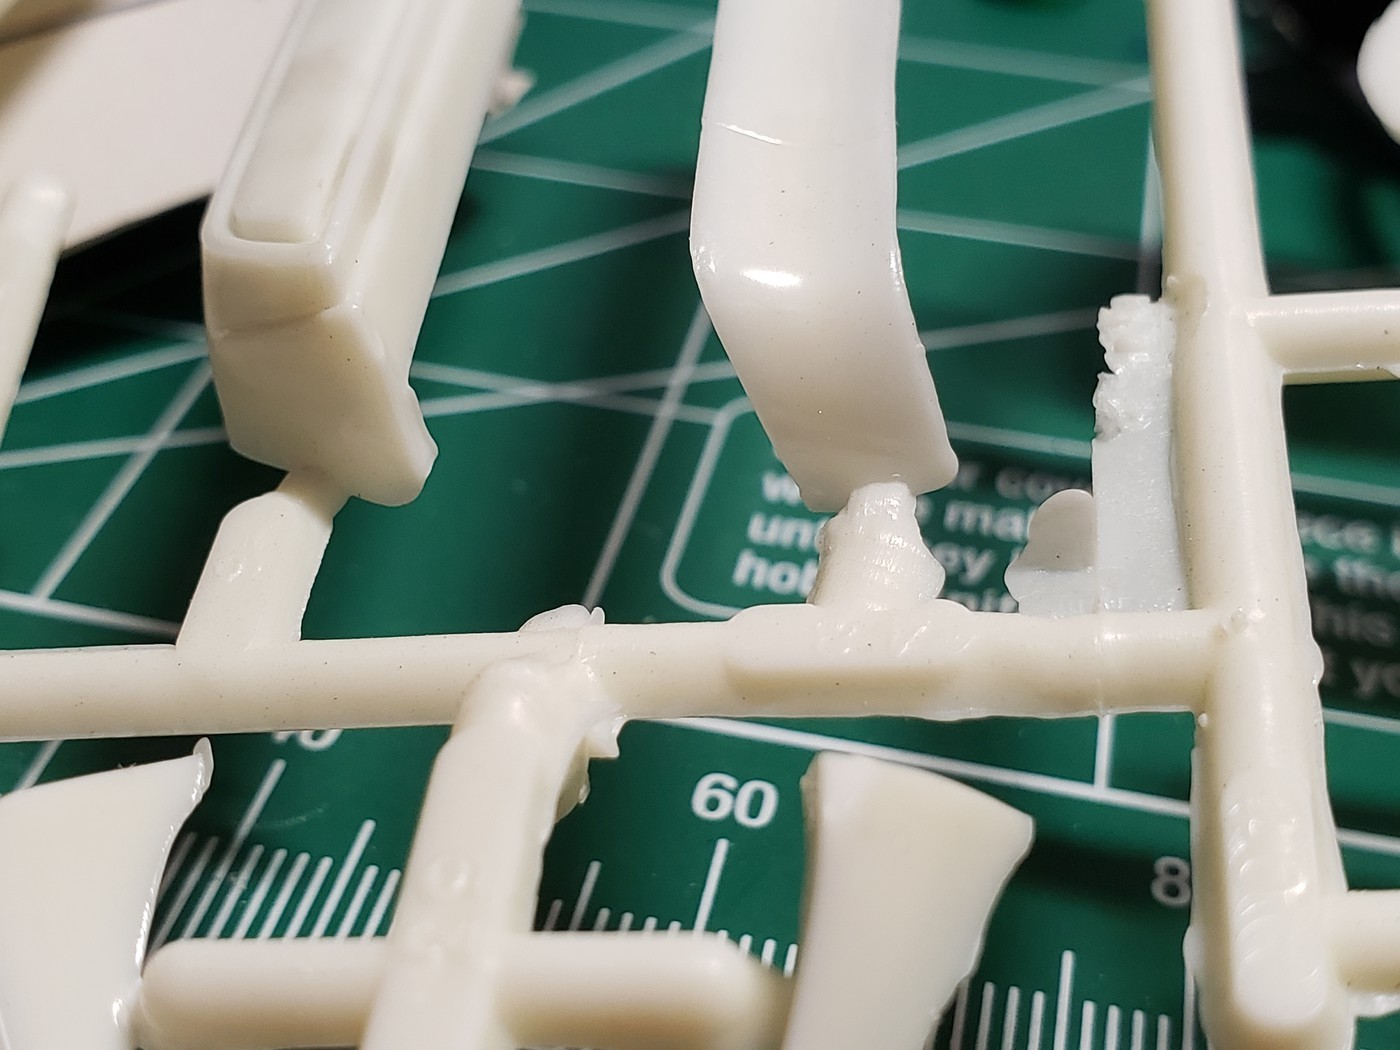 Sprue attachment of bumpers and spoiler in the model kit
The parts layout is just one example of the challenges encountered with this MPC 1979 Firebird Trans Am kit. My kit, at least, presented a range of fitment issues that required extra attention and workarounds.
Focusing on the Firebird body, attaching the front and rear bumpers revealed significant fitment problems. They simply did not align correctly with the body. Compromises had to be made on the intended fit, and even then, substantial gaps remained. Shims were necessary to fill these large gaps, particularly noticeable at the rear end. The following images illustrate the fit issues from both sides of the rear bumper section.