For owners of a 2005 Acura TL, understanding the location and function of your OBD2 port is crucial for vehicle diagnostics and maintenance. This port serves as the gateway to your car’s computer system, allowing mechanics and DIY enthusiasts to read diagnostic trouble codes, monitor vehicle parameters, and ensure optimal performance. This article will guide you through locating your 2005 Acura TL’s OBD2 port and performing basic tests to confirm its functionality.
Finding the OBD2 Port on Your 2005 Acura TL
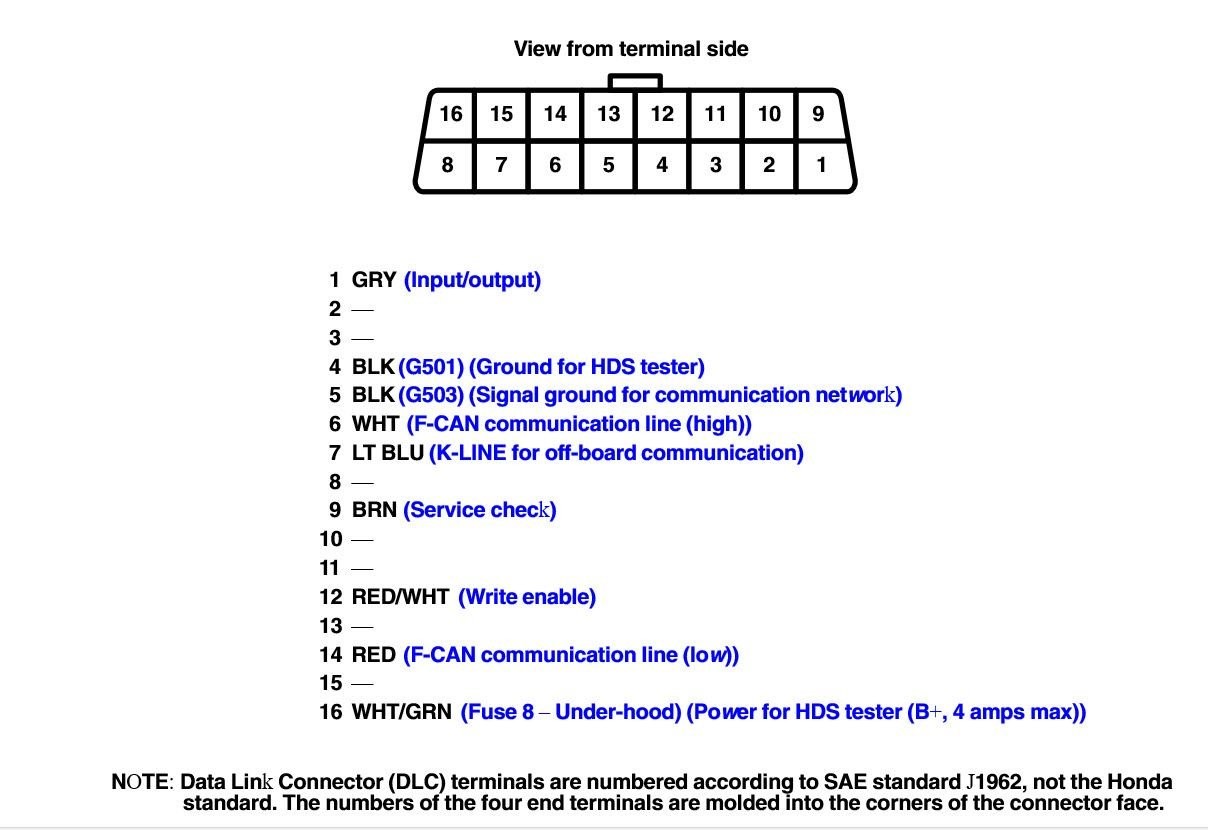
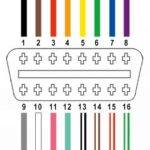
The On-Board Diagnostics II (OBD2) port in a 2005 Acura TL is typically located within the driver’s side interior. You can find it beneath the dashboard, usually in the vicinity of the steering column. It’s designed to be easily accessible, often positioned in the knee well area. You might need to crouch down and look under the dash to spot it. The port is a 16-pin, D-shaped connector, as shown in the image below.
 OBD2 port pin layout diagram for automotive diagnostics
Testing the 2005 Acura TL OBD2 Port
If you’re experiencing issues connecting a diagnostic scanner to your 2005 Acura TL, or suspect a problem with the OBD2 port itself, performing a few basic tests can help pinpoint the issue. These tests involve checking for proper ground and power supply to the port using a multimeter.
Ground Continuity Test
- Pin 4 to Vehicle Ground: Check for continuity between Pin 4 of the OBD2 port and a known vehicle ground point. A common ground location is behind the driver’s side kick panel. A solid connection (continuity) is expected here.
- Pin 5 to Vehicle Ground: Similarly, test for continuity between Pin 5 and the same vehicle ground point. Like Pin 4, Pin 5 should also show a solid connection to ground.
Voltage Readings
- Pins 4 & 5 Voltage: Measure the voltage between Pin 4 and Pin 5. This reading should be very low, ideally less than 2V, and in the original test, it was around 0.5 mV.
- Pin 16 to Vehicle Ground: Check the voltage between Pin 16 and the vehicle ground. Pin 16 should supply battery voltage to the OBD2 port. A normal reading should be around 12.2V, and in the test, it was 12.23V.
- Pins 4 & 16 Voltage: Measure the voltage between Pin 4 and Pin 16. This should also reflect the battery voltage, around 12.2V. The test reading was 12.26V.
- Pins 5 & 16 Voltage: Finally, check the voltage between Pin 5 and Pin 16. This reading should also be approximately 12.2V, consistent with the test result of 12.26V.
If your readings are similar to these, it indicates that the OBD2 port is likely receiving proper power and ground.
Addressing Connection Issues
If your OBD2 port tests appear normal, but you still have trouble connecting diagnostic devices, the issue might be related to the physical connection itself. As noted in the original observation, a loose or improperly mounted port can lead to intermittent connections. Compare the connection feel to another vehicle, like a 2007 Acura RDX, to gauge if your 2005 Acura TL’s port feels less secure. Ensuring the diagnostic device is firmly and correctly seated in the OBD2 port is crucial for establishing a stable connection and accurate data transfer. If the port feels loose, further inspection of the port mounting and connector pins might be necessary.
By following these steps, you can effectively locate and test the OBD2 port on your 2005 Acura TL, helping you diagnose and resolve potential connectivity issues for your car’s diagnostic needs.
