Experiencing issues with your Bmw Z3’s convertible top? A common culprit, especially with intermittent problems, is a faulty hood microswitch. This small component plays a crucial role in the operation of your Z3’s electric roof, and thankfully, replacing it is a straightforward DIY task. This guide will walk you through the process of replacing your BMW Z3 hood microswitch, saving you time and money compared to a professional repair.
Before we begin, it’s important to understand the function of this microswitch. Located within the hood mechanism, the microswitch signals to the car’s computer whether the convertible top is properly closed and latched. When this switch malfunctions, it can lead to issues like the roof not opening or closing correctly, or the motor operating erratically.
This guide is designed for BMW Z3 owners who are comfortable with basic DIY car repairs and want to address this common problem themselves. Let’s get started on restoring your BMW Z3’s convertible top to perfect working order.
First, you’ll need to gather the necessary tools and a replacement microswitch. For this repair, you will need:
- A new miniature microswitch with a lever. A readily available option can be sourced from electronics suppliers like Maplin (though equivalents are widely available online if Maplin is not accessible).
- A T25 Torx screwdriver – essential for removing the casing that houses the microswitch.
- Basic wiring tools: wire strippers, soldering iron, solder, and heat shrink tubing for neat and durable wire connections.
- Small spade terminals to connect to the new microswitch.
Once you have your tools and replacement switch, you can proceed with the repair.
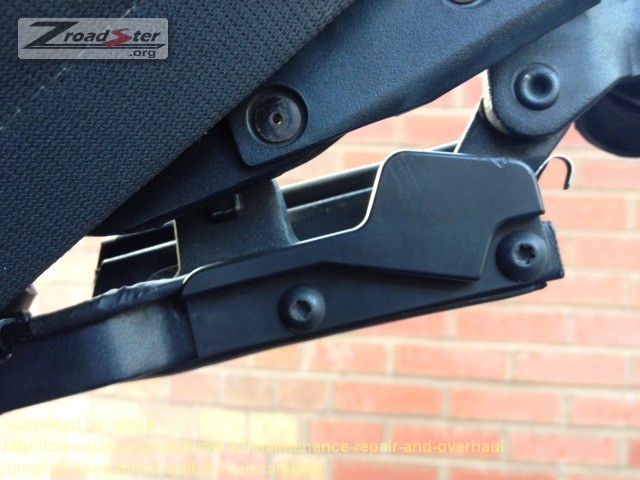
The first step is to access the microswitch. This is located in the center of the convertible top, just above the passenger side window.
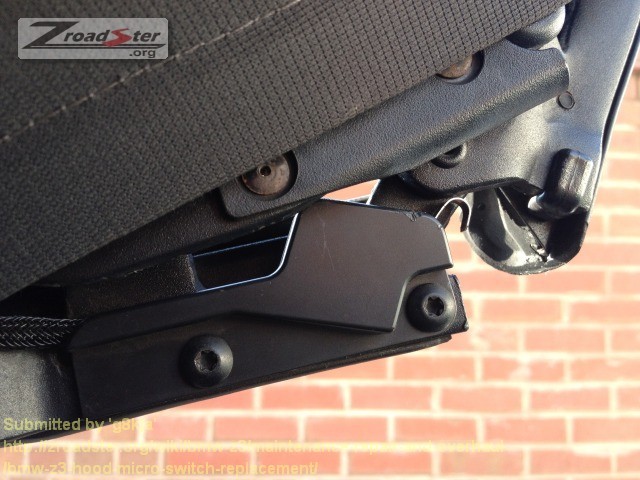 Accessing the BMW Z3 microswitch housing using a T25 Torx screwdriver
To get a clear view and easy access, it’s helpful to slightly lift the convertible top. You’ll see a plastic casing that houses the microswitch. This casing is secured with Torx screws. Use your T25 Torx screwdriver to carefully remove these screws. Store the screws safely to avoid losing them.
With the screws removed, you can now detach the casing to reveal the microswitch.
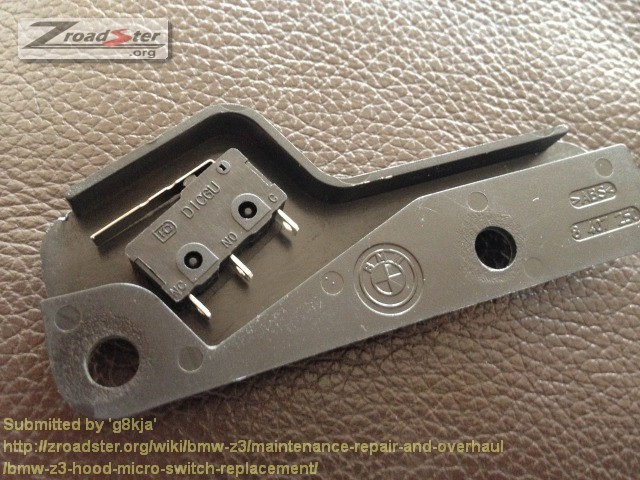
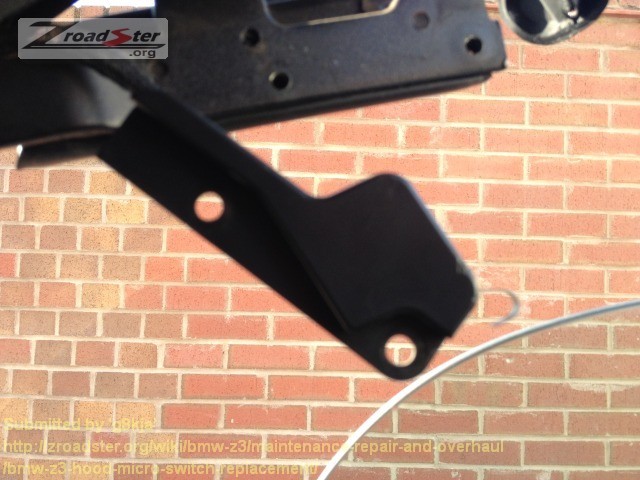 BMW Z3 microswitch housing fully removed
Carefully disconnect the wires attached to the old microswitch. Note their positions or take a photo for reference to ensure correct reconnection later. After disconnecting the wires, you can gently pop out the old microswitch from its housing. Keep the casing in a safe place for reassembly.
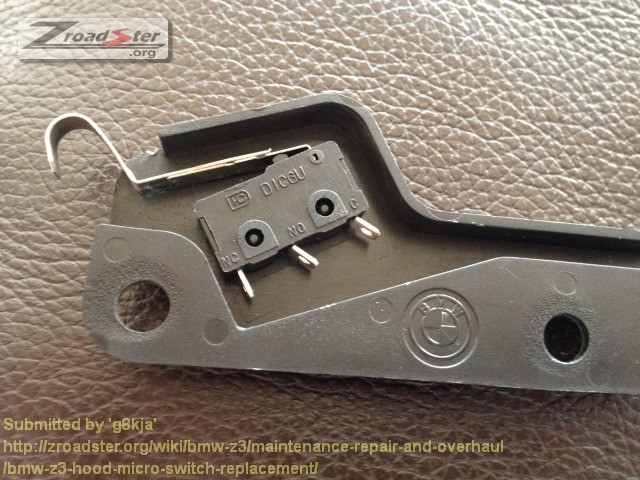
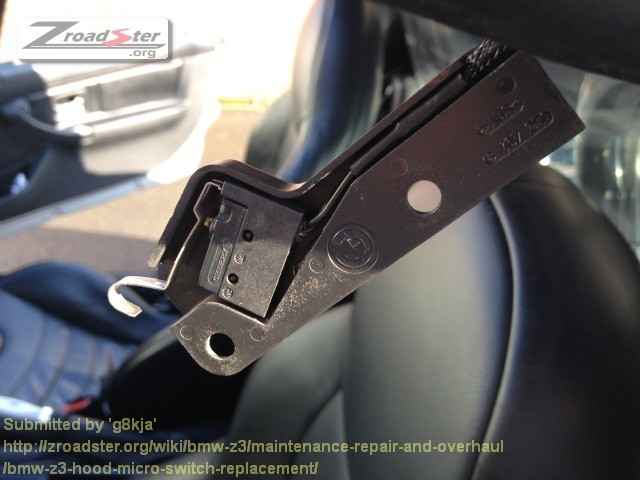 Rear view of the BMW Z3 microswitch to be removed
Now that the old switch is out, detach it completely by cutting the wires close to the switch itself. This leaves you with the wires ready to be connected to the new microswitch.
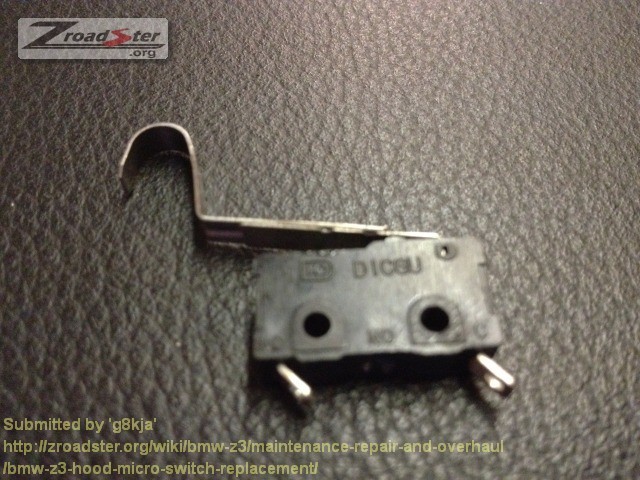
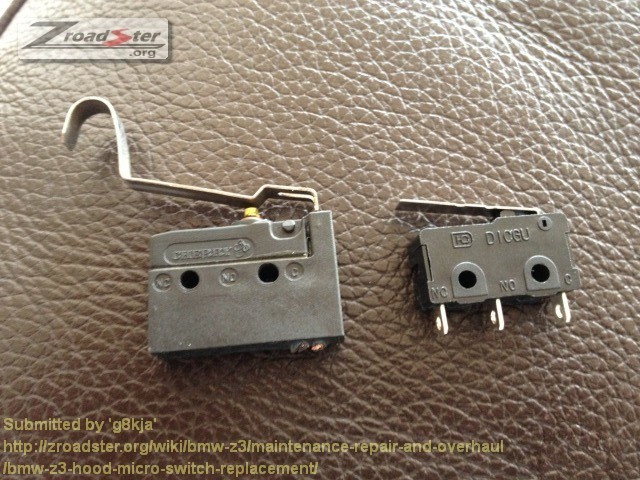 BMW Z3 old microswitch removed alongside the new replacement switch
Compare the old and new switches. You’ll likely notice a difference in the lever arm. The new switch’s lever might be shorter than required. This is where a small modification comes in. To ensure the new switch functions correctly, you need to extend its lever so it properly interacts with the convertible top mechanism when closing.
 Close up showing lever difference between old and new BMW Z3 microswitches
Carefully cut the lever from the old microswitch. Then, using a strong adhesive (like epoxy glue), attach this lever extension to the lever of the new microswitch. Ensure it’s securely bonded and aligned to function as a proper extension. This extended lever will now be long enough to be pressed by the hood when it closes, activating the switch.
 Modified new microswitch with extended lever for BMW Z3 hood
For easier wiring within the housing, you can remove the middle terminal from the new microswitch, as only two terminals are needed for this application. This provides a bit more space for maneuvering the wires during re-connection.
 Terminals of the new microswitch with middle terminal removed for easier wiring
Return to your BMW Z3 and prepare the wires for the new switch. You’ll notice the existing wires are now too short to reach the separate terminals on the new microswitch. To remedy this, you need to extend these wires. Gently pull back the plastic sheathing to expose more wire. Solder short lengths of additional wire to each of the existing wires to extend them. For a professional and durable finish, use heat shrink tubing over the soldered joints to insulate and protect them. Finally, crimp small spade terminals onto the ends of these extended wires. These spade terminals will connect to the new microswitch.
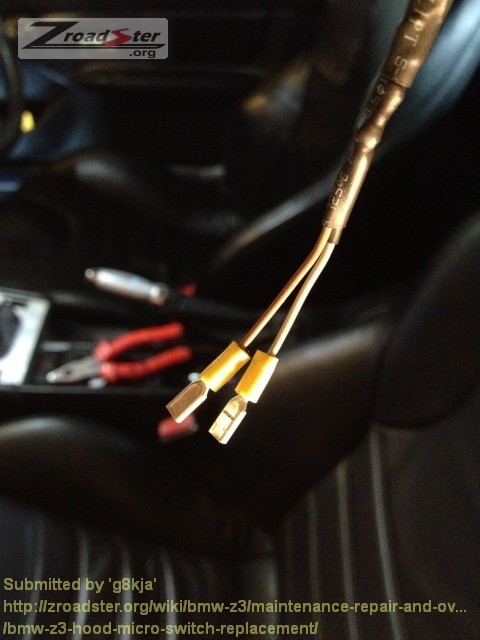 Extending the wires and adding spade connectors for the new BMW Z3 microswitch
Now, carefully place the modified microswitch back into its housing and connect the spade terminals to the switch terminals. Ensure a secure connection.
 New microswitch installed in housing with wires connected for BMW Z3 hood
Before fully reassembling, test the new microswitch. The convertible top should operate normally when the lever is in its resting position (simulating the roof being open). If you manually depress the lever (simulating the roof being closed and pressing on the switch), the roof operation should be disabled. This confirms the switch is working correctly.
If the test is successful, re-attach the housing using the Torx screws you removed earlier.
 BMW Z3 microswitch housing reinstalled with new switch
Carefully close the convertible top, observing the lever as it contacts the roof. Ensure it is being pressed sufficiently to activate the microswitch. Then, test the full operation of your BMW Z3’s convertible top. Open and close it a few times to confirm the repair is successful and the intermittent issues are resolved.
You may need to make minor adjustments to the lever extension to ensure perfect contact with the roof. If the lever is too short, the switch might not activate, and the roof could operate even when closed. If it’s too long, it could put excessive pressure on the switch and potentially damage it. Fine-tuning the lever length is key to correct operation.
With a correctly installed and adjusted microswitch, your BMW Z3 convertible top should now be functioning reliably. This DIY repair is a cost-effective solution to a common BMW Z3 problem, allowing you to enjoy your roadster with confidence.