
Your car is more than just transportation; it’s a valuable asset and a reflection of your personality. Discovering scratches can be disheartening, but it’s not the end of the world. Knowing how to fix scratches on your car is a valuable skill for any car owner. With the right methods, you can effectively remove scratches and restore your car’s flawless finish.
This guide will explore different types of car scratches, provide step-by-step instructions for DIY scratch removal, and help you decide when professional help is needed. Let’s dive into the world of car scratch repair and keep your vehicle looking its best.
Understanding Car Scratches: Types and Identification
Before you start any repair, it’s crucial to identify the type of scratch your car has sustained. Car paint consists of several layers: clear coat, base coat (color), primer, and the metal body. The depth of the scratch determines the repair method. There are three primary types of car scratches:
1. Clear Coat Scratches: Surface Level Damage
Clear coat scratches are the most superficial, affecting only the top clear coat layer, which protects the color paint. These are often caused by minor abrasions like brushes from car washes, fingernails, light brushes with vegetation, or swirling during improper washing.
Characteristics:
- Shallow: They don’t penetrate the color layer.
- Often Invisible at Certain Angles: They might disappear when viewed from different angles or when wet.
- Easiest to Fix: Typically removable with simple polishing or scratch removal compounds.
2. Base Coat Scratches: Deeper into the Color
Base coat scratches are more significant, penetrating through the clear coat and into the base coat, which contains the car’s color. These scratches are caused by sharper objects or more forceful impacts, such as keying, road debris, or minor collisions.
Characteristics:
- Visible Color: You might see the color of your car within the scratch line or a slightly different shade.
- Felt with Fingernail: You can usually feel a slight edge or depth when running your fingernail across them, but it doesn’t catch deeply.
- Require More Attention: Often need touch-up paint in addition to polishing to fully conceal.
3. Primer Coat Scratches (Deep Scratches): Serious Damage
Primer scratches, also known as deep scratches, are the most severe type. They go through the clear coat, base coat, and reach the primer layer, which is the undercoat that helps paint adhere to the metal. These are caused by significant impacts, accidents, or deep gouges from sharp objects.
Characteristics:
- Exposed Primer: You’ll likely see a gray, black, or white layer (the primer color) within the scratch.
- Catches Fingernail: Your fingernail will definitely catch and sink into the scratch.
- Professional Repair Recommended: Often require professional repair for a seamless finish, involving filling, sanding, and repainting.
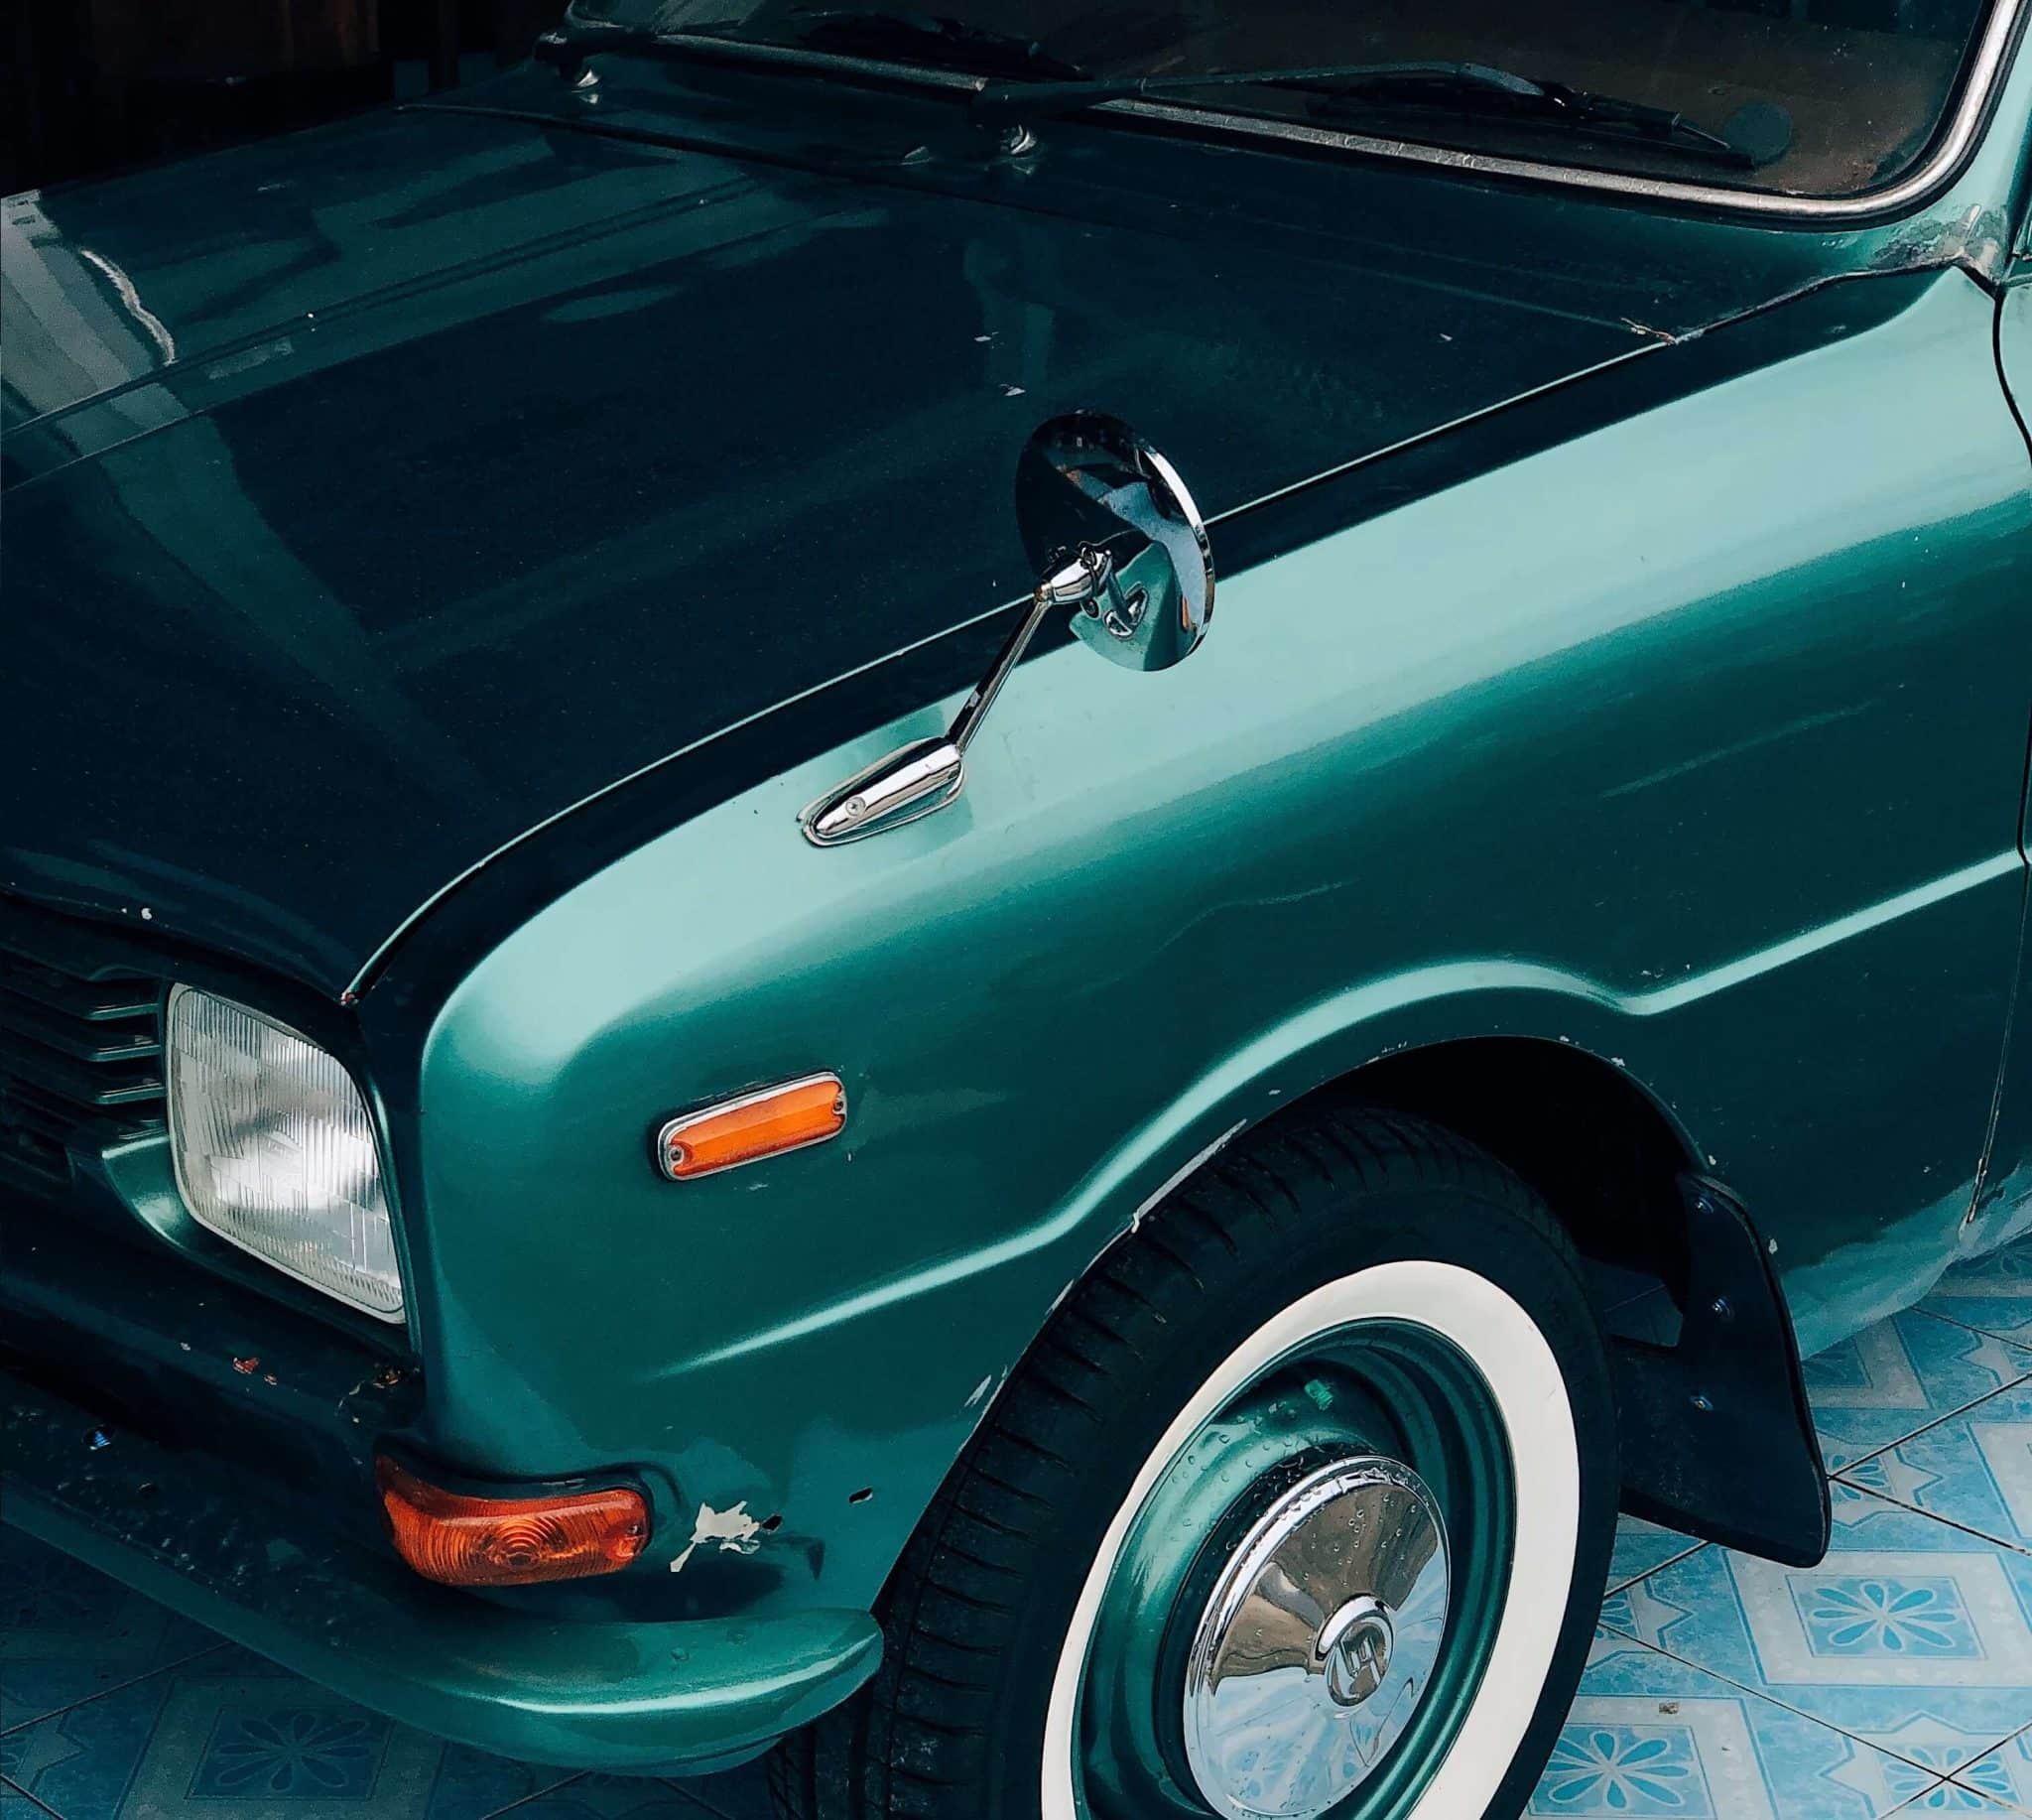 Car Scratch Identification and Types
Identifying car scratch types is crucial for choosing the correct repair method. This image highlights different scratch depths on a car panel.
How to Determine the Scratch Depth: The Fingernail Test and Polish Check
Accurately identifying the scratch type is essential for effective DIY repair. Here are two simple methods to determine the depth of the scratch:
1. The Fingernail Test:
This is a quick and easy way to gauge scratch depth.
- Method: Carefully run your fingernail perpendicular to the scratch.
- Clear Coat Scratch: If your fingernail doesn’t catch in the scratch and glides smoothly over it, it’s likely a clear coat scratch.
- Base Coat Scratch: If your fingernail catches slightly, but not deeply, it’s likely a base coat scratch.
- Primer/Deep Scratch: If your fingernail catches noticeably and sinks into the scratch, it’s a primer or deep scratch.
2. The Polish Test:
This method uses car polish to see if the scratch disappears, indicating a clear coat issue.
- Materials: Microfiber cloth and car polish.
- Method: Apply a small amount of car polish to a clean microfiber cloth. Gently rub the polish onto the scratched area in a circular motion.
- Clear Coat Scratch: If the scratch disappears after polishing, it confirms it was a clear coat scratch.
- Base Coat or Deeper Scratch: If the scratch remains visible after polishing, it indicates a base coat or deeper scratch that requires more extensive repair.
Step-by-Step Guide to Fix Scratches on Your Car
The approach to fixing car scratches depends on the type identified. Here are detailed steps for repairing each type, starting from the least severe to the most complex.
Repairing Clear Coat Scratches: Simple DIY Solutions
Clear coat scratches are often easily fixed at home with basic tools and materials.
Step 1: Thoroughly Clean the Scratched Area
- Action: Wash the area around the scratch with car wash soap and water to remove dirt, grime, and debris.
- Importance: Cleaning prevents further scratching during the repair process and ensures the repair products work effectively.
- Drying: Dry the area completely with a clean microfiber towel.
Step 2: Apply Scratch Remover Compound
- Product: Use a dedicated scratch remover compound designed for clear coat scratches. These products contain mild abrasives that gently level the clear coat.
- Application: Apply a small amount of scratch remover to a clean microfiber applicator pad or cloth.
- Buffing: Rub the compound into the scratch using a circular motion with light to medium pressure. Continue buffing for a few minutes until the scratch appears to diminish or disappear.
Step 3: Polish to Restore Shine
- Product: Use a car polish to refine the surface and restore the glossy shine.
- Application: Apply a small amount of car polish to a clean microfiber cloth.
- Buffing: Buff the polished area in circular motions until a high gloss is achieved. This step removes any micro-scratches and haze left by the scratch remover.
Repairing Base Coat Scratches: Touch-Up and Blending
Base coat scratches require a bit more effort and may involve touch-up paint to restore the color layer.
Step 1: Clean the Damaged Area
- Action: Clean the area around the scratch thoroughly with car wash soap and water, and dry it completely.
Step 2: Apply Touch-Up Paint (Matching Car Color)
- Product: Obtain touch-up paint that precisely matches your car’s color code (usually found on a sticker in your car’s door jamb or owner’s manual).
- Application: Use a fine-tipped applicator brush (often comes with the touch-up paint or use a toothpick) to carefully apply thin layers of touch-up paint directly into the scratch. Apply in thin coats, allowing each coat to dry completely before applying the next (follow paint drying time instructions). Build up the paint level to be slightly above the surrounding paint.
Step 3: Level with Sandpaper (Wet Sanding – Optional but Recommended for Best Results)
- Materials: 2000-grit sandpaper, water in a spray bottle, and a sanding block (optional).
- Wet Sanding: Lightly wet the 2000-grit sandpaper and the painted area. Gently sand the touch-up paint to level it with the surrounding paint. Use a sanding block for even pressure and avoid sanding the surrounding good paint. Sand in straight, even strokes.
- Purpose: Wet sanding smooths out the touch-up paint, removing brush strokes and making it flush with the original paint for a seamless blend. If you are not comfortable with sanding, you can skip this step, but the finish may not be as smooth.
Step 4: Apply Rubbing Compound
- Product: Use a rubbing compound, which is more abrasive than scratch remover, to blend the touch-up paint and remove sanding marks (if you wet sanded) and any remaining scratch edges.
- Application: Apply a small amount of rubbing compound to a microfiber cloth.
- Buffing: Rub the compound onto the area with firm, circular motions. Buff until the scratch and touch-up paint are blended and the surface is smooth.
Step 5: Polish for Gloss
- Product: Follow up with car polish to restore the shine, removing any haze from the rubbing compound and enhancing the gloss.
- Application & Buffing: Apply polish to a clean microfiber cloth and buff the area until a deep shine is achieved.
Repairing Primer Coat Scratches (Deep Scratches): Professional Level Care
Primer scratches are the most challenging to repair DIY and often benefit from professional attention. However, for minor primer scratches or if you are comfortable with more involved DIY, here are the steps:
Step 1: Thorough Cleaning
- Action: Clean the area around the deep scratch with car wash soap and water and dry thoroughly.
Step 2: Sanding to Smooth Edges
- Materials: 1000-grit and 2000-grit sandpaper, sanding block, and water.
- 1000-grit Sanding: Wet sand the scratch and surrounding area with 1000-grit sandpaper to remove rough edges and prepare the surface. Use a sanding block for even pressure.
- 2000-grit Sanding: Follow with 2000-grit wet sanding to further smooth the area and remove scratches from the 1000-grit paper.
Step 3: Apply Touch-Up Paint (Multiple Coats)
- Product: Matching touch-up paint for your car.
- Application: Apply multiple thin coats of touch-up paint into the scratch, allowing each coat to dry completely. Build the paint level slightly above the surrounding paint to compensate for shrinkage during drying and sanding.
Step 4: Wet Sanding to Level Touch-Up Paint
- Materials: 2000-grit sandpaper, water, sanding block.
- Wet Sanding: Wet sand the touch-up paint with 2000-grit sandpaper to level it with the surrounding paint, removing brush strokes and imperfections.
Step 5: Rubbing Compound for Blending
- Product: Rubbing compound.
- Application & Buffing: Apply rubbing compound to a microfiber cloth and buff the area with firm, circular motions to blend the touch-up paint and remove sanding marks.
Step 6: Polishing for Final Shine
- Product: Car polish.
- Application & Buffing: Apply car polish to a clean microfiber cloth and buff to restore a high-gloss finish.
Important Note: For deep primer scratches, especially those caused by accidents or significant damage, professional auto body repair is highly recommended. Professionals have the tools, expertise, and color-matching technology to ensure a perfect repair.
Essential Tools and Materials for Car Scratch Repair
Having the right tools and materials is essential for effective car scratch repair. Here’s a list of what you’ll generally need:
- Car Wash Soap and Water: For cleaning the car surface.
- Microfiber Cloths: For washing, drying, polishing, and applying compounds.
- Scratch Remover Compound: For clear coat scratches.
- Car Polish: For restoring shine after scratch removal.
- Rubbing Compound: For more aggressive scratch repair and blending touch-up paint.
- Touch-Up Paint (Matching Car Color Code): For base coat and primer scratches.
- Fine-Tip Applicator Brushes or Toothpicks: For applying touch-up paint.
- Sandpaper (2000-grit, 1000-grit): For wet sanding and leveling touch-up paint.
- Sanding Block (Optional): For even sanding pressure.
- Water Spray Bottle: For wet sanding.
- Masking Tape (Optional): To protect surrounding areas when sanding or painting.
Tips to Prevent Car Scratches and Maintain Your Car’s Paint
Prevention is always better than cure. Here are essential tips to minimize scratches and keep your car looking its best:
-
Regular Car Waxing: Apply a coat of car wax regularly (every 2-3 months). Wax adds a protective layer over the clear coat, making it more resistant to minor scratches and environmental damage.
-
Park in Covered Areas: Whenever possible, park your car in a garage or carport. Covered parking protects your car from harsh sunlight, rain, snow, and airborne debris that can cause scratches.
-
Avoid Parking Near Vegetation: Be mindful of parking near trees, bushes, or shrubs. Branches and leaves can easily scratch your car’s paint, especially in windy conditions.
-
Wash Your Car Regularly and Properly: Regular washing removes dirt and grime that can act as abrasives and cause scratches. Use high-quality car wash soap, a microfiber wash mitt, and the two-bucket washing method to minimize swirl marks and scratches during washing.
-
Use Microfiber Cloths for Washing and Drying: Microfiber cloths are soft and non-abrasive, ideal for washing and drying your car without scratching the paint. Avoid using old towels or abrasive cloths.
-
Be Cautious with Automatic Car Washes: Automatic car washes with brushes can sometimes cause swirl marks and scratches, especially on softer paints. Touchless car washes are a gentler alternative, or hand washing is always the safest option.
-
Consider a Car Cover: If you frequently park your car outdoors, especially for extended periods, use a car cover. A car cover protects your car from scratches, UV rays, dust, and other environmental contaminants. Ensure the cover is clean and properly fitted to prevent scratching from the cover itself.
Final Thoughts: DIY vs. Professional Car Scratch Repair
Fixing scratches on your car can range from a simple DIY task to a more complex professional repair. For minor clear coat scratches, DIY methods with scratch removers and polish are often effective and cost-saving. For deeper base coat scratches, touch-up paint and careful blending can yield good results for the dedicated DIYer.
However, for deep primer scratches or if you desire a flawless, factory-finish repair, especially on newer or high-value vehicles, professional auto body shops are the best choice. Professionals possess the expertise, tools, and color-matching technology to handle complex repairs seamlessly.
Ultimately, understanding the type of scratch and your comfort level with DIY will guide you to the best solution to fix scratches on your car and maintain its appearance and value.