Maintaining your vehicle’s engine oil is crucial for its longevity and performance. Many drivers, whether new car owners or seasoned автолюбители, might feel uncertain about how to perform this fundamental check. This guide will provide you with a clear, step-by-step process on how to check your engine oil level manually, a skill that can save you from potential engine troubles and costly repairs. While modern cars often feature digital oil level monitors, knowing how to use the traditional dipstick remains a valuable skill for every car owner.
Step-by-Step Guide to Checking Your Engine Oil Level
Checking your engine oil level is a straightforward process that requires minimal tools and time. By following these steps, you can confidently ensure your engine has the right amount of lubrication.
1. Gather Your Supplies
Before you begin, gather a few essential items:
- Rag or Paper Towels: Oil checks can get a little messy, so having something to wipe the dipstick and any spills is essential.
2. Park on Level Ground and Turn Off the Engine
- Level Surface: Ensure your car is parked on a level surface. This is crucial for an accurate oil level reading. Uneven ground can cause the oil to pool unevenly, giving you a false reading.
- Engine Condition: Turn off your engine completely. For safety and accuracy, it’s generally recommended to check your oil when the engine is cold. This prevents burns from hot engine components and allows the oil to settle back into the oil pan for a more precise measurement. However, some car manufacturers advise checking the oil when the engine is warm, so always consult your vehicle’s owner’s manual for specific instructions.
3. Locate the Dipstick
- Pop the Hood: Open your car’s hood and secure it safely.
- Identify the Dipstick: The engine oil dipstick is usually easily identifiable by its bright handle, often orange or yellow. It is typically located protruding from the engine block. If you are unsure of its location, refer to your owner’s manual – it will contain a diagram of your engine bay and point out key components.
4. Clean and Re-dip the Dipstick
- Pull and Wipe: Gently pull the dipstick straight out from its tube. Use your rag or paper towel to wipe all the oil off the dipstick. This first reading is often inaccurate and wiping it clean ensures a proper reading on the second dip.
- Re-insert Fully: Push the dipstick all the way back into its tube until it is fully seated. Ensure it clicks or sits firmly in its place, as this ensures an accurate second reading.
5. Read the Oil Level
-
Remove and Read Again: Pull the dipstick out again, this time to read the oil level. Hold the dipstick horizontally, and observe where the oil line falls on the indicator markings at the end of the dipstick.
-
Understand the Markings: Dipsticks use various markings to indicate the correct oil level range. Common markings include:
- Two Pinholes or Notches: The oil level should be between these two marks.
- “L” and “H” or “MIN” and “MAX”: “L” or “MIN” indicates the low or minimum level, and “H” or “MAX” indicates the high or maximum level. The oil should be somewhere between these two.
- Crosshatched Area: If your dipstick has a crosshatched area, the oil level should be within this zone.
If the oil “streak” on the dipstick is within the acceptable range indicated by these markings, your engine oil level is currently satisfactory.
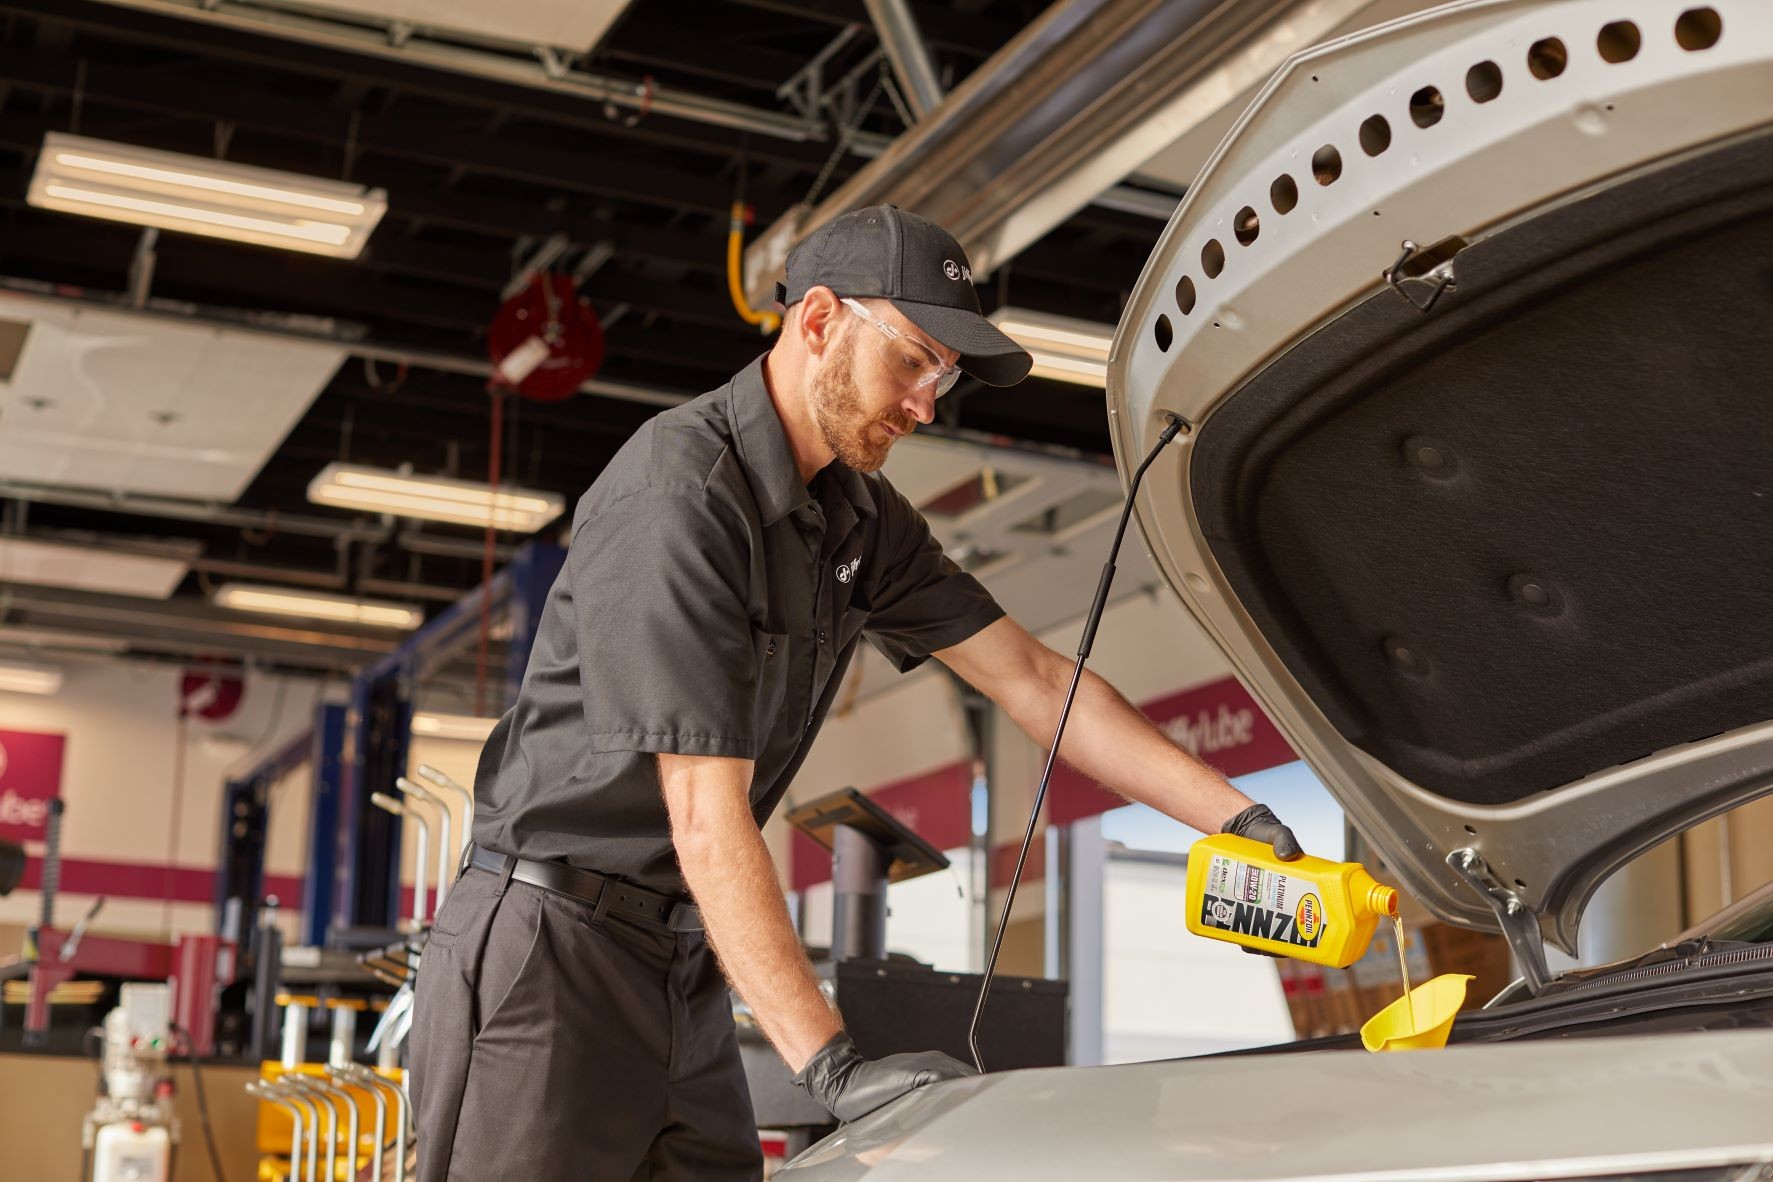 A technician checking the engine oil level using a dipstick during a routine car maintenance service
Understanding Your Dipstick Markings for Accurate Oil Readings
Different vehicles may have slightly different dipstick designs, but the underlying principle for reading them remains the same. Familiarizing yourself with the specific markings on your dipstick is key to accurately assessing your engine oil level. Whether it’s pinholes, letters, or a crosshatched area, these indicators are designed to provide a clear visual guide to ensure your oil level is within the optimal range for engine health. Always refer to your owner’s manual if you are unsure about interpreting your dipstick markings.
What to Do If Your Oil is Low
Discovering a low oil level during your check is a signal that your engine needs attention. Running your engine with insufficient oil can lead to increased friction, overheating, and potentially serious engine damage.
Adding Oil Safely
If your dipstick reading indicates a low oil level, you will need to add engine oil. Here’s how to do it correctly:
- Identify the Correct Oil: Consult your owner’s manual or the oil filler cap itself for the recommended oil grade for your vehicle (e.g., 0W-20, 5W-30). Using the correct type of oil is vital for engine performance and longevity. If you are uncertain, seeking professional advice is always a good option.
- Locate the Oil Filler Cap: This cap is usually on top of the engine and is marked with an oil can symbol or the word “oil.”
- Prepare to Add Oil: Have a funnel handy to prevent spills and make pouring easier.
- Add Oil Gradually: Pour in oil a little at a time. It’s best to start with about half a quart (approximately 16 ounces). Overfilling your engine with oil can be as detrimental as underfilling it, potentially leading to issues like oil leaks or engine damage.
- Re-check the Level: Wait a minute or two for the oil to settle, then re-check the dipstick.
- Repeat if Necessary: If the oil level is still below the acceptable range, add the remainder of the quart and check again. Continue adding oil in small increments and checking the dipstick until the level reaches the correct range.
- Replace the Filler Cap: Once you have achieved the correct oil level, securely replace the oil filler cap.
How Often Should You Check Your Oil?
Regular oil level checks are a cornerstone of preventative car maintenance. A good practice is to check your engine oil level at least once a month, or more frequently if you drive your vehicle under demanding conditions, such as stop-and-go traffic, towing, or extreme temperatures. Making it a part of your routine, perhaps every other fuel fill-up, can help you stay on top of your engine’s health and catch potential issues early.
Professional Oil Checks at Cardiagnosticnearme.com
While checking your oil level yourself is a valuable skill, sometimes you might prefer professional assurance or need a more comprehensive vehicle inspection. At Cardiagnosticnearme.com, our expert technicians can provide not only oil level checks but also complete oil changes and engine diagnostic services. We can advise you on the best oil for your vehicle, assess your engine’s overall condition, and ensure your car is running smoothly and efficiently.
Conclusion
Knowing how to check your engine oil level is a simple yet essential aspect of vehicle ownership. By incorporating this routine check into your car care practices, you can proactively maintain your engine’s health, prevent potential problems, and extend the life of your vehicle. Whether you choose to check it yourself or prefer professional assistance, regularly monitoring your engine oil is a key step in responsible car maintenance. For expert oil checks and comprehensive car care, visit cardiagnosticnearme.com and let our experienced team take care of your automotive needs.