Maintaining your vehicle is crucial for its longevity and performance, and one of the most fundamental checks you can perform yourself is monitoring your car’s oil level. Many drivers, especially those new to car ownership, might feel unsure about how to check their oil. This guide will walk you through the process step-by-step, ensuring you can confidently keep an eye on this vital fluid. Regularly checking your oil is a simple yet effective way to prevent potential engine problems and ensure your car runs smoothly.
Why Checking Your Oil is Crucial
Engine oil is the lifeblood of your car’s engine. It lubricates moving parts, reduces friction, helps to cool the engine, and removes debris and contaminants. Low oil levels or dirty oil can lead to increased engine wear, overheating, and potentially serious damage. Regularly checking your oil level allows you to catch leaks or excessive oil consumption early, preventing costly repairs down the line. It’s a proactive step in car maintenance that can save you time and money in the long run.
Tools You’ll Need
Fortunately, checking your car’s oil level requires minimal tools:
- Paper towels or a rag: To wipe the dipstick and keep your hands clean.
That’s it! No special equipment is needed, making this a truly accessible maintenance task for any car owner.
Step-by-Step Guide: How to Check Your Engine Oil
Follow these simple steps to accurately check your car’s oil level:
Step 1: Prepare Your Vehicle
- Park on Level Ground: Ensure your car is parked on a flat, level surface. This will provide an accurate oil level reading. If the car is on a slope, the oil will pool to one side, giving a false reading.
- Engine Off and Cool (Ideally): For most vehicles, it’s recommended to check the oil when the engine is off and cold. This allows all the oil to drain back into the oil pan, providing a more accurate reading. Wait for at least 10-15 minutes after turning off the engine. However, some car manufacturers recommend checking the oil when the engine is warm. Always refer to your owner’s manual for the specific recommendation for your vehicle. Checking a hot engine also poses a burn risk, so caution is advised.
Step 2: Locate the Dipstick
- Open the Hood: Locate the hood release lever inside your car, usually under the dashboard. Pull the lever to release the hood latch.
- Find the Dipstick: Once the hood is open and safely secured, locate the oil dipstick in the engine bay. It’s typically easy to identify by its bright handle, often yellow or orange, and is usually marked with an oil can symbol. Refer to your owner’s manual if you are unsure of its location.
Step 3: The First Wipe and Re-dip
- Pull Out the Dipstick: Gently pull the dipstick straight out from its tube.
- Wipe Clean: Use your paper towel or rag to thoroughly wipe off the oil from the dipstick. This first reading is often inaccurate and wiping it clean allows for a fresh, clear reading on the second dip.
- Re-insert Dipstick: Push the dipstick all the way back into its tube until it is fully seated. Ensure it’s properly inserted to get an accurate level.
- Remove Again for Reading: Pull the dipstick out again, this time to check the oil level.
Step 4: Reading the Dipstick Accurately
-
Observe the Oil Level: Hold the dipstick horizontally and observe the oil streak on the end. Dipsticks are designed to clearly indicate the correct oil level range. Look for the markings on your dipstick, which may include:
- Two Pinholes or Notches: The oil level should be between these two marks.
- “MIN” and “MAX” or “L” and “H”: “MIN” or “L” indicates the minimum acceptable level, and “MAX” or “H” indicates the maximum level. The oil should be somewhere between these.
- Crosshatched Area: If your dipstick has a crosshatched area, the oil level should be within this zone.
-
Ideal Oil Level: The optimal oil level is generally towards the higher end of the indicated range, but definitely within the acceptable range.
-
Low Oil Level: If the oil level is below the minimum mark, it indicates that your car is low on oil and needs to be topped up.
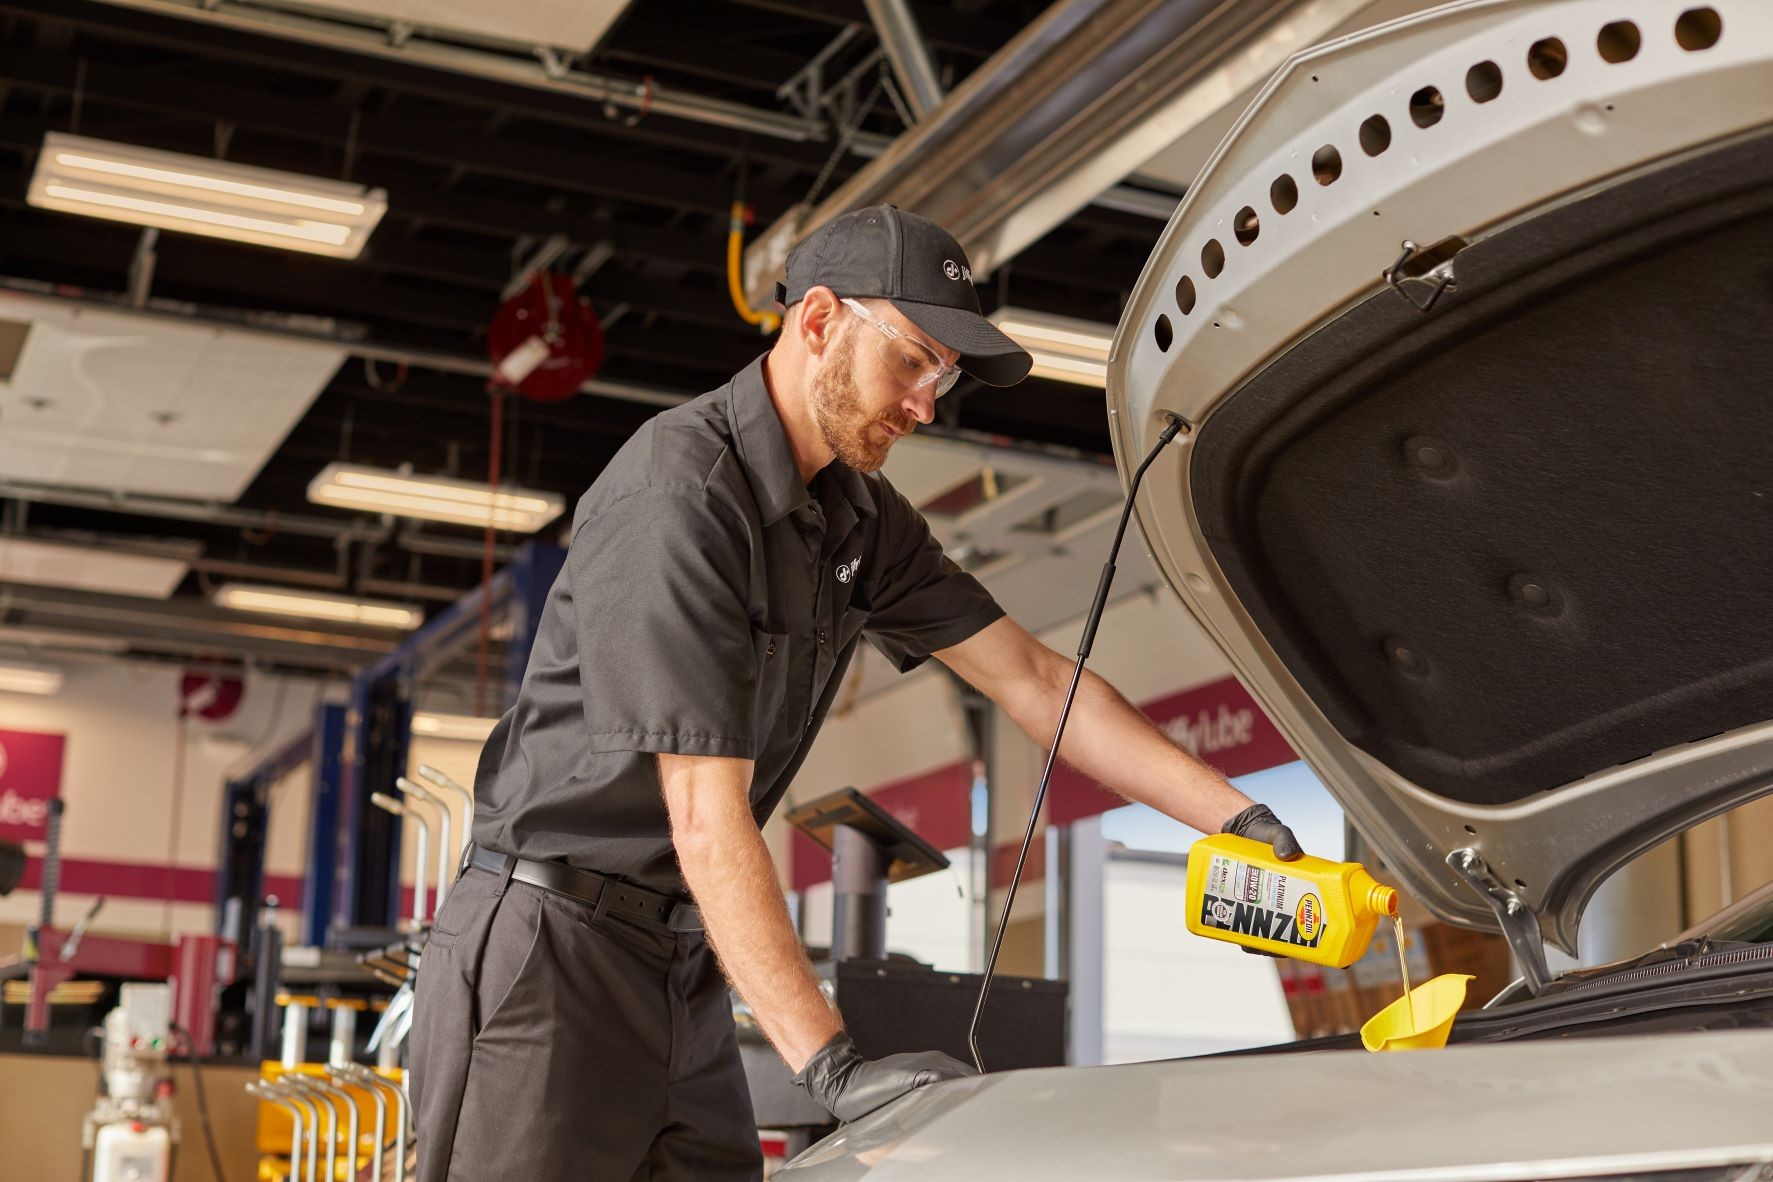 Professional technician demonstrating routine car oil check and change service at Jiffy Lube.
Understanding Oil Levels and What They Mean
- Full or High: Oil level is near or at the maximum mark. This is generally good, but overfilling can also be harmful.
- Within Range: Oil level is between the minimum and maximum marks. This is acceptable, but monitor it regularly.
- Low: Oil level is at or below the minimum mark. This indicates you need to add oil soon.
- Very Low (Below Dipstick Markings): This is a serious concern. Your engine is significantly low on oil and could be at risk of damage. Add oil immediately and check for leaks.
What to Do If Your Oil is Low
If your dipstick reading indicates a low oil level, you’ll need to add oil.
- Identify the Correct Oil Type: Consult your owner’s manual or the oil filler cap for the recommended oil type and viscosity (e.g., 5W-30, 0W-20). Using the wrong type of oil can harm your engine.
- Locate the Oil Filler Cap: This cap is usually on top of the engine and marked with an oil can symbol.
- Add Oil Gradually: Use a funnel to carefully pour oil into the filler neck. Add oil in small increments (about half a quart or less at a time).
- Re-check Level: Wait a minute or two for the oil to settle, then re-check the dipstick. Repeat adding oil and checking until the level is within the acceptable range. Avoid overfilling, as this can also damage your engine.
- Replace Filler Cap: Securely tighten the oil filler cap.
If you are uncomfortable adding oil yourself or are unsure about the correct type, it’s best to visit a professional service technician.
How Often Should You Check Your Oil?
Ideally, you should check your car’s oil level at least once a month and before any long trips. Making it a part of your regular car care routine, such as checking it every few fuel fill-ups, is a good habit to develop. Regular checks allow you to identify any gradual oil leaks or consumption issues before they become major problems.
By following these simple steps, you can confidently check your car’s oil level and contribute to the long-term health and performance of your vehicle. Regular oil checks are a small effort that can make a big difference in preventing engine troubles and keeping your car running smoothly for years to come.