Car scratches are an unfortunate reality for vehicle owners. From minor brushes with bushes to accidental scrapes in parking lots, these blemishes can detract from your car’s appearance and, more seriously, expose the underlying metal to rust and corrosion. Whether you’re dealing with a faint surface scratch or a deeper gouge, understanding how to effectively remove these imperfections is crucial for maintaining your car’s value and preventing further damage. This guide will walk you through DIY methods and when it’s best to seek professional help, ensuring your car looks its best and stays protected.
Understanding Car Scratches: Types and Severity
Before you grab your tools and start attempting repairs, it’s important to understand the type of scratch you’re dealing with. Car scratches aren’t all the same, and their severity dictates the best approach for removal. Generally, scratches can be categorized into three main types based on their depth:
Clear Coat Scratches (Superficial)
These are the most minor type of car scratches, often appearing as light, white streaks on the surface. They only affect the clear coat, which is the top layer of your car’s paint designed to protect the color and provide shine. You can usually feel these scratches by lightly running your fingernail across them; if your nail doesn’t catch, it’s likely a clear coat scratch. These are often caused by minor abrasions like car washes, dust particles, or light brushes with objects. The good news is that clear coat scratches are usually the easiest to fix yourself.
Base Coat Scratches (Medium)
If your fingernail catches slightly on the scratch, it has likely penetrated the clear coat and reached the base coat – the layer that provides your car’s color. These scratches are more noticeable than clear coat scratches and require a bit more effort to repair. They might be caused by harsher brushes, keys, or more significant scrapes. While DIY repair is still possible, it might require a bit more skill and the right products to achieve a seamless finish.
Primer/Metal Scratches (Deep)
These are the most severe type of car scratches, going through the clear coat, base coat, and even reaching the primer or bare metal underneath. These scratches are very noticeable, often appearing as deep lines that expose a different color (the primer, usually grey or white, or the bare metal). Deep scratches are a serious concern because they leave your car vulnerable to rust. Professional repair is often recommended for these types of scratches to ensure proper sealing and prevent corrosion.
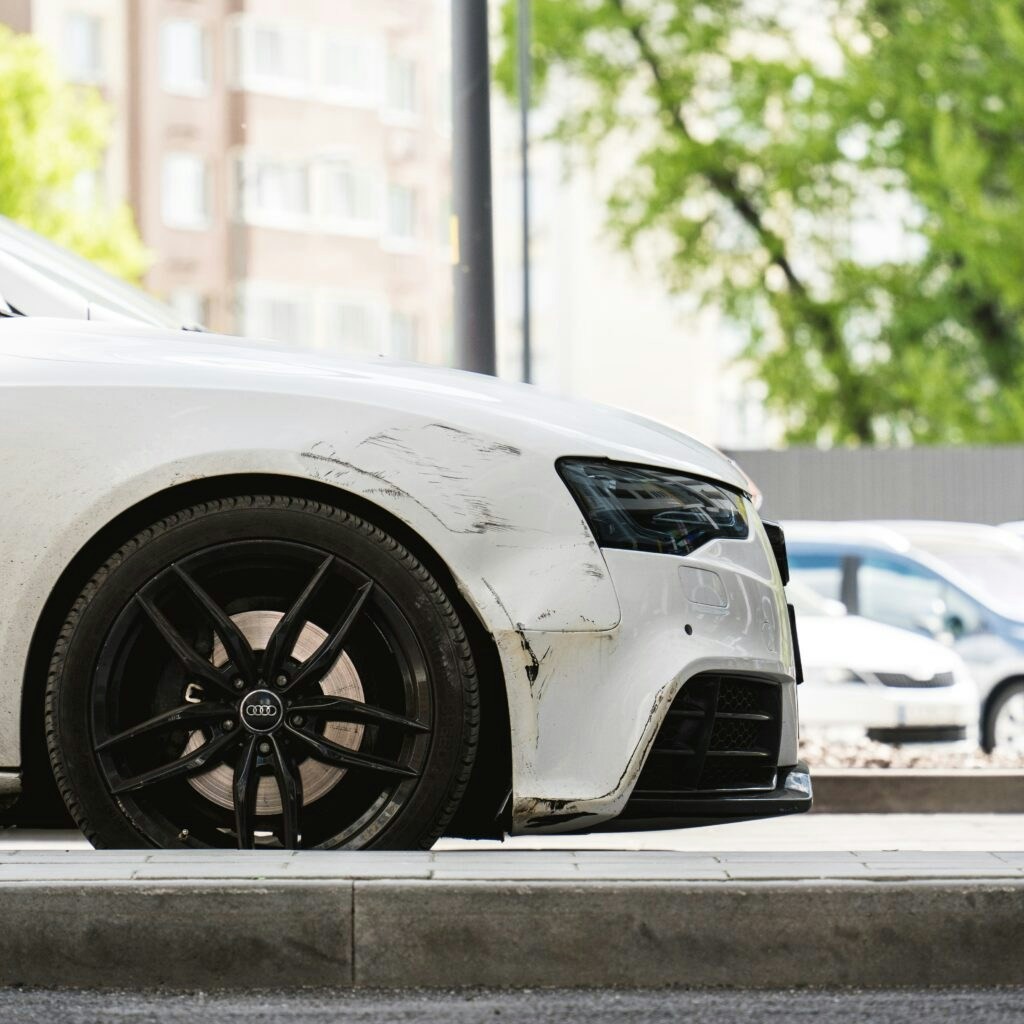 an audi dented and scratched
Audi with visible scratches and dents highlighting the need for car scratch removal.
DIY Car Scratch Removal: Step-by-Step Guide
For superficial and some base coat scratches, DIY removal is a cost-effective and satisfying option. Here’s a detailed step-by-step guide on how to remove scratches from your car at home:
Tools and Materials You’ll Need
Gathering the right tools and materials is essential for effective DIY scratch removal. Here’s what you’ll need:
- Car Wash Soap and Water: To thoroughly clean the area before starting any repair.
- Microfiber Cloths: Soft cloths are crucial to avoid further scratching your car’s paint. You’ll need several – one for washing, one for applying compound, and one for buffing.
- Polishing Compound: This abrasive paste is designed to gently remove a thin layer of clear coat, leveling out minor scratches. Choose a quality compound suitable for car paint.
- Scratch Repair Pen (Optional): For very fine scratches or chips, a scratch repair pen with clear coat can be useful for filling in the imperfection.
- Touch-Up Paint (For Deeper Scratches): If you’re dealing with base coat scratches, you’ll need touch-up paint that precisely matches your car’s color code. You can usually find your car’s color code on a sticker in the driver’s side doorjamb or in your car’s manual.
- Clear Coat (For Deeper Scratches): After applying touch-up paint, a clear coat will protect the repair and blend it with the surrounding area.
- Fine-Grit Sandpaper (For Deeper Scratches, Optional): For leveling touch-up paint, you might need very fine-grit sandpaper (2000-3000 grit) specifically designed for automotive paint. Use this very cautiously.
- Rubbing Alcohol or Isopropyl Alcohol: To clean the area before applying touch-up paint or clear coat, ensuring proper adhesion.
- Wax or Car Polish (Optional): To protect and shine the repaired area after scratch removal.
Step-by-Step Instructions
-
Wash and Dry the Area: Start by thoroughly washing the scratched area and the surrounding paintwork with car wash soap and water. This removes dirt, grime, and any loose particles that could further scratch your car during the repair process. Rinse thoroughly and dry completely with a clean microfiber cloth.
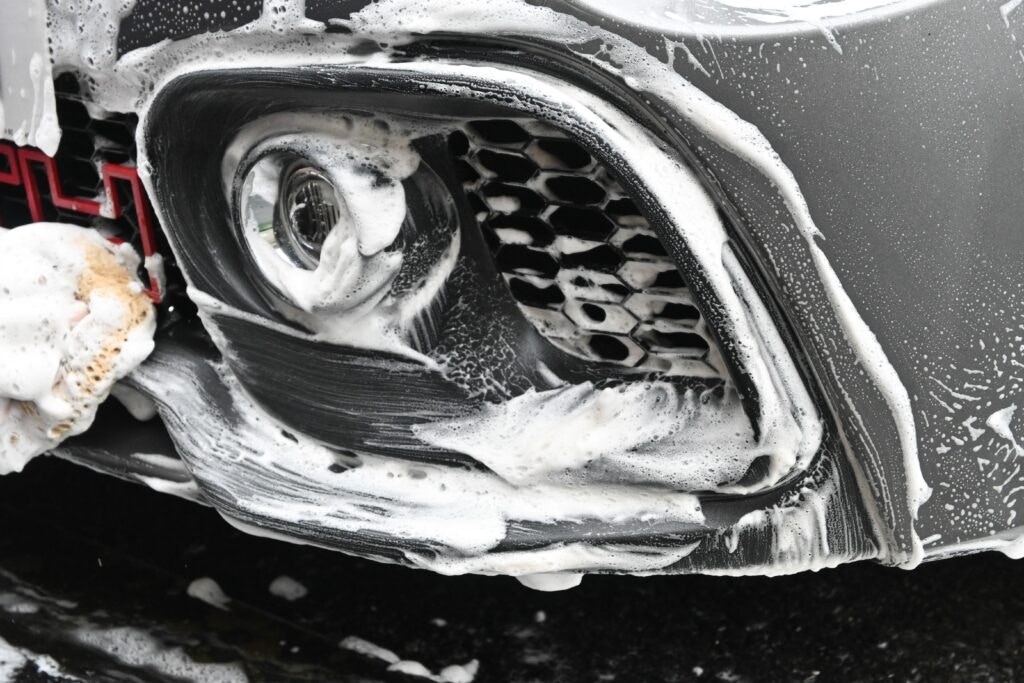 a car being cleaned with soap and water
Preparing car surface by washing with soap and water before scratch removal process.
-
Assess the Scratch: Carefully examine the scratch again after cleaning. Determine the depth and type of scratch as discussed earlier. This will guide your next steps.
-
Apply Polishing Compound: For clear coat scratches, apply a small amount of polishing compound to a clean microfiber cloth. Using circular motions and gentle pressure, rub the compound into the scratch. Work in small sections and avoid pressing too hard, as excessive pressure can damage the clear coat.
-
Buff the Area: After applying the compound, switch to a clean, dry microfiber cloth and buff the area in circular motions. This removes the excess compound and reveals the results. You should see the scratch fading or disappearing. Repeat the polishing and buffing process if necessary, for stubborn clear coat scratches.
-
Clean Again (If Applying Touch-Up Paint): If you are dealing with base coat scratches and need to use touch-up paint, clean the scratched area again with rubbing alcohol or isopropyl alcohol. This removes any remaining polishing compound and prepares the surface for paint adhesion.
-
Apply Touch-Up Paint (For Base Coat Scratches): Shake the touch-up paint bottle well. Apply the touch-up paint in thin, even layers directly into the scratch using the applicator brush that comes with the paint. Avoid applying too much paint at once, as this can lead to drips and an uneven finish. Allow each layer to dry completely before applying the next. It may take several thin layers to fill the scratch to the level of the surrounding paint.
-
Level Touch-Up Paint (Optional, For Best Results): Once the touch-up paint is completely dry (allow ample drying time as per paint instructions), you may notice it’s slightly raised above the surrounding paint. For a smoother finish, you can carefully level it using very fine-grit sandpaper (2000-3000 grit) and a sanding block. Wet the sandpaper and the area with water and lightly sand the touch-up paint until it’s level with the surrounding clear coat. Be extremely cautious and use very light pressure to avoid scratching the surrounding paint. This step is optional and requires a delicate touch.
-
Apply Clear Coat (For Base Coat Scratches): After the touch-up paint is dry and leveled (if sanded), apply a thin layer of clear coat over the repaired area. This protects the touch-up paint and helps blend the repair seamlessly. Allow the clear coat to dry completely. You may apply multiple thin layers for better protection and shine, allowing each layer to dry in between.
-
Final Buff and Polish (Optional): Once everything is completely dry, you can use a fine polishing compound and a clean microfiber cloth to gently buff the repaired area and the surrounding paintwork. This will help blend the repair further and enhance the shine. You can also apply car wax or polish to protect the repaired area and the entire car’s paint.
-
Inspect Your Work: Carefully inspect the repaired scratch in good lighting. Ideally, the scratch should be significantly less visible or completely gone. If you’re not satisfied with the results, you may need to repeat some steps or consider professional help, especially for deeper scratches.
When to Seek Professional Help
While DIY methods are effective for minor scratches, there are situations where professional car scratch repair is the best option. Consider professional help if:
- Deep Scratches Reaching Primer or Metal: These require specialized tools and techniques to prevent rust and ensure a proper, long-lasting repair. Professionals can properly seal the metal and repaint the area to factory standards.
- Extensive Scratches or Damage: If your car has numerous scratches or a large scratched area, professional repair will be more efficient and likely provide a better overall finish.
- You’re Not Comfortable with DIY: If you’re hesitant about sanding, painting, or using polishing compounds, or if you’re concerned about potentially damaging your car’s paint, it’s best to leave it to the experts.
- You Want a Flawless Finish: Professional car detailers and body shops have the expertise, tools, and color-matching technology to achieve a seamless, factory-like finish that may be difficult to replicate with DIY methods, especially for complex or deep scratches.
Cost of Professional Car Scratch Repair
The cost to remove car scratches professionally varies based on the severity of the scratch, the size of the area, the type of car, and the repair shop’s rates. Generally, you can expect to pay:
- Minor Scratch Repair (Clear Coat Only): £50-£150 per scratch. This might involve polishing and buffing, similar to DIY methods, but with professional-grade equipment and expertise.
- Deeper Scratch Repair (Base Coat or Primer): £200-£500 or more per scratch. These repairs require more extensive work, including sanding, filling, priming, painting, and clear coating. The cost can increase significantly for larger scratches or if blending paint into surrounding panels is necessary for a perfect color match.
- Panel Repainting: In cases of severe damage or numerous deep scratches on a panel, repainting the entire panel might be necessary, costing £300-£800 or more per panel.
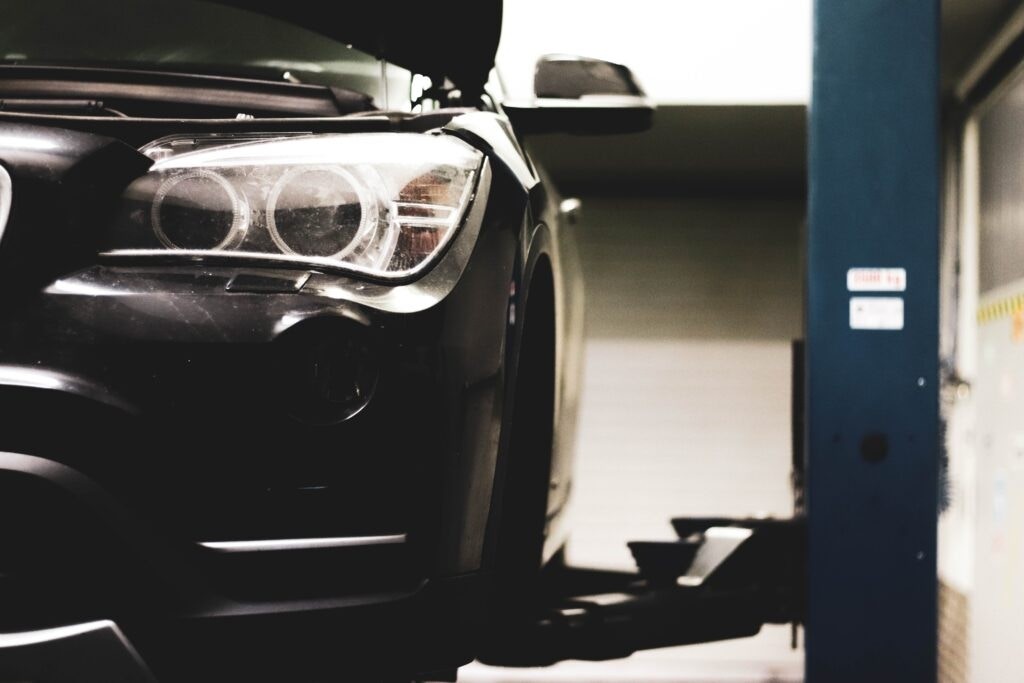 a vehicle in a garage
Car in a professional garage setting, indicating professional car scratch repair services.
Getting quotes from multiple repair shops is recommended to ensure you’re getting a fair price.
Car Insurance and Scratch Repair
Typically, standard car insurance policies do not cover minor cosmetic damage like small car scratches, especially if they are not caused by a covered incident such as an accident with another vehicle. Insurance is primarily designed for significant damage resulting from collisions, theft, vandalism, or natural disasters.
However, if the scratches are a result of a covered incident (e.g., someone keyed your car – vandalism, or a minor accident), you might be able to make a claim. But keep in mind:
- Deductibles: You’ll likely have to pay your policy deductible, which might be more than the cost of a minor scratch repair, making a claim uneconomical for small scratches.
- Premium Increases: Filing a claim, even for vandalism, can potentially increase your insurance premiums in the future.
For minor, isolated scratches, paying out-of-pocket for DIY or professional repair is usually more cost-effective in the long run than involving your insurance. It’s always best to review your specific insurance policy and discuss your coverage options with your provider if you’re unsure.
FAQs about Car Scratch Removal
Can a car scratch fail my MOT (Ministry of Transport test in the UK)?
Deep or extensive scratches that compromise safety, such as those that affect visibility by being on the windshield or headlight lenses, could potentially cause an MOT failure. Superficial scratches on the bodywork are unlikely to cause an MOT failure as they are considered cosmetic.
Can you spray paint car scratches?
Yes, you can use spray paint for car scratch repair, especially for larger areas or deeper scratches after proper preparation (sanding, priming). However, achieving a perfect color match and a smooth, blended finish with spray paint can be challenging for DIYers. Professional spray painting in a body shop environment will generally yield better and more consistent results.
Does WD-40 remove scratches from cars?
WD-40 can temporarily reduce the appearance of very fine scratches and scuff marks by filling them in and adding shine. However, it is not a scratch remover and its effects are temporary. WD-40 will wash away and the scratches will reappear. It’s more of a cosmetic cover-up, not a repair solution.
Can toothpaste remove a car scratch?
Toothpaste, especially whitening toothpaste, can sometimes work on very minor, superficial clear coat scratches. The mild abrasives in toothpaste can act similarly to a very light polishing compound. However, it’s not as effective as dedicated car polishing compounds and may not work on anything beyond the lightest surface scratches. It’s considered a temporary, very mild polishing method.
Maintaining Your Car’s Paint
Preventing scratches is always better than fixing them. Regular car washing, waxing, and being mindful of where you park can help minimize the risk of scratches. Addressing scratches promptly, whether through DIY methods or professional repair, will keep your car looking its best, maintain its value, and protect it from rust and further damage.
