The evaporative emission control system, better known as the EVAP system, is a critical component in modern vehicles. It plays a vital role not only in ensuring your car complies with environmental regulations but also in maintaining its overall performance and fuel efficiency. For car owners and automotive technicians alike, understanding the EVAP system and how to diagnose potential issues is essential. This is where the On-Board Diagnostics II (OBD2) scanner comes into play, particularly when focusing on Obd2 Evap system testing.
This guide will delve deep into the world of obd2 evap diagnostics. We’ll explore the intricacies of the EVAP system, explain how OBD2 scanners are used to conduct EVAP tests, provide a step-by-step guide to performing these tests, and discuss essential maintenance practices. Whether you’re a seasoned mechanic or a car owner keen on understanding your vehicle better, this comprehensive guide will equip you with the knowledge to master obd2 evap system diagnostics and ensure your vehicle is both eco-friendly and running smoothly.
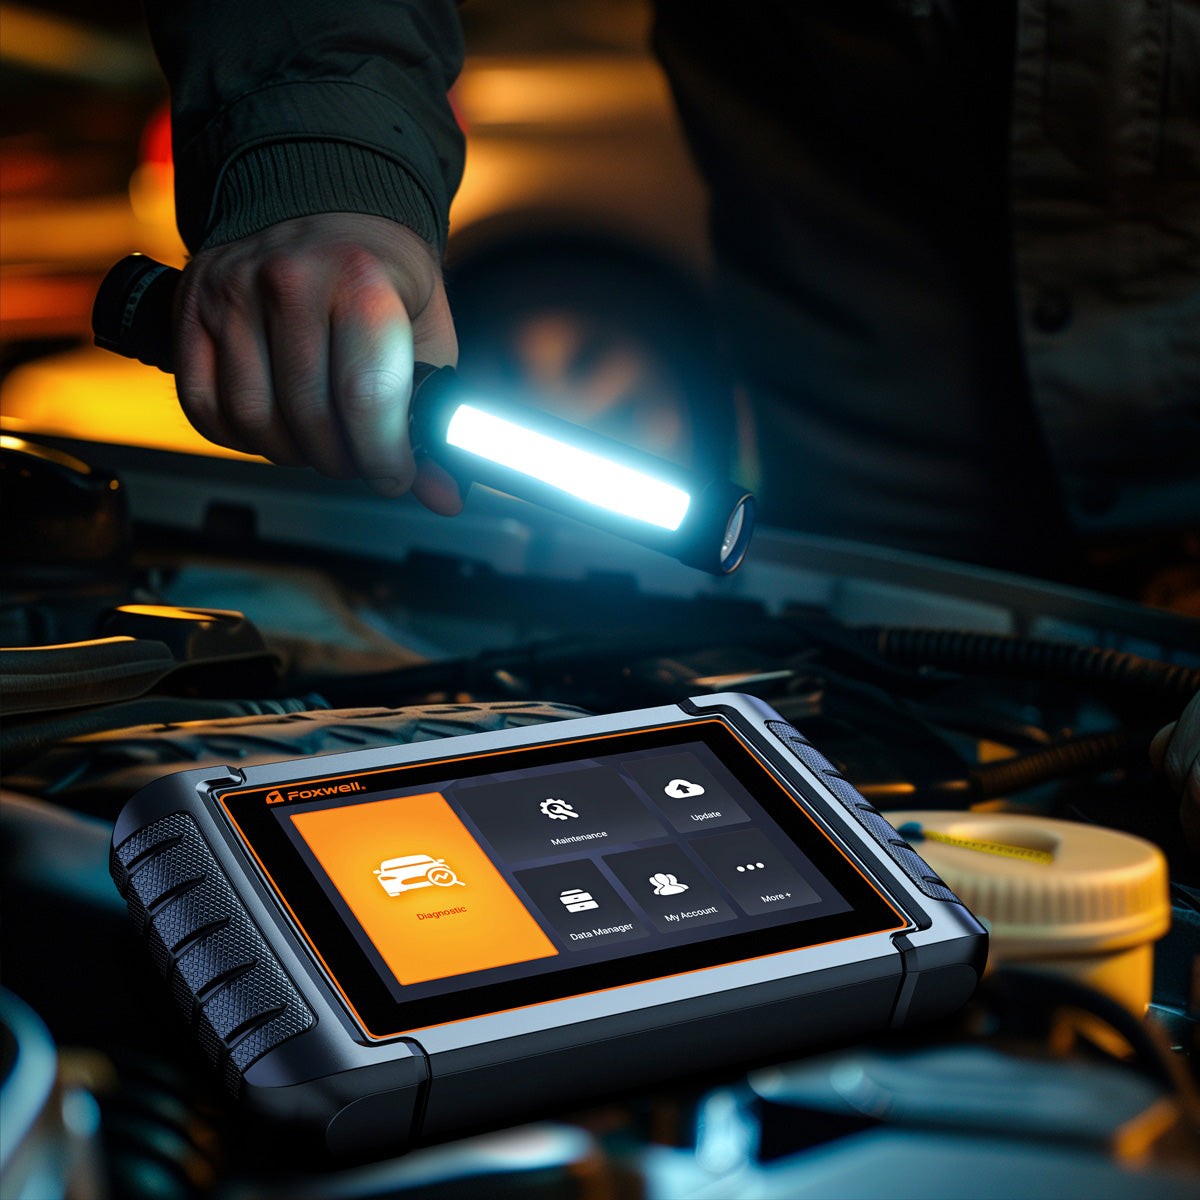 The Car Test OBD2 Scanner | Foxwell
Understanding the EVAP System: Protecting Your Vehicle and the Environment
The Evaporative Emission Control (EVAP) system is a cornerstone of modern automotive design, primarily engineered to prevent harmful gasoline vapors from escaping into the atmosphere. These vapors, if released, contribute significantly to air pollution and smog formation. The EVAP system’s ingenuity lies in its ability to capture these vapors and manage them effectively, turning what was once a pollutant into a resource.
What is the EVAP System and Why is it Important?
At its core, the EVAP system is designed to trap fuel vapors that naturally evaporate from the fuel tank and carburetor (in older vehicles). Instead of allowing these vapors to vent directly into the air, the EVAP system redirects them to a charcoal canister for temporary storage. Later, under controlled engine operating conditions, these stored vapors are purged from the canister and drawn into the engine to be burned during the normal combustion process.
The importance of the EVAP system is twofold:
- Environmental Protection: By preventing the release of volatile organic compounds (VOCs) from gasoline, the EVAP system significantly reduces smog and ground-level ozone formation. This contributes to cleaner air and a healthier environment.
- Vehicle Performance and Efficiency: While its primary function is emissions control, the EVAP system also indirectly contributes to fuel efficiency. By recycling fuel vapors back into the engine, it minimizes fuel loss through evaporation, optimizing fuel usage.
Key Components of the EVAP System
The EVAP system operates through a series of interconnected components working in harmony:
- Vapor Capture: Fuel vapors from the fuel tank and, in older vehicles, the carburetor, are generated continuously, whether the vehicle is running or parked. The EVAP system initiates the process by capturing these vapors and channeling them towards the charcoal canister.
- Vapor Storage (Charcoal Canister): The charcoal canister is the heart of the EVAP system’s storage mechanism. Filled with activated carbon, it acts like a sponge, absorbing and holding fuel vapors. This prevents vapors from being released into the atmosphere.
- Purge Cycle: When the engine is running and conditions are appropriate (engine warm, etc.), the purge cycle begins. A purge valve opens, allowing engine vacuum to draw fresh air through the charcoal canister. This airflow pulls the stored fuel vapors out of the canister and into the engine’s intake manifold. Here, the vapors mix with the incoming air and fuel mixture and are combusted in the engine.
- Vent Control: The vent control valve regulates the flow of fresh air into the EVAP system and charcoal canister. It plays a critical role in maintaining system pressure and ensuring proper purging of vapors. The valve opens and closes as needed to control airflow and system integrity.
Common EVAP System Problems
Despite its robust design, the EVAP system can encounter issues over time. These problems can lead to system malfunctions, increased emissions, and trigger the “Check Engine Light” on your dashboard. Common culprits include:
- Loose or Damaged Gas Cap: Often the simplest yet most frequent issue, a loose or damaged gas cap can break the EVAP system’s seal. This allows fuel vapors to escape, leading to leaks and triggering error codes.
- Vacuum Leaks (Hoses and Lines): The EVAP system relies on a network of vacuum lines and hoses to route vapors. Cracks, breaks, or loose connections in these lines can cause vacuum leaks, disrupting the system’s pressure balance and vapor flow.
- Faulty Purge Valve: The purge valve controls the flow of vapors from the charcoal canister to the engine. If it fails to open or close correctly, it can cause improper purging, leading to vapor leaks or rich fuel conditions.
- Damaged Charcoal Canister: Over time, the charcoal canister can become saturated, damaged, or clogged. This reduces its capacity to store fuel vapors effectively, leading to system inefficiencies.
- Electrical and Sensor Issues: The EVAP system relies on various sensors and solenoids for operation. Faulty sensors or electrical problems can disrupt system control and trigger false error codes.
Understanding these components and potential issues is the first step in effective EVAP system diagnosis, especially when utilizing an OBD2 scanner for targeted obd2 evap testing.
OBD2 Scanners: Your Essential Tool for EVAP Testing
On-Board Diagnostics II (OBD2) scanners have revolutionized automotive diagnostics, becoming indispensable tools for both professional mechanics and DIY enthusiasts. Their capabilities extend far beyond reading generic engine trouble codes; they offer specialized functions crucial for diagnosing the Evaporative Emission Control (EVAP) system, making obd2 evap testing accessible and efficient.
How OBD2 Scanners Enhance EVAP Diagnostics
OBD2 scanners provide several key advantages in EVAP system diagnostics:
- Bi-Directional Control: Advanced OBD2 scanners offer bi-directional control, allowing them to not only read data from the vehicle’s computer but also send commands to system components. In obd2 evap testing, this is invaluable for activating and testing EVAP system components like vent and purge valves, verifying their functionality directly from the scanner.
- Real-Time Data Monitoring: OBD2 scanners provide real-time data streams, offering live insights into various EVAP system parameters. This includes monitoring fuel tank pressure, vacuum levels, and sensor readings. Real-time data is crucial for pinpointing intermittent issues and observing system behavior under different operating conditions.
- Advanced Diagnostic Functions: Many OBD2 scanners feature specialized diagnostic functions specifically designed for obd2 evap system testing. These functions can initiate automated EVAP system tests, simulate operating conditions, and perform leak checks, streamlining the diagnostic process.
Key Features to Look for in an OBD2 Scanner for EVAP Tests
When selecting an OBD2 scanner for obd2 evap system diagnostics, consider these essential features:
- EVAP System Test Function: Ensure the scanner explicitly supports EVAP system testing. Look for features like “EVAP Test,” “System Leak Test,” or similar functionalities in the scanner’s specifications.
- Bi-Directional Control (Actuation Tests): For comprehensive EVAP diagnostics, bi-directional control is highly beneficial. This feature allows you to command EVAP components (valves, solenoids) directly, verifying their response and operation.
- Live Data Streaming: Real-time data display is crucial for monitoring EVAP system parameters during testing. Look for scanners that display relevant data like fuel tank pressure, EVAP system pressure, and sensor readings.
- DTC Lookup and Code Definitions: A built-in DTC (Diagnostic Trouble Code) lookup function is essential for quickly understanding error codes related to the EVAP system. The scanner should provide clear code definitions and potential causes.
- Manufacturer-Specific Diagnostics: For deeper diagnostics, especially on specific vehicle makes and models, consider scanners that offer manufacturer-specific diagnostic capabilities. These scanners can access more detailed trouble codes and system information.
Recommended OBD2 Scanners for EVAP Testing
Several OBD2 scanners on the market are well-suited for obd2 evap system testing. Models like the Foxwell NT530 and Foxwell NT650 Elite are often recommended for their comprehensive features and reliability:
-
Foxwell NT530: Known for its manufacturer-specific diagnostics and actuation tests, the NT530 provides in-depth EVAP system analysis. Its bi-directional control and live data capabilities make it a powerful tool for pinpointing EVAP issues.
-
Foxwell NT650 Elite: The NT650 Elite expands on the NT530’s features, offering additional service functions alongside robust EVAP testing capabilities. Its user-friendly interface and comprehensive diagnostic functions make it a versatile choice for both professionals and experienced DIYers.
Both the Foxwell NT530 and NT650 Elite are excellent choices for conducting thorough obd2 evap system tests, offering the features and functionality needed for accurate diagnosis and efficient repairs.
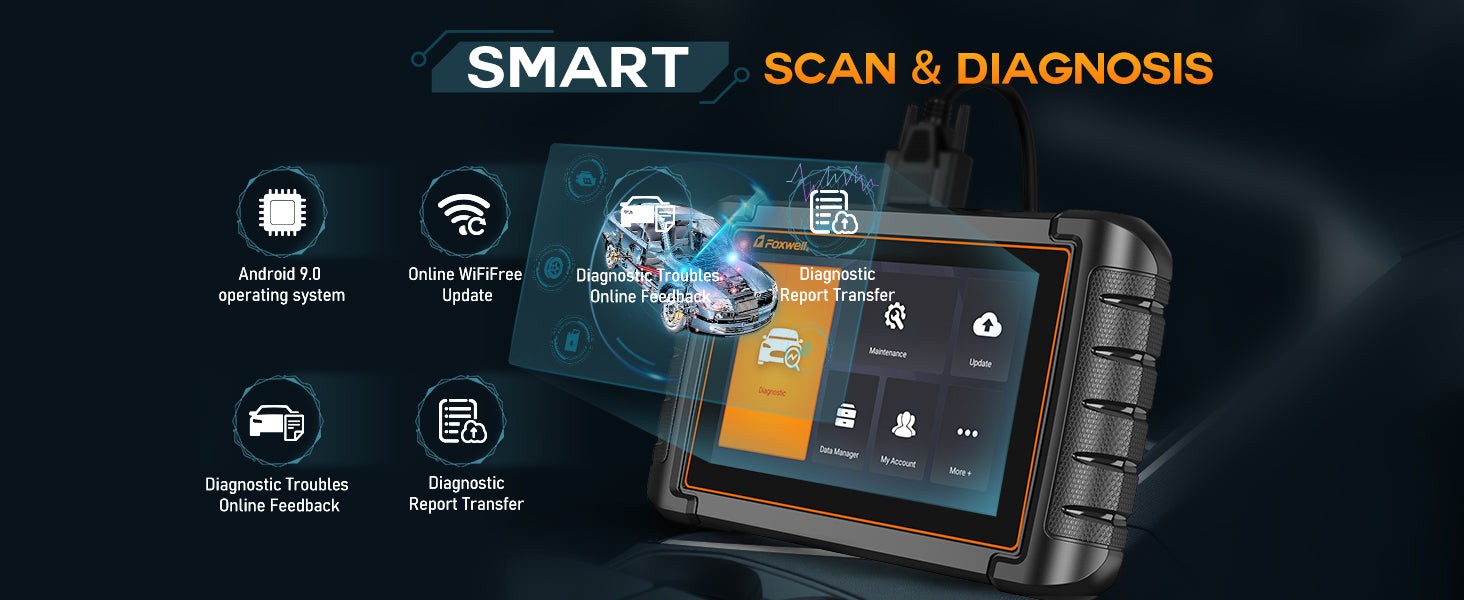 Smart Scan |Foxwell
Step-by-Step Guide: Performing an OBD2 EVAP Test at Home
Conducting an EVAP test using an OBD2 scanner is a proactive step in maintaining your vehicle’s emissions system and overall health. This step-by-step guide will walk you through the process, enabling you to perform obd2 evap testing effectively at home.
Preparing Your Vehicle and OBD2 Scanner
Before starting the EVAP test, proper preparation is crucial:
Vehicle Preparation:
- Park on Level Ground: Ensure your vehicle is parked on a level surface for accurate test results.
- Engine Off: Turn off the engine completely. The EVAP test is typically performed with the engine off and cool.
- Fuel Level: Verify that your fuel tank is between 1/4 and 3/4 full. Most EVAP system tests require this fuel level range to initiate correctly.
- Cold Engine (Ideally): A cold engine start is generally recommended for EVAP testing. Allow the engine to cool down completely before beginning the test.
- Seal Vehicle: Close all windows, doors, and ensure the fuel cap is tightly sealed. This ensures the EVAP system is properly sealed for the test.
Scanner Setup:
- Charge Scanner: Ensure your OBD2 scanner is adequately charged or connected to a power source.
- Software Update: Update your scanner’s software to the latest version. This ensures compatibility with newer vehicles and access to the most current diagnostic features for obd2 evap testing.
Connecting and Initializing the OBD2 EVAP Test
Follow these steps to connect your scanner and initiate the EVAP test:
- Locate the OBD2 Port: The OBD2 port is typically located under the dashboard on the driver’s side. In many vehicles, it’s near the steering column.
- Connect the Scanner: Plug your OBD2 scanner into the vehicle’s OBD2 port securely.
- Power On Scanner: Turn on your OBD2 scanner.
- Ignition “ON”: Turn your vehicle’s ignition to the “ON” position (without starting the engine). This powers up the vehicle’s computer systems for the scanner to communicate with.
- Vehicle Selection: On your scanner, navigate to vehicle selection and enter your vehicle’s make, model, and year.
- Navigate to EVAP Test: In the scanner’s menu, typically under “Diagnosis” or “Control Modules,” locate the “Powertrain” or “Engine Control Module (ECM).” Within this section, find and select “EVAP System Test” or a similarly named option. The menu structure may vary slightly depending on your scanner model.
- Initiate EVAP Test: Follow the on-screen prompts to start the EVAP system test. The scanner may ask for confirmation about fuel level and engine temperature before proceeding.
Running and Monitoring the EVAP Test
Once initiated, the OBD2 scanner will command the vehicle’s computer to perform the EVAP test:
- System Activation: The scanner will activate the EVAP system test. This typically involves sealing the system, activating vent and purge valves, and monitoring pressure changes within the system.
- Monitor Real-time Data: Observe the scanner’s display for real-time data. Pay close attention to parameters like fuel tank pressure and EVAP system pressure. A drop in pressure during the test may indicate a leak in the system.
- Listen for Audible Cues: Some EVAP tests may involve audible clicking sounds from valves or pumps as the system cycles through different stages of the test.
Interpreting EVAP Test Results and DTC Codes
After the EVAP test completes, the scanner will display the results:
- Check for DTCs: The scanner will indicate if any Diagnostic Trouble Codes (DTCs) were detected during the test. EVAP-related codes often start with “P04” (e.g., P0440, P0442, P0455).
- DTC Lookup: Use the scanner’s DTC lookup function to understand the meaning of any displayed codes. Common EVAP codes relate to small leaks (P0442), large leaks (P0455), purge flow issues (P0441), and general EVAP system faults (P0440).
- Analyze Results: If no DTCs are present and the test passes, your EVAP system is likely functioning correctly. If DTCs are present, note the specific codes for further diagnosis and repair.
Post-Test Actions: Repair and Verification
Based on the EVAP test results, take appropriate actions:
- Diagnose and Repair: If DTCs indicate a leak or system malfunction, proceed with further diagnosis to pinpoint the exact cause. This may involve visually inspecting hoses, the gas cap, purge valve, and charcoal canister. Repair or replace any faulty components.
- Clear DTCs: After completing repairs, use your OBD2 scanner to clear the stored DTC codes from the vehicle’s computer.
- Re-Test: Perform another EVAP test using your OBD2 scanner to verify that the repairs have resolved the issue and no new codes are generated. This confirms the effectiveness of your repair work.
By following these steps, you can confidently perform obd2 evap system tests at home, diagnose potential issues, and ensure your vehicle’s emissions system is functioning optimally.
Maintaining Your EVAP System for Optimal Performance
Regular maintenance is key to preventing EVAP system problems and ensuring its long-term effectiveness. Proactive care not only helps you avoid costly repairs but also keeps your vehicle environmentally compliant and running efficiently.
Regular EVAP System Checks
Incorporate these routine checks into your vehicle maintenance schedule:
- Inspect the Gas Cap Regularly:
- Tightness: Always ensure your gas cap is tightly closed after refueling. A loose cap is a common cause of EVAP leaks.
- Condition: Periodically inspect the gas cap for cracks, damage, or a worn-out sealing gasket. Replace the cap if any issues are found.
- Check Hoses and Connections:
- Visual Inspection: Regularly examine all accessible EVAP system hoses and vacuum lines for signs of damage like cracks, fraying, or loose connections.
- Professional Smoke Test: Consider a professional smoke test annually. This test uses smoke to detect even small leaks in the EVAP system that may be hard to find visually.
- Monitor the Charcoal Canister:
- Contamination: Ensure the charcoal canister is not exposed to water or liquid fuel, as contamination can impair its vapor storage capacity.
- Replacement: Follow your vehicle manufacturer’s recommendations for charcoal canister inspection and replacement intervals. Canisters may need inspection if you suspect fuel recovery issues or have experienced fuel spills.
- Utilize OBD2 Scanner for Routine Checks:
- Periodic Scans: Use your OBD2 scanner to perform periodic scans for any pending or active EVAP system codes, even if the “Check Engine Light” is not illuminated. Early detection can prevent minor issues from escalating.
Best Practices for EVAP System Longevity
Adopt these best practices to extend the life and efficiency of your EVAP system:
- Follow Vehicle Maintenance Schedule: Adhere to your vehicle manufacturer’s recommended maintenance schedule. Routine maintenance often includes checks and inspections of the EVAP system as part of overall vehicle servicing.
- Professional Inspections: Have your EVAP system inspected by a qualified technician periodically, especially if you live in hot climates where evaporation rates are higher, putting more stress on the system.
- Avoid Overfilling Fuel Tank: When refueling, stop filling when the fuel nozzle clicks off automatically. Overfilling can force liquid fuel into the charcoal canister, damaging it and reducing its effectiveness.
- Educate Yourself About Your Vehicle’s EVAP System: Familiarize yourself with the EVAP system components in your vehicle by reviewing your owner’s manual. Understanding the system helps you identify potential problems early on.
- Address Repairs Promptly: If you suspect an EVAP system issue or a DTC code appears, address it promptly. Delaying repairs can lead to more significant problems, emission test failures, and reduced fuel efficiency.
By implementing these regular checks and best practices, you can proactively maintain your EVAP system, ensuring its continued performance, environmental compliance, and contribution to your vehicle’s overall longevity.
Conclusion
Understanding and maintaining your vehicle’s Evaporative Emission Control (EVAP) system is crucial for both environmental responsibility and optimal vehicle performance. As we’ve explored in this guide focused on obd2 evap testing, utilizing an OBD2 scanner empowers you to take control of your vehicle’s diagnostics. From comprehending the basics of the EVAP system and common issues to mastering the step-by-step process of conducting EVAP tests with OBD2 scanners like the Foxwell NT530 and NT650 Elite, you are now equipped with the knowledge to ensure your vehicle remains eco-friendly and runs smoothly. Regular maintenance and proactive obd2 evap testing are not just about fixing problems – they’re about preventing them, saving you time and money while contributing to a cleaner environment.
FAQs
What will an EVAP test look for in my car?
An EVAP test primarily looks for leaks within the Evaporative Emission Control System. It checks the system’s ability to maintain a vacuum or pressure, ensuring that fuel vapors are properly contained and not released into the atmosphere.
Can I conduct the EVAP test at my own home?
Yes, you can conduct an EVAP test at home if you have an OBD2 scanner that supports EVAP testing functionality. By following the instructions provided with your scanner and the steps outlined in this guide, you can effectively perform EVAP tests yourself.
When should I conduct the EVAP test?
It is recommended to conduct an EVAP test annually as part of your routine vehicle maintenance. Additionally, you should perform an EVAP test whenever your “Check Engine Light” comes on and you suspect an emissions-related issue, or if you notice symptoms like fuel odors or decreased fuel efficiency that could be related to the EVAP system.