Is your OBD2 port feeling loose? A wobbly OBD2 port can be more than just an annoyance; it can actually prevent proper communication with your car’s diagnostic system. This is often due to the pins inside the OBD2 connector becoming bent or losing tension over time. Before you rush to a mechanic, you might be able to fix it yourself. This guide will walk you through how to carefully tighten the Obd2 Pins and restore a solid connection to your OBD2 port.
Having a functional OBD2 port is crucial for modern car diagnostics. It’s the gateway to understanding your vehicle’s health, allowing you to read trouble codes and monitor performance. A loose connection means your diagnostic tools might not be able to communicate effectively, leaving you in the dark about potential issues. This DIY fix focuses on addressing the common problem of loose obd2 pins within the connector itself.
Let’s get started on how to tighten those obd2 pins and get your diagnostic port working reliably again.
First, you’ll need to carefully remove the OBD2 port from its mounting bracket. In many vehicles, the OBD2 port is held in place by a bracket, often located under the dashboard.
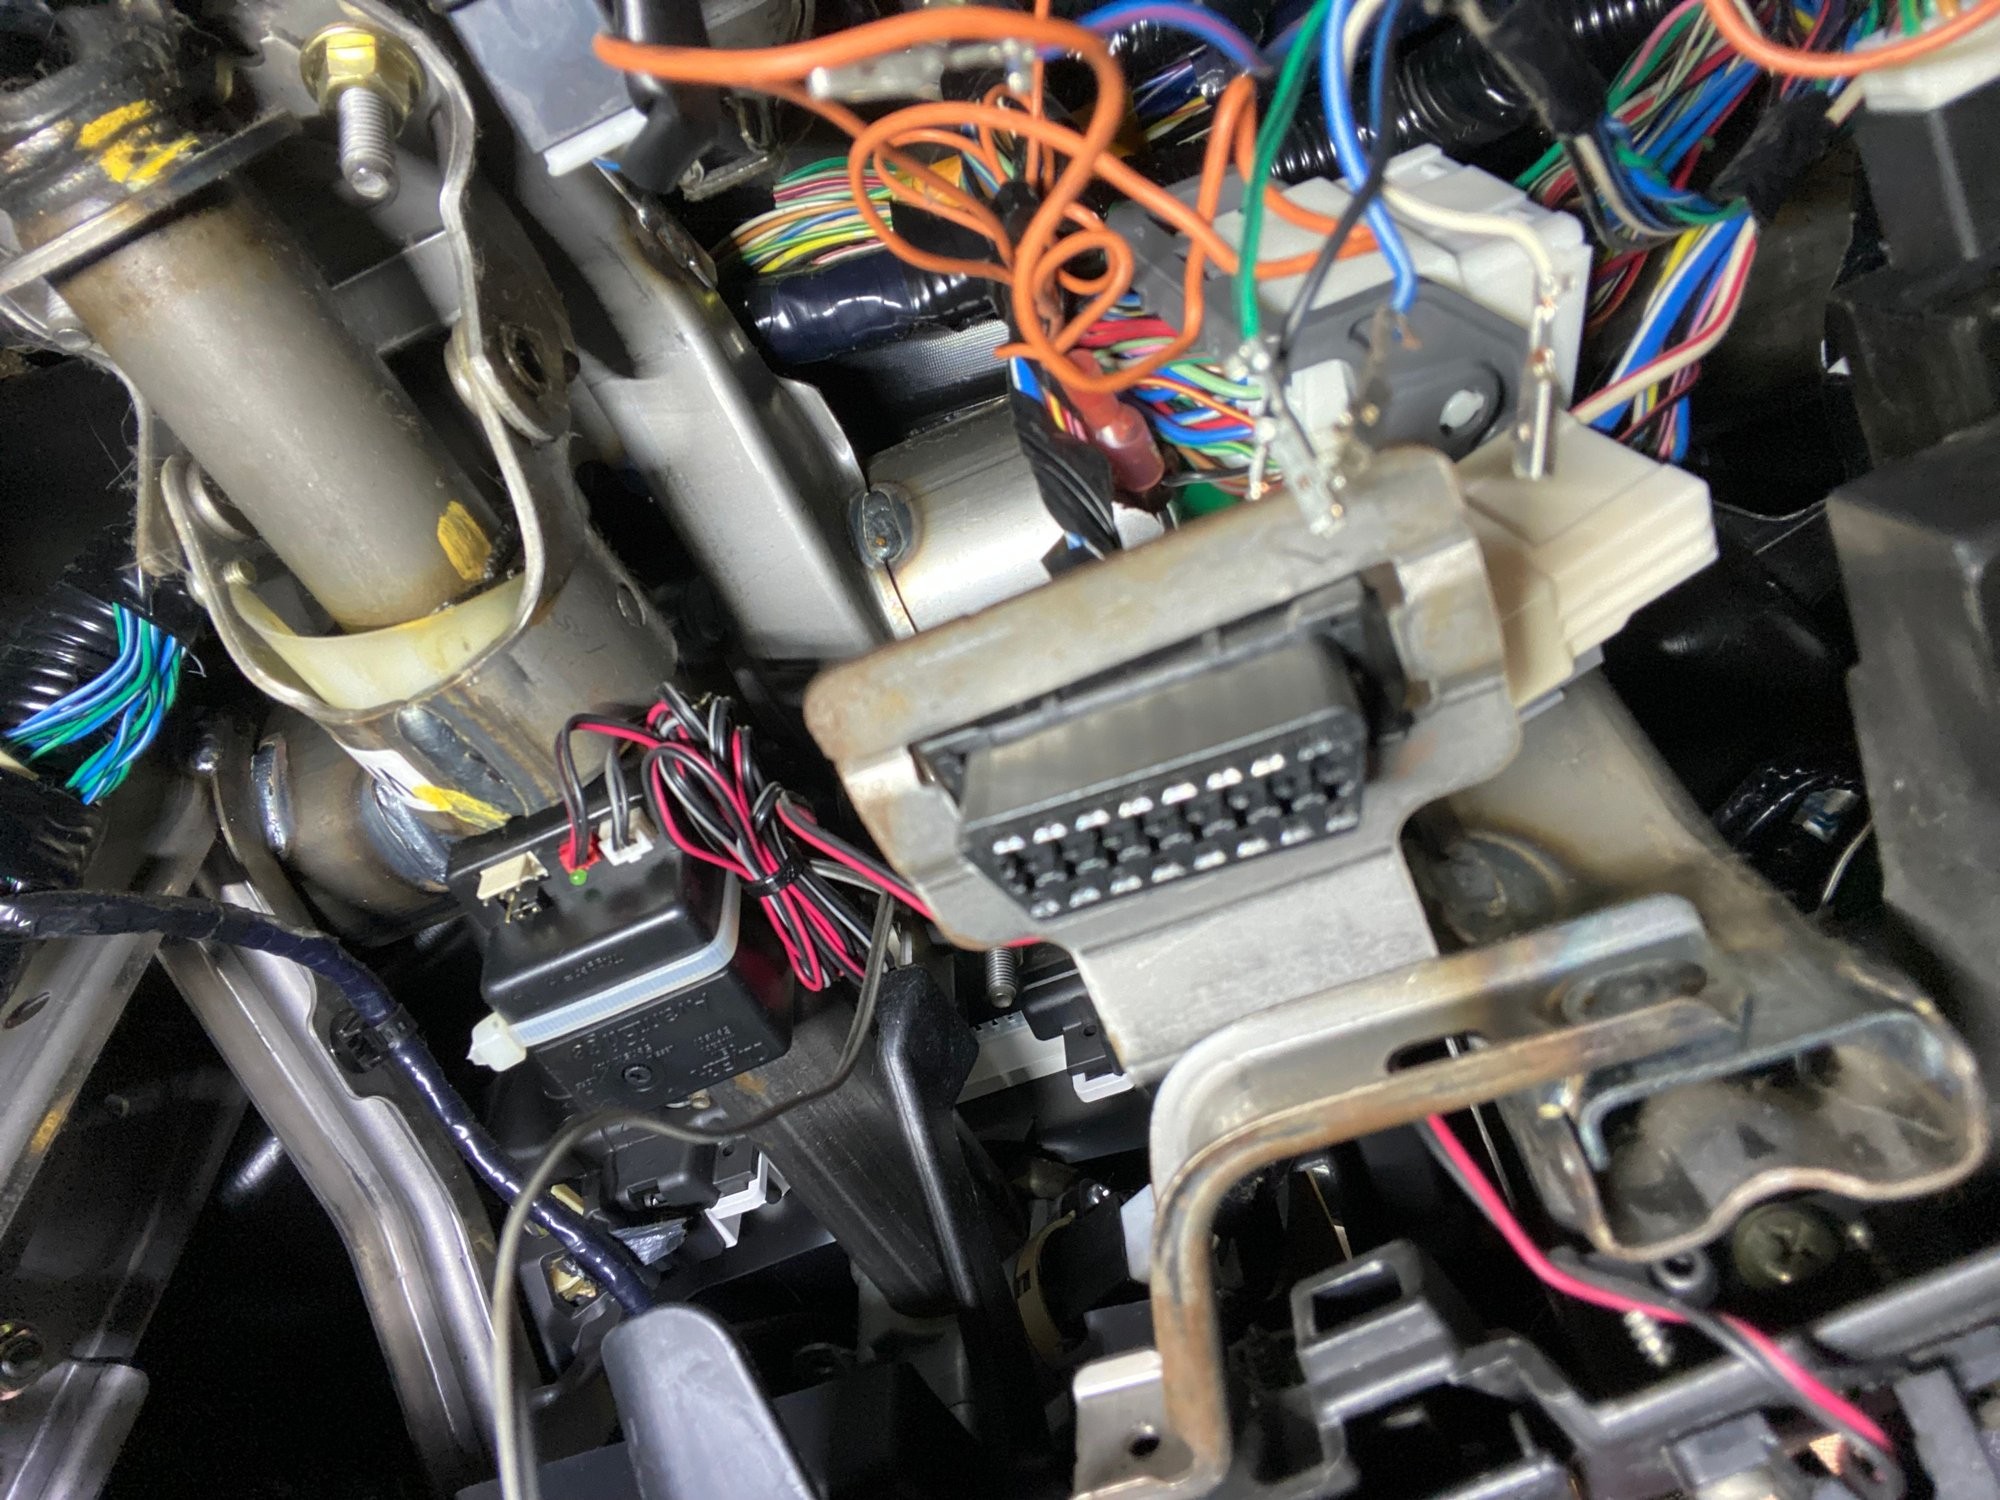 Bracket and OBD2 Port
To detach the port, you’ll typically find plastic tabs on the sides of the connector that secure it to the bracket. You’ll need to gently push these tabs inwards to release the port. A helpful technique is to apply pressure to one side of the port against the bracket while simultaneously pressing the tab on the opposite side. This should allow you to maneuver the port upwards and free it from the bracket.
Once you have the port partially removed, you’ll be able to see the tabs more clearly.
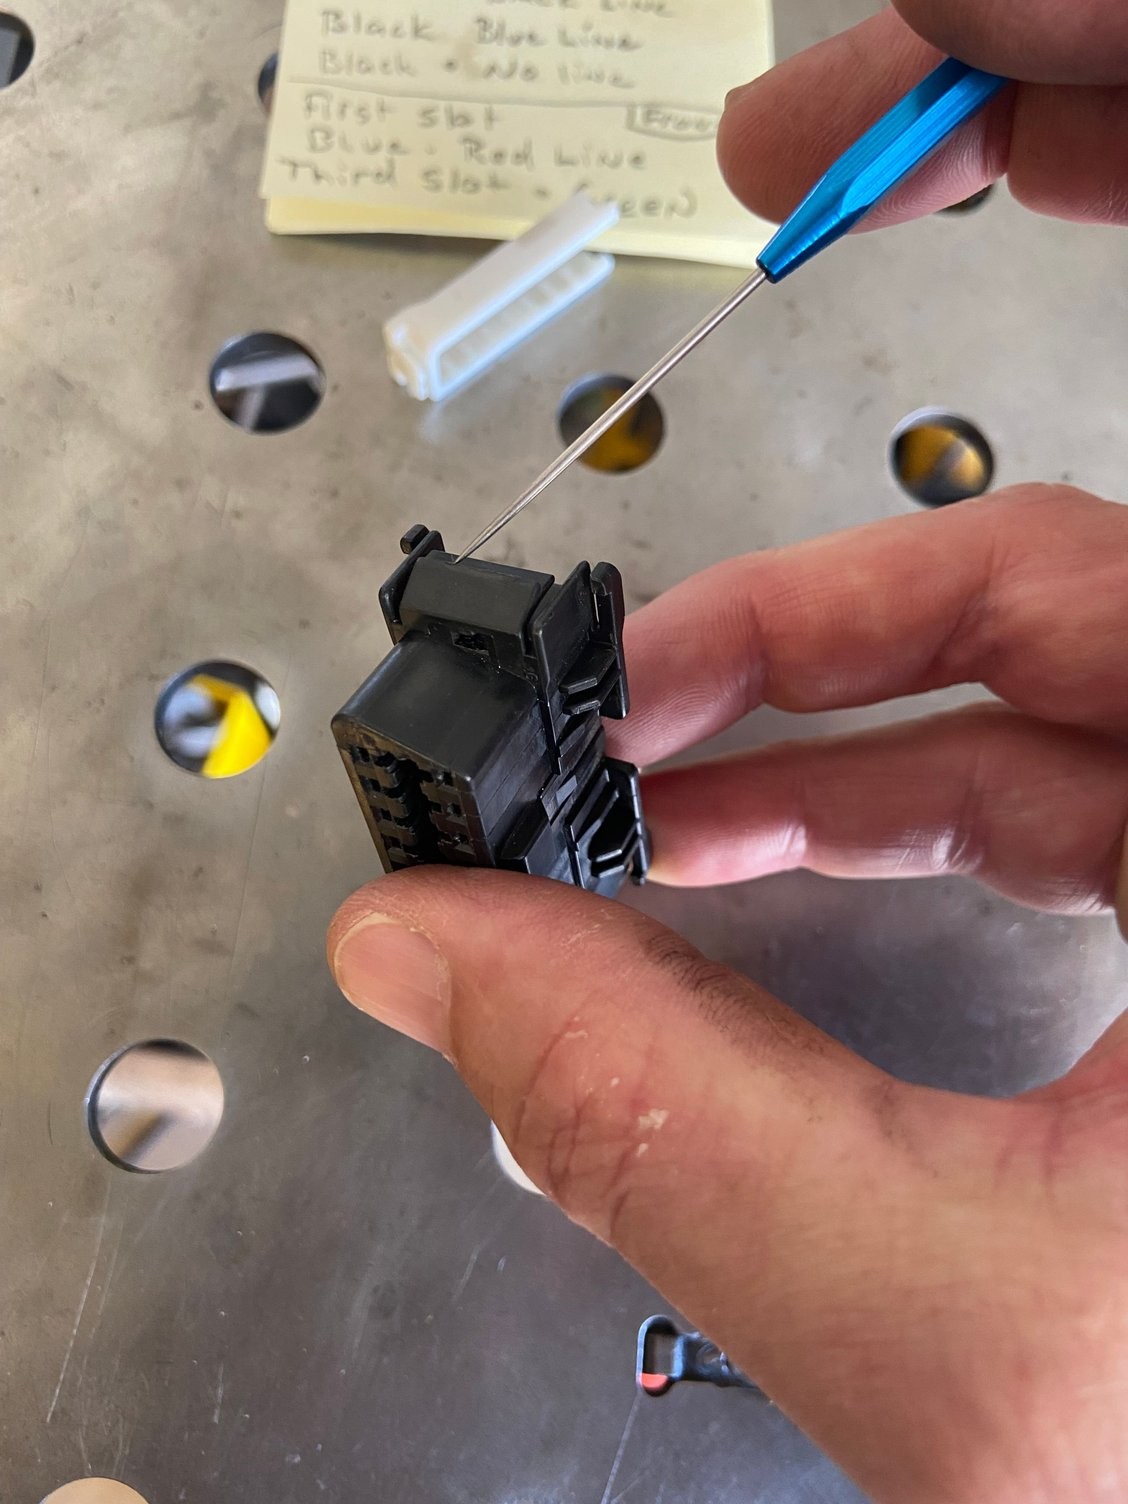 Close up view of OBD2 port retaining clips
With the OBD2 port detached from the bracket, you can now access the back side where the wiring harness connects. Before proceeding further, it’s highly recommended to take pictures of the wire configuration and note down the color pattern and their positions. This is crucial for correct reassembly. You will notice a white plastic retainer clip that secures the wires. This clip needs to be carefully removed to access the individual obd2 pins.
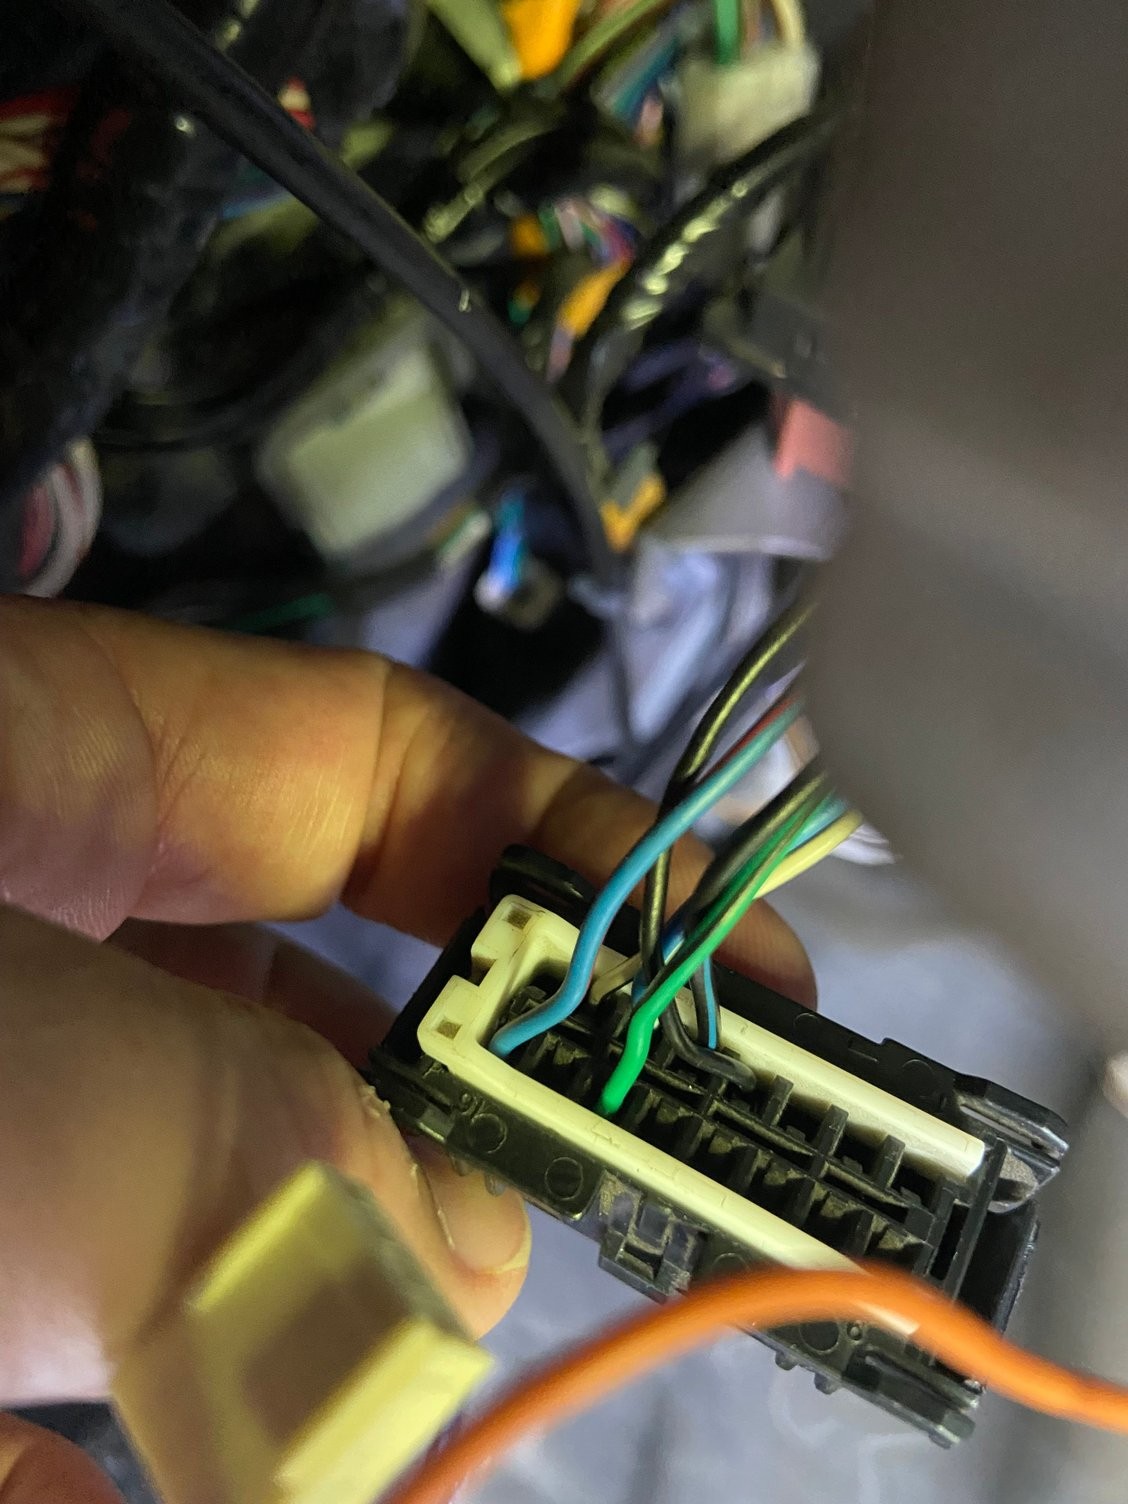 Rear view of OBD2 port with wiring harness
To remove the white plastic retainer, you’ll need a small probe or pick. Gently insert the probe to lift the white plastic piece upwards. It’s designed to slide out, freeing the wires.
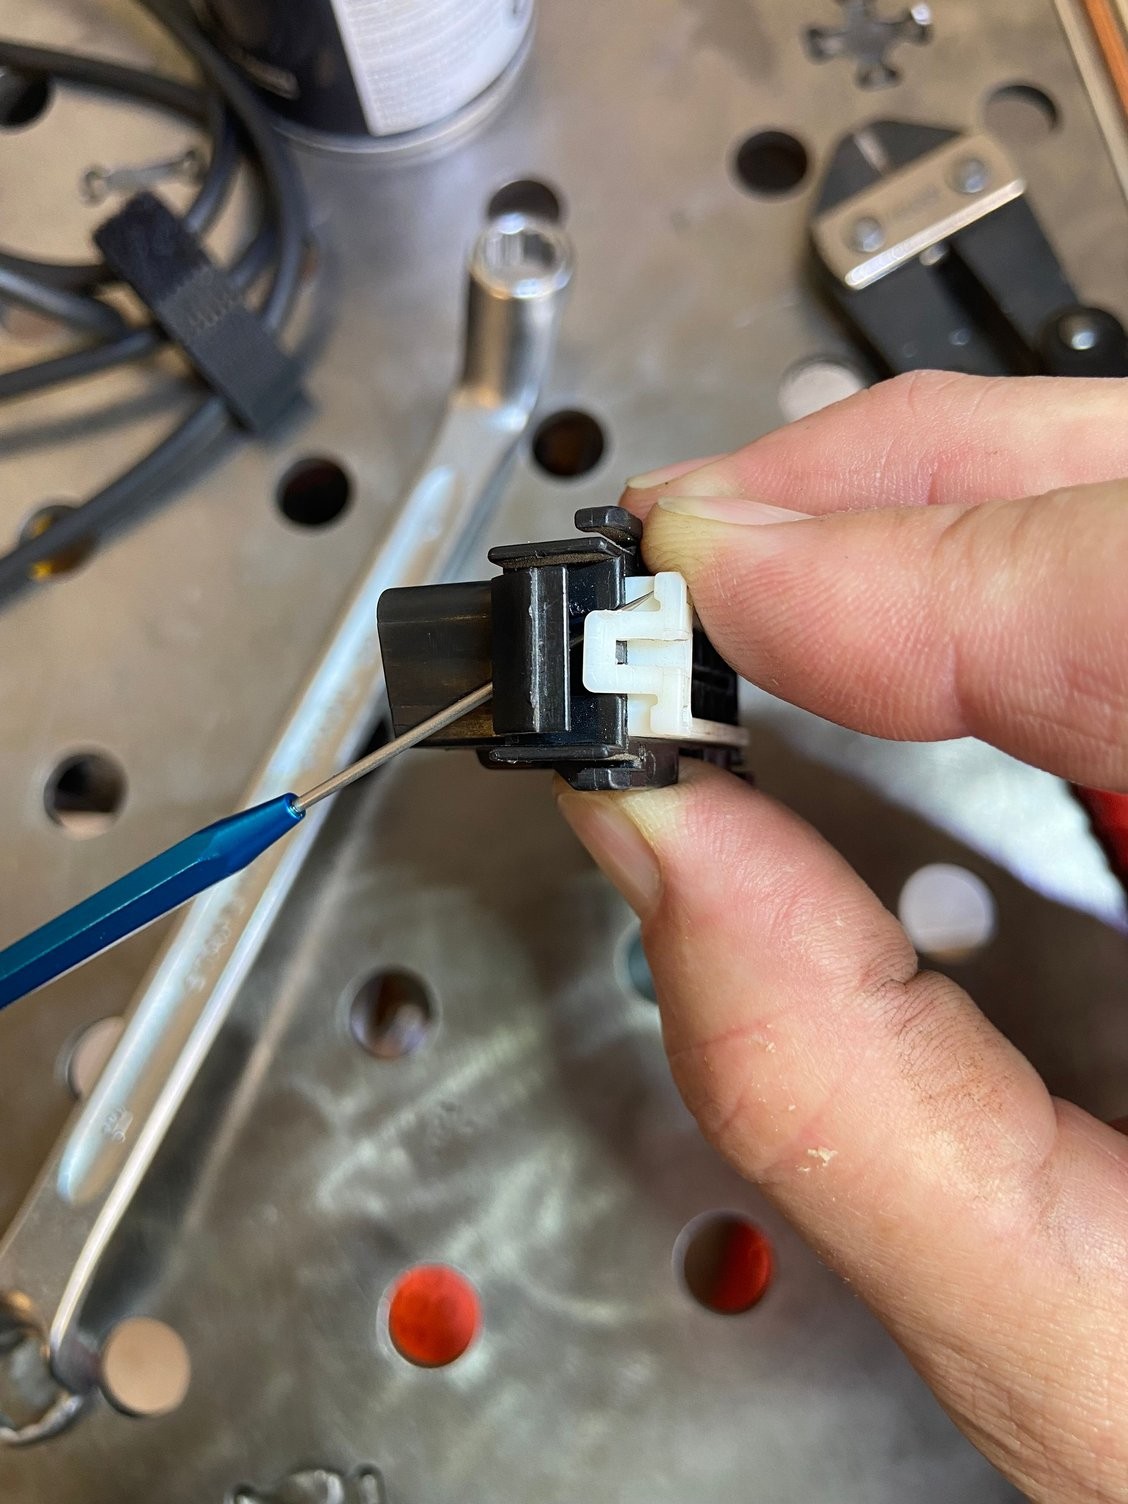 Using a probe to remove the white plastic wire retainer from OBD2 port
The white tab is designed to slide out from under a black retaining feature. Run your probe underneath the white tab to disengage it completely. Now you can move on to releasing the individual wires and their connectors to address the obd2 pins.
To release each wire, you’ll need a very small probe to insert into the front of the connector. Inside each connector slot, there’s a tiny plastic tab that holds the wire terminal in place. You need to gently push this tab to release the wire.
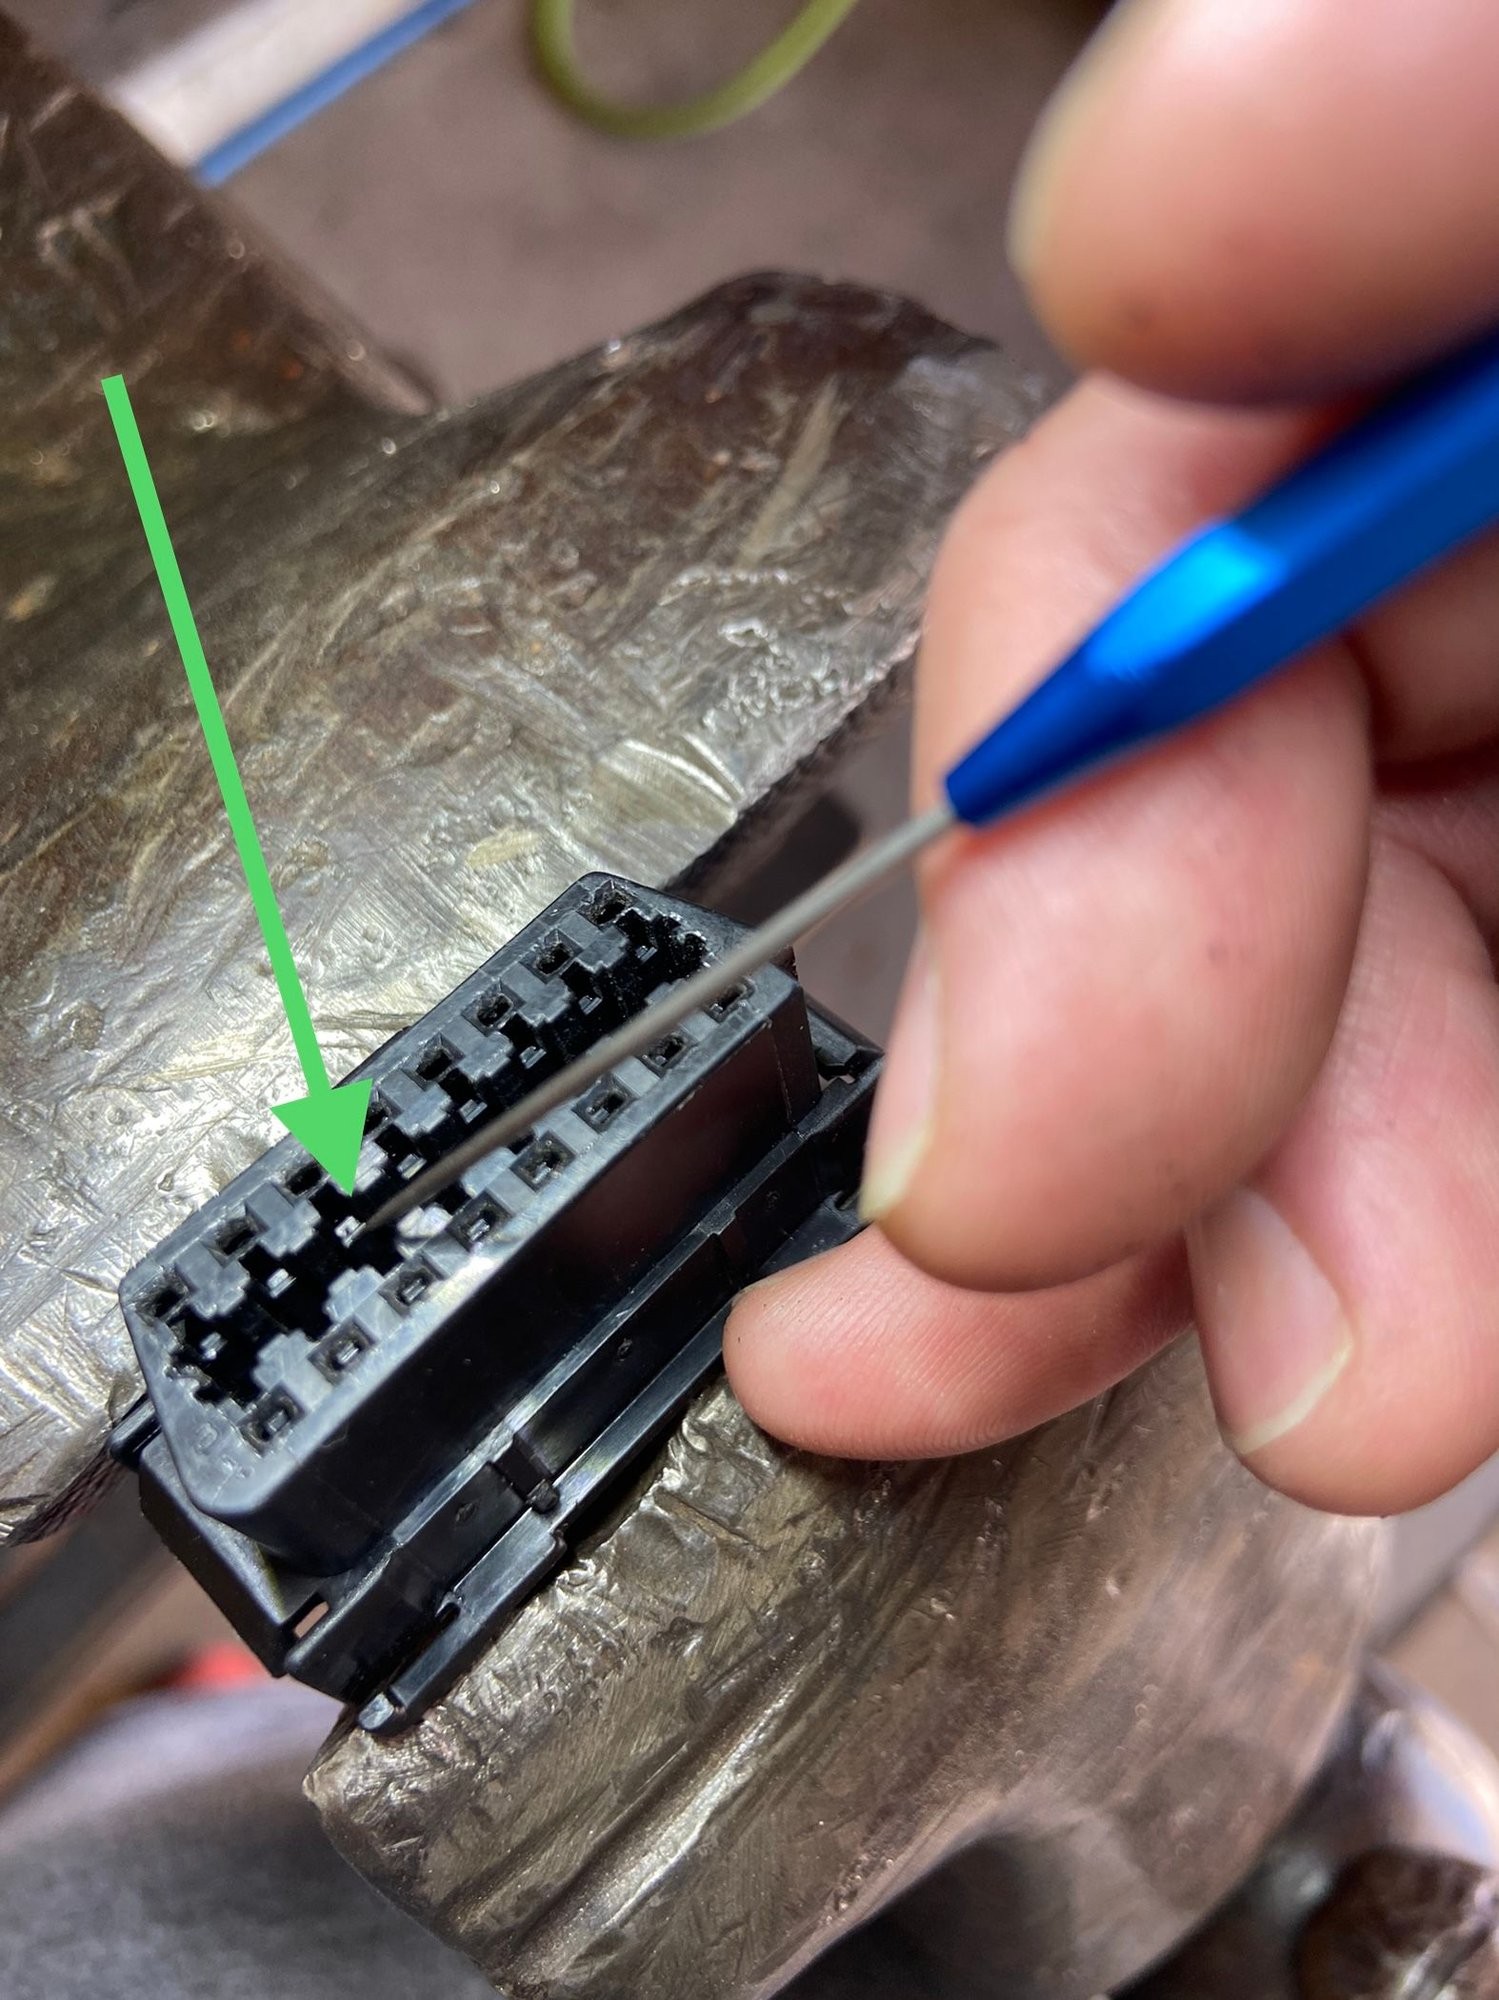 Close-up of probe point to release OBD2 wire terminal
When you’ve correctly pressed the tab, you will feel the wire loosen. Do not force it. The image above shows the approximate location where you need to insert the probe to depress the release tab for each wire and obd2 pin terminal.
Once the wires are free, the crucial step is to re-tension the internal tab within each connector that makes contact with the obd2 pins on your diagnostic tool. Use your probe to carefully access this internal tab inside the connector.
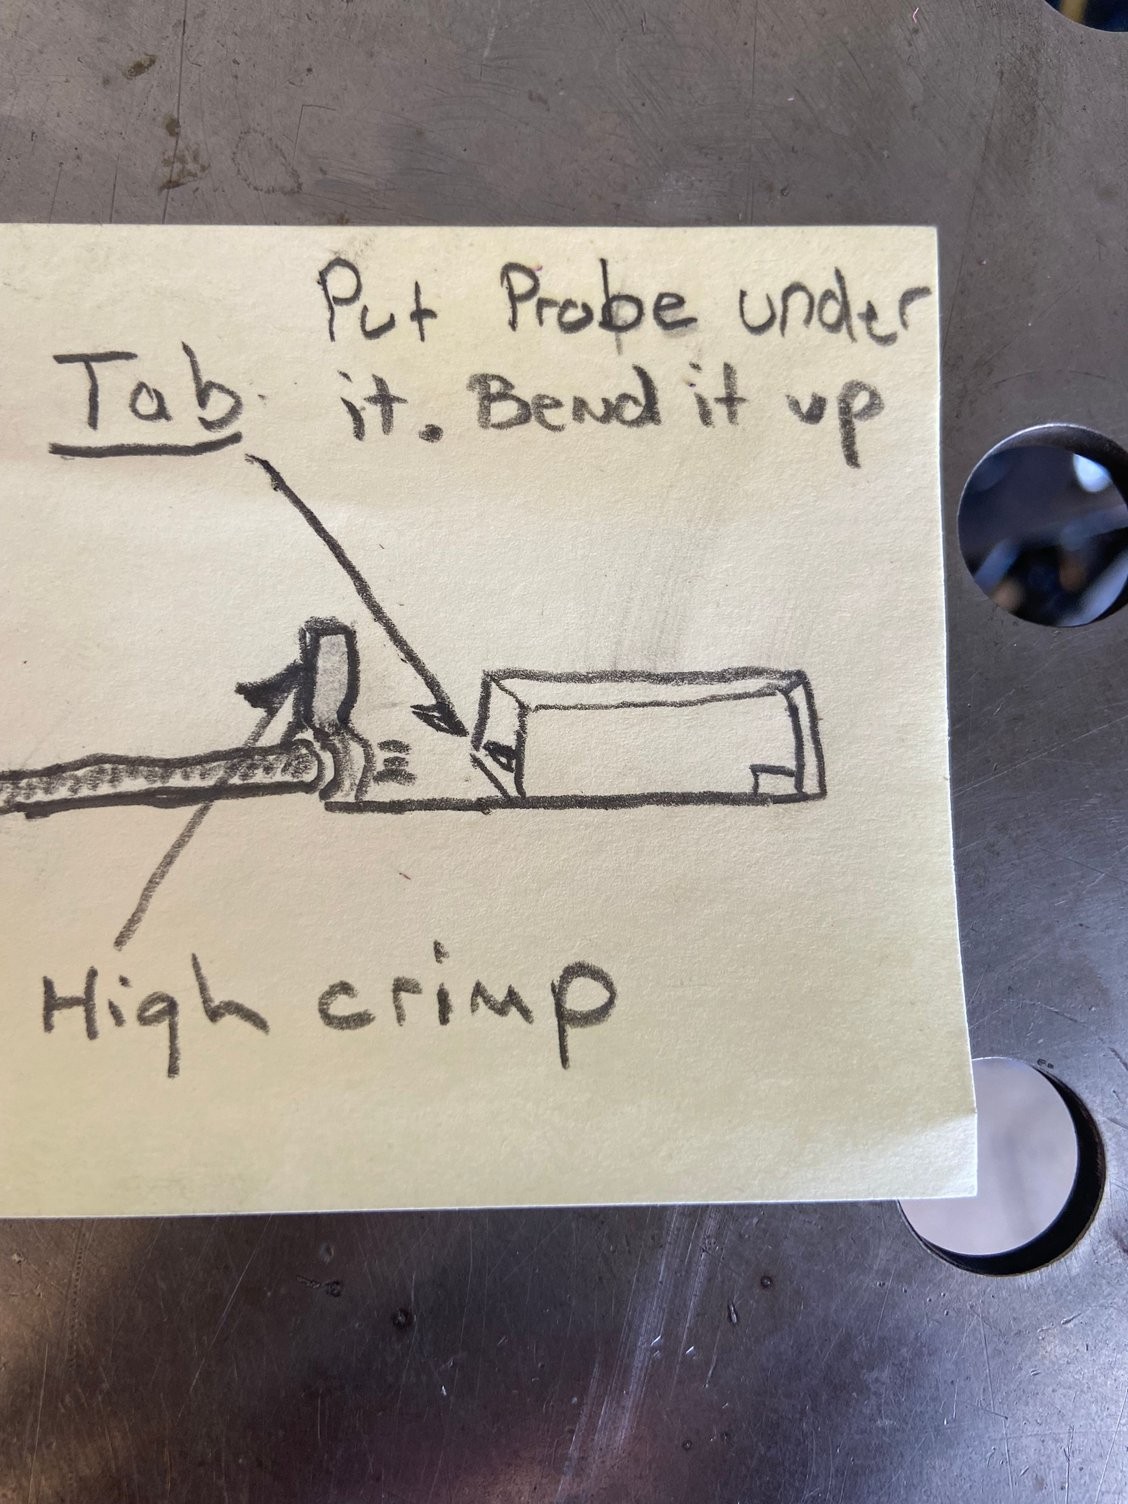 Diagram illustrating how to re-tension OBD2 terminal pins
Insert the probe fully into the connector until you reach the bend in the metal terminal. Gently push upwards on this bend to increase the tension of the internal tab. This is what makes contact with the obd2 pins of your scanner, and by slightly bending it back, you improve the connection.
After re-tensioning each terminal, carefully push the wires back into their respective slots in the OBD2 port. You should feel a click as the terminal locks back into place. Again, avoid forcing anything. If a wire is difficult to insert, small bent nose pliers can be helpful, but be extremely careful not to bend the wire near the crimped area where the terminal is attached, as this can cause damage.
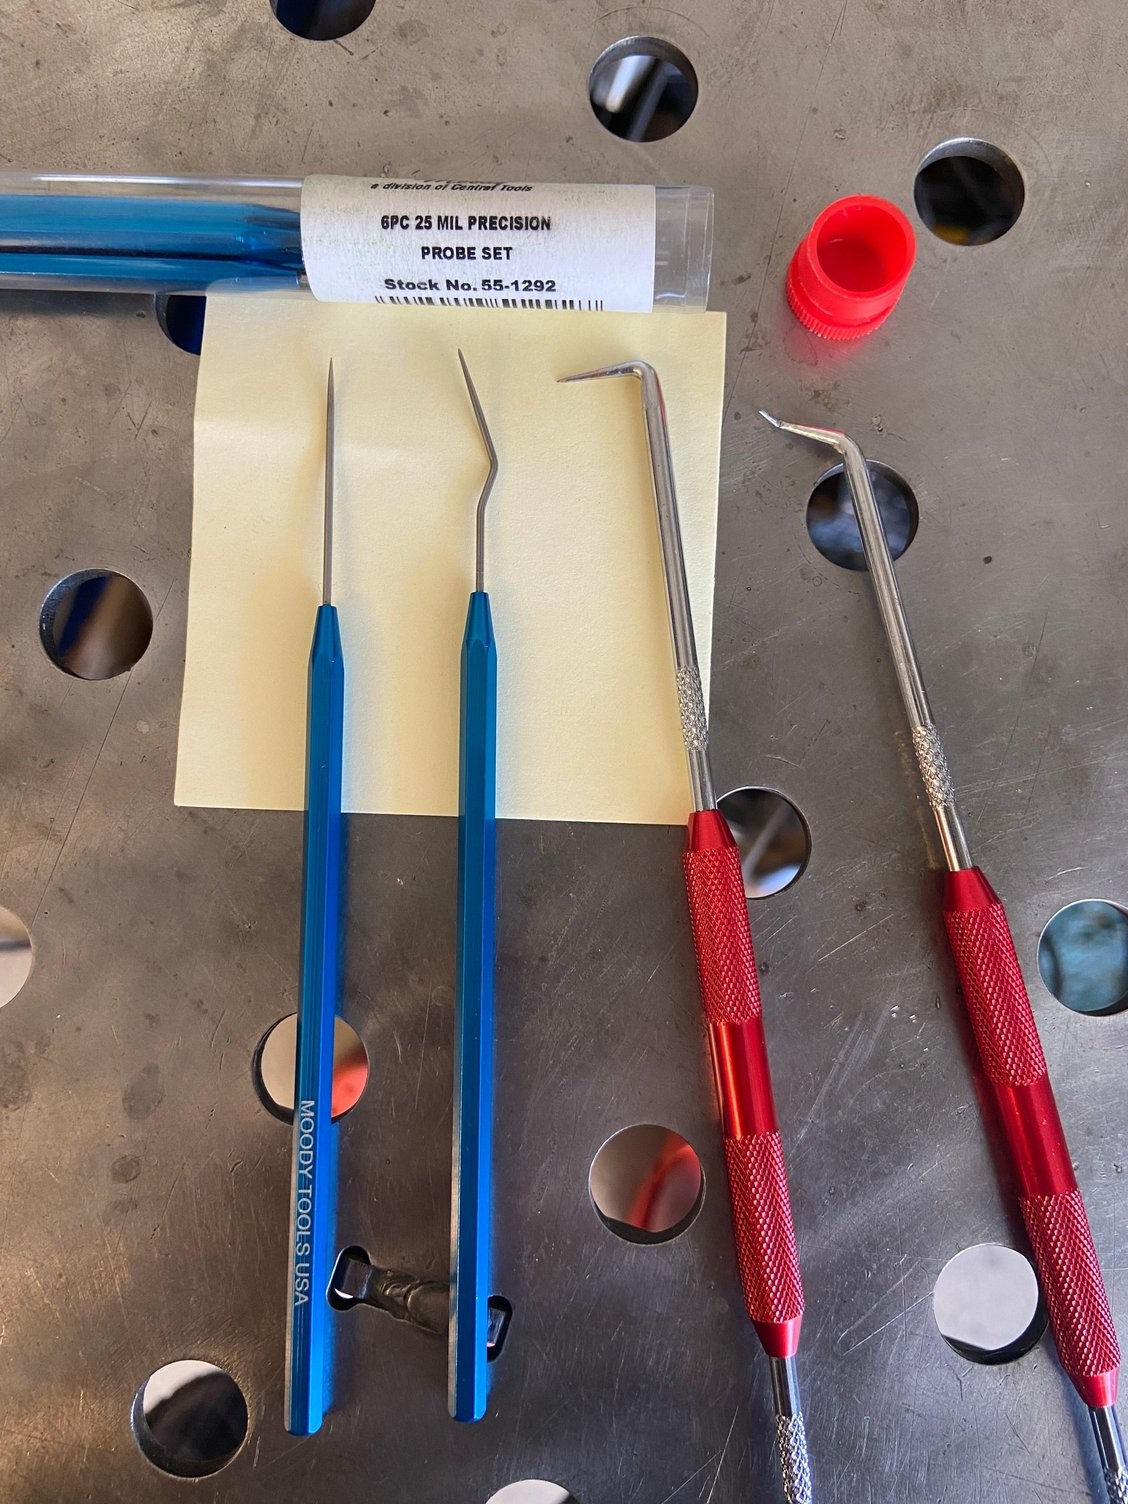 Specialized probes used for OBD2 terminal repair
Specialized probes, like the blue set shown, including a bent probe, can be particularly useful for this delicate task of adjusting the internal tabs of the obd2 pins.
Important Note: This fix is generally considered a temporary solution. While re-tensioning the obd2 pins can restore a good connection, the best long-term solution is to replace the entire OBD2 port and potentially the terminals themselves. However, this DIY method is a cost-effective way to address a loose OBD2 port and restore diagnostic functionality.
By carefully following these steps, you can often resolve a loose OBD2 port issue by addressing the tension of the obd2 pins. Remember to be gentle and patient throughout the process. If you are uncomfortable with this procedure, seeking professional help from a qualified mechanic is always recommended.